
Advice
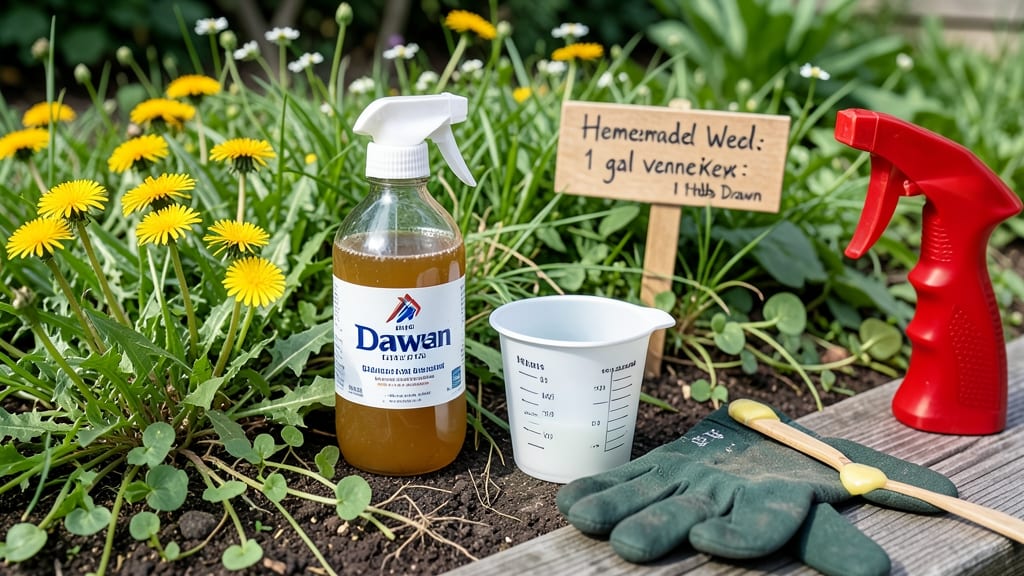
My homemade weed killer with vinegar and Dawn dish soap saved my garden from a stubborn patch of creeping Charlie—no harsh chemicals, just a simple spray that works in hours. 🌱 The secret lies in the right balance of vinegar strength and soap to help it cling to weeds, but not harm your lawn or plants you want to keep.
I’ll walk you through the exact mix, application tips, and which plants to avoid spraying so you don’t accidentally kill your prized flowers or veggies.
You only need three ingredients: white vinegar, dish soap (Dawn works best), and water—plus a spray bottle. The vinegar’s acidity burns weeds on contact, while the soap acts as a surfactant to help the solution stick.
This mix is cheap, fast, and effective for young weeds, but stubborn root systems might need a second treatment. It’s also organic-certified, so it fits right into eco-friendly gardening routines.
Expect to see weeds wilting within hours and dying completely in 1-2 days, depending on the weather. The best time to spray is on a sunny, windless day when temperatures are above 50°F—this ensures the vinegar works at its full strength.
Just avoid spraying on desirable plants, as the acidity will harm them too. For tougher weeds, like dandelions, you might need to repeat the process a few times.
If you’re worried about vinegar damaging nearby plants, try spraying only on the leaves of weeds and avoid overspray. For extra stubborn weeds, a vinegar-soaked rag left on the weed for a few hours can work wonders.
Once you’ve tackled the worst offenders, you’ll wonder why you ever bought chemical weed killers. Ready to give it a try?
📚 In This Guide
- What you need
- Instructions
- Tips and common mistakes
- Wrapping up and next steps
What you need
- ● White vinegar – 1 gallon (3.8 liters) (must be 5% to 20% acetic acid—check the label!)
- ● Dish soap (Dawn or similar) – 1 tablespoon (adds a little "stickiness" to break down weed cell walls)
- ● Spray bottle – 16-32 oz (0.5-1 liter) (a reusable glass or plastic bottle with a spray nozzle works best)
- ○ Water (optional but recommended) – 1 cup (if thinning vinegar for sensitive plants)
- ● Protective gear – Gloves (nitrile or rubber), safety goggles, and long sleeves (vinegar can irritate skin and eyes!)
- ● Markers or flags – To label treated areas (prevents accidental overspray on desired plants)
- ● Salt – 1 cup (for extra drying power—use sparingly on soil)
- ● Essential oils (e.g., citrus, tea tree, or clove) – 5-10 drops (natural scent + mild weed-killing properties)
- ● Spray nozzle attachment – For even coverage on large areas
- ● Sunny day + patience – Weeds need 24-48 hours of direct sun to fully die off!
Step-by-Step instructions for making vinegar Dawn weed killer
Here's the straightforward method I've used to tackle stubborn weeds—no harsh chemicals, just effective results.
🌱 Step 1: Gather the Right Materials
You'll need 1 gallon white vinegar (the higher the acetic acid percentage, the better—look for 20-30% if available). Add 1 tablespoon of dish soap (Dawn works best) to help the solution cling to weed leaves. Mix these in a spray bottle that can hold at least 1 quart—I like the trigger-style bottles for precise control.
Skip the water for now. The vinegar's acidity is what kills weeds, and diluting it weakens the effect. If your vinegar is less than 5% acidity, you'll need to use 2 gallons to match the potency of a stronger solution.
💧 Step 2: Apply on a Sunny, Dry Day
Wait until mid-morning or afternoon when the sun is high and the weeds are dry. This ensures the vinegar absorbs quickly and works most effectively. Shake the bottle well before spraying—vinegar and soap can separate over time.
Spray directly onto the leaves of weeds, avoiding desirable plants. The solution should coat the foliage thoroughly but not drip onto the soil. For tough weeds like dandelions, you may need to apply it 2-3 times over a week. Watch for wilting within hours—that's your sign it's working!
☀️ Step 3: Reapply as Needed for Stubborn Weeds
Weeds with thick roots or deep taproots (like clover or chickweed) may need multiple treatments. Wait 3-5 days between applications to let the vinegar fully penetrate. If the weeds regrow, repeat the process—consistency is key.
I know it seems slow, but this method is safer for your garden's ecosystem. Avoid spraying when rain is forecasted within 24 hours, or the solution will wash away before it works. For best results, apply on calm, windless days so the spray stays put.
✂️ Step 4: Pull or Dig Out Dead Weeds
Once the weeds turn brown and crispy (usually 1-3 days after application), they're ready to be removed. Use a garden fork or weeding tool to dig out the roots if they're deep. Pulling them by hand can leave fragments behind, which will regrow.
For weeds in cracks or tight spaces, a narrow trowel works best. Don't rush—taking the time to remove the entire root prevents future regrowth. After clearing the area, add mulch or compost to keep new weeds at bay.
🌿 Step 5: Maintain Weed-Free Areas
To keep weeds from returning, apply the vinegar solution monthly in high-traffic areas like driveways or walkways. For garden beds, focus on new growth rather than retreating weeds. A little prevention goes a long way!
If you notice weeds sprouting in the same spot repeatedly, it’s a sign of compacted soil or poor drainage. Consider aerating the area or adding organic matter to improve conditions. Over time, your garden will stay cleaner with less effort.
Tips & tricks for perfect homemade weed killer
Took me years of trial and error to perfect this vinegar weed killer—here's what I learned the hard way about making it work reliably.
Acidity Matters: The higher the acetic acid percentage in your vinegar, the more effective it will be. If your vinegar is less than 5% acidity, you'll need to double the amount to 2 gallons to match the potency of a stronger solution. I always check the bottle label first—this makes all the difference for tough weeds like dandelions. For best results, aim for 20-30% acidity if available at garden centers or online.
Application Technique: In Step 2, when you're spraying, focus on coating the leaves thoroughly without dripping onto the soil. I've found that using a trigger-style spray bottle gives me better control over the application. For stubborn weeds, apply the solution in the late afternoon when the sun is still strong—this gives the vinegar time to absorb before evening. The key is consistent coverage, not just a quick spray.
Timing is Critical: The 24-hour rain-free window mentioned in Step 3 is non-negotiable. If rain is forecasted within this timeframe, the vinegar will simply wash away before it can work its magic. I always check the weather forecast before applying, especially during spring showers. For maximum effectiveness, apply on calm, windless days so the solution stays where you put it.
Root Removal Strategy: When you get to Step 4 and see those brown, crispy weeds, don't just pull them—dig them out completely. I've learned this the hard way with weeds that kept coming back. A garden fork works best for deep roots, while a narrow trowel is perfect for tight spaces. Taking the extra time to remove the entire root system prevents future regrowth and makes your effort worth it.
Pro Tips for Homemade Weed Killer Vinegar Dawn
- Took me years of trial and error to perfect this vinegar weed killer—here's what I learned the hard way about making it work reliably.
- Acidity Matters: The higher the acetic acid percentage in your vinegar, the more effective it will be.
- Application Technique: In Step 2, when you're spraying, focus on coating the leaves thoroughly without dripping onto the soil.
Frequently asked questions
Got questions about using vinegar and Dawn to tackle weeds? Here are some common ones—and their answers—to help you get the best results.
How long does it take for the homemade weed killer to work?
You’ll typically see visible results within 3 to 7 days, depending on the weed type, weather, and sunlight exposure. For maximum effectiveness, reapply if weeds persist after two weeks, especially for deep-rooted or tough weeds like dandelions.
Will this kill my grass or plants?
Yes, this homemade weed killer is non-selective, meaning it will kill any green plant it touches. To protect your lawn or garden plants, apply it only to weeds and avoid overspray. For grassy areas, consider spot-treating or using a barrier like cardboard.
Does it work in rain or shade?
For best results, apply the mixture on a dry, sunny day—sunlight enhances the vinegar’s effectiveness. If rain is forecast within 24 hours, wait to apply. In shady areas, weeds may take longer to die, so reapply as needed. A spray bottle ensures precise application in tight spaces.
Can I reuse the leftover mixture?
No, do not reuse the leftover solution. Vinegar loses its potency over time, and Dawn dish soap can break down, reducing effectiveness. Always mix a fresh batch for each application to ensure strong weed-killing power.
What if the weeds don’t die?
If weeds survive after two applications, try these fixes:
- Increase vinegar strength to 20% (1 part vinegar, 4 parts water).
- Add 1 tbsp of salt to the mix for stubborn weeds (but avoid near plants).
- Use a gardening tool to scrape out dead weeds and prevent regrowth.
Wrapping up and next steps
You’ve now got the power to tackle stubborn weeds naturally with a simple, cost-effective vinegar and Dawn dish soap solution! This eco-friendly hack saves money, reduces chemical exposure, and keeps your garden thriving without harsh residues. 🌱
Ready to reclaim your outdoor space? Grab your supplies, follow the steps, and enjoy the satisfaction of a weed-free yard—without breaking the bank or the planet. Try it once, and you’ll wonder why you didn’t switch sooner!