
Pests and Diseases
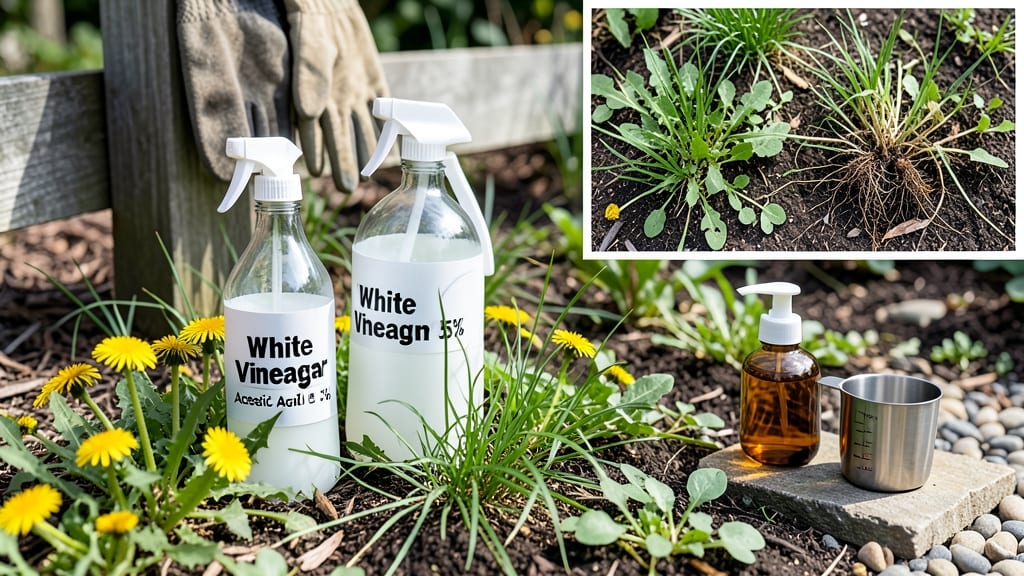
When you're staring down a patch of weeds that won't quit, 20% vinegar for weeds is the secret weapon that finally gives you the upper hand. 🌱 I've used this method to clear stubborn creeping Charlie and dandelions from my driveway cracks—no digging, no back-breaking work, just a spray bottle and some patience.
The key isn't brute force; it's science. Vinegar's acetic acid disrupts the weed's cellular structure, starving the roots and killing them within hours of contact.
You'll need just three things: plain white vinegar (the 20% concentration stuff, not the diluted grocery store kind), a spray bottle, and a sunny day for application. Mix it straight—no watering it down—because that's what makes it work.
The spray needs to soak the leaves completely, so aim for the base of the weeds where they meet the soil. This isn't a quick fix; it takes about 24-48 hours to see the weeds wilt, but the roots stay dead for weeks afterward.
What you end up with is a driveway or garden bed that looks freshly tilled, not just temporarily cleaned. The vinegar smell fades quickly, and you avoid the chemical residue that can linger from commercial weed killers.
My neighbor's lawn has never looked greener since I helped him tackle his weed problem this way—though I did warn him to avoid spraying desirable plants, because vinegar doesn't discriminate.
For best results, repeat the treatment every 7-10 days until new weeds stop sprouting. If you're dealing with thick weed mats, a little elbow grease to pull the dead growth afterward makes the area look even better.
It's not perfect—vinegar can harm nearby plants and won't prevent future weeds—but it's the most effective natural solution I've found for stubborn weed patches.
📚 In This Guide
- What you need
- Instructions
- Tips and common mistakes
- Wrapping up and next steps
What you need
- ● 20% acetic acid vinegar (1 gallon / ~3.8 liters) – Critical! Regular vinegar (5%) won’t cut it. Look for "garden vinegar" or "industrial vinegar" (e.g., Spectrum Quality or Wilco brands). ⚠️ Safety note: Wear gloves when handling—this stuff is strong!
- ● Spray bottle or pump sprayer – Choose a 1-gallon capacity with a fine mist nozzle (e.g., Chapin 65150 or Growneer sprayers). For larger areas, a hose-end sprayer (like Ortho Dial-N-Spray) works too.
- ● Protective gear: Nitrile gloves (1 pair) – Vinegar can irritate skin.
- ○ Safety goggles (optional but recommended) – Avoid splashes near eyes.
- ● Long sleeves/pants – Shields skin from accidental contact.
- ● Measuring cup or scale – For precise vinegar-to-water ratios (if diluting).
- ○ Water (optional) – Only if diluting for delicate plants (see Tips).
- ● Soap (1 tsp dish soap) – Adds surfactant to help vinegar stick to weeds (e.g., Dawn Free & Gentle).
- ● Spray shield or cardboard – Protects nearby plants from drift.
- ● Garden hose with adjustable nozzle – For rinsing after application (if needed).
- ● Marking spray or flags – Label treated areas to avoid re-spraying.
- ● Mulch (straw, wood chips) – Suppresses regrowth after treatment.
How to make and apply 20% vinegar weed killer spray
Here's my go-to method for a fast, chemical-free way to kill weeds down to the roots.
💧 Step 1: Mix the 20% Vinegar Solution
Fill a clean 1-gallon spray bottle with 1 gallon of 20% acetic acid vinegar—this is stronger than household vinegar and works faster. I like to add 1 tablespoon of dish soap to help the solution cling to weed leaves. Shake gently to combine without creating suds.
Wear gloves and eye protection when handling 20% vinegar—it's much more concentrated than what you'd find in the grocery store. The higher acidity is what breaks down the weed's cell structure, but it also means it's more aggressive on skin and surfaces.
✂️ Step 2: Choose Target Weeds and Clear the Area
Pick a sunny day for best results—weeds absorb more vinegar when their leaves are dry. Focus on small to medium weeds first; large, established weeds may need multiple treatments. Clear any debris or mulch from the area you're treating to ensure direct contact with the vinegar.
I always spot-test a small area first, especially if you're treating near desirable plants. Vinegar can drift and harm nearby plants, so avoid spraying on windy days. If you're treating a driveway or sidewalk, cover the surrounding area with cardboard or plastic to protect it from accidental splashes.
🌱 Step 3: Apply the Spray Directly to Weeds
Hold the spray bottle 6-12 inches away from the weeds and apply until the leaves are thoroughly wet but not dripping. Focus on the broadleaf weeds like dandelions and clover—they're more susceptible to vinegar than grassy weeds. For stubborn weeds, you may need to reapply in 3-5 days.
Watch for signs of effectiveness within 24-48 hours: leaves will start to curl, yellow, and eventually wilt. The key is consistency—if you miss a spot, the weed will regrow. I like to spray early in the morning so the vinegar has time to work before the heat of the day.
☀️ Step 4: Monitor and Retreat if Needed
After 1 week, check the treated area for any surviving weeds. If you see new growth, it means the vinegar didn't fully penetrate the roots, and you'll need to apply another round. This usually happens with deep-rooted weeds like bindweed or thistle.
Once the weeds are fully brown and crispy, you can pull them out by the roots if they're small. For larger weeds, the vinegar will break them down over time, making them easier to remove. Avoid tilling the area—this can spread weed seeds and bring new ones to the surface.
🪴 Step 5: Prevent Regrowth and Protect Desired Plants
To keep weeds from returning, maintain a thick layer of mulch in garden beds or use landscape fabric in high-traffic areas. Vinegar alone won't prevent new weeds from sprouting, but it's a great tool for spot treatment.
If you're treating weeds near plants you want to keep, apply the vinegar carefully and avoid overspray. For extra protection, place a barrier like cardboard around the base of your desired plants before spraying. Always rinse any accidental vinegar splashes off plants immediately with water.
Tips & tricks for effective 20% vinegar weed control
These practical tips will help you maximize your vinegar spray's effectiveness while avoiding common pitfalls that can waste your effort.
Solution Strength: The 20% acetic acid concentration is crucial—this is why we use it instead of regular household vinegar (which is only 5%). The higher acidity breaks down cell walls faster, but it also means you must be precise with application. I've found that adding the 1 tablespoon of dish soap isn't just about adhesion; it also helps the vinegar penetrate the waxy surface of weed leaves more effectively. Just be gentle when shaking to avoid creating suds that could clog your spray bottle.
Timing Secret: Those 24-48 hours after application are critical for observing results. If you don't see curling or yellowing within this window, it's time to reapply—especially on stubborn weeds. I've learned the hard way that waiting too long between treatments lets weeds recover. For best results, spray in the early morning when weeds are dry but before the heat of the day can evaporate the solution too quickly.
Target Selection: Focus on broadleaf weeds like dandelions and clover first—they're more susceptible to vinegar than grassy weeds. When you're treating in Step 2, clear away any mulch or debris to ensure direct contact. I've had success treating small weeds completely in one application, but for larger weeds, you'll need that 3-5 day reapplication window mentioned in Step 3. The key is consistency in coverage.
Safety First: The instructions mention wearing gloves and eye protection, but I can't stress enough how important this is with 20% vinegar. The acidity can cause skin irritation and eye burns. When spot-testing near desirable plants, I recommend using a small piece of cardboard as a barrier—it protects both your plants and gives you a clear visual of how the vinegar affects different surfaces.
Pro Tips for 20 Vinegar For Weeds
- These practical tips will help you maximize your vinegar spray's effectiveness while avoiding common pitfalls that can waste your effort.
- Solution Strength: The 20% acetic acid concentration is crucial—this is why we use it instead of regular household vinegar (which is only 5%).
- Timing Secret: Those 24-48 hours after application are critical for observing results.
Frequently asked questions
Can I use regular vinegar (like white or apple cider vinegar) instead of 20% vinegar?
Regular vinegar (5% acidity) won’t cut it—literally! Its weak acidity won’t kill weeds effectively. 20% vinegar (acetic acid) is the gold standard because it’s strong enough to break down cell walls and starve weeds at the root. If you can’t find it, diluting 20% vinegar is safer than guessing with household vinegar.
How long does it take for vinegar to kill weeds?
Most weeds show signs of wilting within 6–24 hours, but full death can take 3–7 days, depending on the weed type and weather. Hot, sunny days speed up the process—think of vinegar as a slow-burn herbicide. For stubborn weeds, reapply after a week if regrowth appears.
What’s the best time of day to spray vinegar for weeds?
Spray on a clear, sunny day (mid-morning to early afternoon) to maximize evaporation and absorption. Avoid windy days or spraying before rain—vinegar can wash away before it works its magic. Mornings are ideal because dew can dilute the spray, reducing effectiveness.
Will vinegar harm my plants or grass?
Yes! Vinegar is non-selective, meaning it’ll kill anything it touches—plants, grass, and even mulch. To protect desired plants, apply vinegar only to weeds and avoid overspray. For grass, spot-treat carefully or use a shield (like cardboard) around edges. Pro tip: Test a small area first!
What if weeds keep coming back after using vinegar?
Persistent weeds often mean roots survived or new seeds sprouted. For deep-rooted weeds (like dandelions), reapply vinegar weekly for 2–3 weeks or dig them out after the first treatment. To prevent regrowth, mulch bare soil or use a pre-emergent herbicide in spring.
Bonus Tip: Can I mix vinegar with other ingredients for better results?
Mixing vinegar with soapy water (1 tbsp dish soap per gallon) helps it stick to weeds, but avoid adding salt or other harsh chemicals—it can harm soil. Stick to the 20% vinegar + water (1:1 ratio) formula for the best, safest results. No shortcuts needed!
Wrapping up and next steps
Ready to reclaim your garden with minimal effort? 20% vinegar for weeds is your secret weapon—fast, cost-effective, and surprisingly simple. Whether you’re tackling stubborn patches or preventing regrowth, this natural solution delivers results without harsh chemicals. 🌱
Now that you’re armed with the know-how, grab that spray bottle and give it a try! Start small, test a hidden area first, and watch your garden thrive—naturally. Happy weeding! 🚀