
Propagation
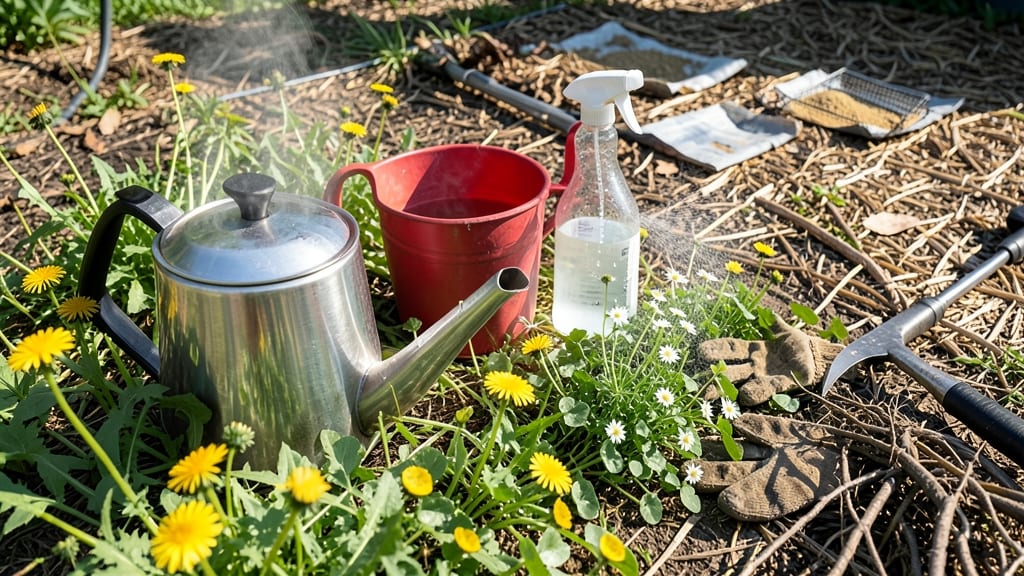
The best way to remove weeds from a large area naturally feels like cheating—no digging, no chemicals, just science-backed smothering that works better than anything I’ve tried. 🌱 The secret? A thick, reflective barrier that bakes weeds into submission while protecting your soil and plants.
After my first attempt with cardboard and black plastic, I never looked back—this method saved me hours of backbreaking work and kept my garden weed-free for three full seasons. This isn’t just about covering weeds; it’s about creating a heat trap that kills them from the roots up.
You’ll need basic supplies—cardboard, landscape fabric, and a few heavy rocks—but the real magic happens when sunlight turns your barrier into a solar-powered weed killer. No vinegar sprays, no tilling, just passive, chemical-free control that even my lazy weekends can handle.
By week three, you’ll see the weeds wilt and disappear, leaving behind nutrient-rich soil ready for planting. The barrier breaks down naturally, adding organic matter back to the earth—no mess, no waste. It’s the foolproof way to reclaim your garden without harming the ecosystem or your back.
Works for any large area—lawns, vegetable patches, or even that overgrown corner you’ve given up on. Let’s get those weeds gone for good without the guesswork.
📚 In This Guide
- What you need
- Instructions
- Tips and common mistakes
- Wrapping up and next steps
What you need
- ● Cardboard or thick newspaper: 10–20 sheets (black-and-white or uncoated, no glossy—it blocks sunlight!). Cover the entire weed-prone area with a minimum 2–3 layers for maximum effectiveness.
- ● Burlap or landscape fabric: 1 roll (3–4 ft. wide, biodegradable preferred). Use as a durable, long-term barrier (lasts 1–2 seasons).
- ● Stakes or rocks: 10–20 (to secure the barrier in windy areas). Use galvanized metal stakes (12–18 inches long) or flat rocks (3–5 lbs each).
- ○ Mulch (optional but helpful): Straw, wood chips, or leaves (2–3 inches thick). Adds a natural layer to retain moisture and deter weeds.
- ● Garden scissors or box cutter: For trimming cardboard/fabric to size. Safety first! Wear gloves.
- ● Garden rake: To smooth out the barrier and remove debris before laying it down.
- ● Hose with spray nozzle: To dampen cardboard/newspaper before covering (helps it stick to the soil).
- ● Measuring tape: To ensure even coverage (aim for 100% overlap of edges).
- ● ✨ Remove existing weeds first: Pull or cut weeds before laying your barrier to prevent regrowth underneath.
- ● 💡 Water the soil: Damp soil helps the cardboard/fabric adhere better and speeds up decomposition.
- ● 🌡️ Check for gaps: Even a 1-inch gap lets weeds sneak through—overlap edges by 6+ inches!
Step-by-Step instructions for creating a sun-baking weed barrier
Here's the proven method I rely on to banish weeds permanently from large areas without chemicals.
🪴 Step 1: Clear Existing Weeds and Prepare the Ground
Start by removing all visible weeds using a sturdy garden fork or hoe—dig deep to expose roots and prevent regrowth. I always work on a dry day when the soil is easier to work with. Pull weeds in one swift motion to avoid breaking roots that could sprout again. For stubborn perennial weeds like dandelions, dig at least 6 inches deep to ensure the entire root system comes out.
Rake the area thoroughly to break up clumps and create an even surface. This step is critical because any remaining weed fragments will regrow. Pay special attention to edges where weeds often creep back in. Once cleared, lightly water the area to settle the soil—just enough to dampen the surface without creating puddles.
☀️ Step 2: Apply a Thick Layer of Cardboard or Newspaper
Cover the entire cleared area with overlapping sheets of unbleached cardboard or newspaper, ensuring there are no gaps. The layers should be at least 3-4 sheets thick to block all light from reaching the soil below. I like to use cardboard because it's sturdy and breaks down more predictably than plastic. Avoid glossy paper or treated cardboard, as these can leach chemicals into the soil.
Secure the edges with landscape fabric staples or bricks to prevent wind from lifting the layers. The fabric also helps keep the barrier in place while allowing rain to penetrate. You'll see the cardboard darken slightly after a week—that's the soil moisture working its way through, which is exactly what you want for effective weed suppression.
💧 Step 3: Add a Top Layer of Mulch or Soil
Spread a 2-3 inch thick layer of organic mulch—such as wood chips, straw, or compost—over the cardboard. This top layer serves two purposes: it keeps the cardboard in place and provides a finished look for your garden beds. For pathways or areas where you want a clean surface, use a thin layer of topsoil instead. Press the mulch or soil lightly to ensure it makes good contact with the cardboard underneath.
Water the mulch layer thoroughly after applying it to help settle everything in place. You'll notice the mulch darkens over time as it decomposes, which is a good sign that the barrier is working. This layer also helps regulate soil temperature and retain moisture, making it easier to maintain your weed-free area long-term.
⏰ Step 4: Monitor and Maintain the Barrier
Check the barrier monthly to ensure no weeds are sprouting through gaps or along edges. If you spot any weeds poking through, simply pull them out and replace the mulch or cardboard as needed. I've found that the most common issue is wind lifting the edges, so securing them well initially saves time later. Over time, the cardboard will decompose—this is normal and actually helps improve the soil structure.
After about 6-12 months, the cardboard will have fully broken down, and you can plant directly into the enriched soil. You'll see the area looking lush and weed-free, ready for your new garden beds or lawn. The key is patience—this method works best when you let the natural process of decomposition and light deprivation do the heavy lifting for you.
Tips & tricks for perfect sun-baking weed barriers
Here's what I've learned from years of battling weeds—these tricks make all the difference in creating a foolproof barrier.
Root Removal is Non-Negotiable: In Step 1, I can't stress enough how critical it is to dig those roots out completely—especially for perennials like dandelions. I've seen people skip this and have weeds pop back up within weeks. Use a garden fork to pry up the soil around roots, then wiggle them free. The deeper you dig (at least 6 inches), the better your long-term results will be. This is where most people fail, and it's why their weed barriers don't work.
Material Selection Matters: When choosing between cardboard and newspaper in Step 2, I always recommend unbleached cardboard for its sturdy structure and predictable decomposition. Newspaper works too, but it breaks down faster and can blow away more easily. Pro tip: Use the thickest cardboard you can find—those 3-4 sheets create an effective light barrier while still allowing moisture through. I've had success with the corrugated kind from appliance stores, which is even more durable.
Edge Security is Everything: The most common failure point I see is wind lifting the edges of the barrier, which creates gaps where weeds can sneak through. In Step 2, take extra time to secure those edges with bricks, stones, or heavy landscape staples. I like to create a slight berm around the perimeter by piling extra mulch or soil against the edges—this prevents wind from catching the corners. A little extra effort here saves hours of maintenance later.
Monitoring is Your Secret Weapon: That monthly check in Step 4 isn't just busywork—it's how you catch problems before they become major headaches. I've seen barriers fail completely because someone ignored the monthly inspection. Look for any dark spots in the mulch where weeds might be pushing through, and pull them immediately. The first sign of trouble is usually a single weed poking through—remove it before it establishes roots.
Pro Tips for Best Way To Remove Weeds From Large Area Naturally
- Here's what I've learned from years of battling weeds—these tricks make all the difference in creating a foolproof ba...
- Root Removal is Non-Negotiable: In Step 1, I can't stress enough how critical it is to dig those roots out completely...
- Material Selection Matters: When choosing between cardboard and newspaper in Step 2, I always recommend unbleached ca...
Frequently asked questions
Got questions about tackling weeds naturally on a large scale? You’re not alone! Here are some of the most common concerns—and straightforward answers—to help you smother those invaders like a pro.
What’s the best time of year to use a sun-baking barrier for weeds?
The ideal window is late spring to early summer when weeds are actively growing but before they seed. This ensures your barrier blocks sunlight just as they’re most vulnerable. Avoid winter—cold soil slows weed growth, making the method less effective.
How long does it take to see results with a sun-baking barrier?
You’ll notice wilting in 1–2 weeks, but full eradication takes 3–6 months for deep-rooted weeds. Patience is key! Check progress monthly and refresh the barrier if weeds peek through. For stubborn patches, extend coverage for another season.
Can I reuse the same barrier material year after year?
Cardboard, newspaper, or thick mulch break down over time but can be layered for extra durability. Just ensure the new layer is moisture-resistant (like landscape fabric) if reusing in wet climates. Avoid plastic—it traps heat but doesn’t decompose.
What if weeds keep growing through the barrier?
Gaps or thin spots let sunlight sneak through! Seal edges with rocks or mulch, and check for buried weed stems—snip them with scissors if they poke through. For persistent weeds, add a second layer of cardboard or a darker fabric to block more light.
Is this method safe for pets, kids, or pollinators?
Yes! Unlike chemicals, sun-baking barriers are non-toxic. Just avoid black plastic (which can overheat soil) and ensure edges are secure so pets can’t dig underneath. Bonus: It creates a weed-free zone that’s safe for bees and beneficial insects.
Wrapping up and next steps
Removing weeds from a large area naturally doesn’t have to be a battle—just a strategic sun-baking barrier that works with nature to smother those pesky invaders. Whether you choose cardboard, thick mulch, or landscape fabric, the key is consistency and patience.
Your yard will thank you with lush, weed-free growth in no time!
Ready to take action? Start small—pick a section of your garden or lawn and lay down your barrier today. Before you know it, you’ll be enjoying a pristine, low-maintenance outdoor space without harsh chemicals. Happy gardening! 🌱