
Pests and Diseases
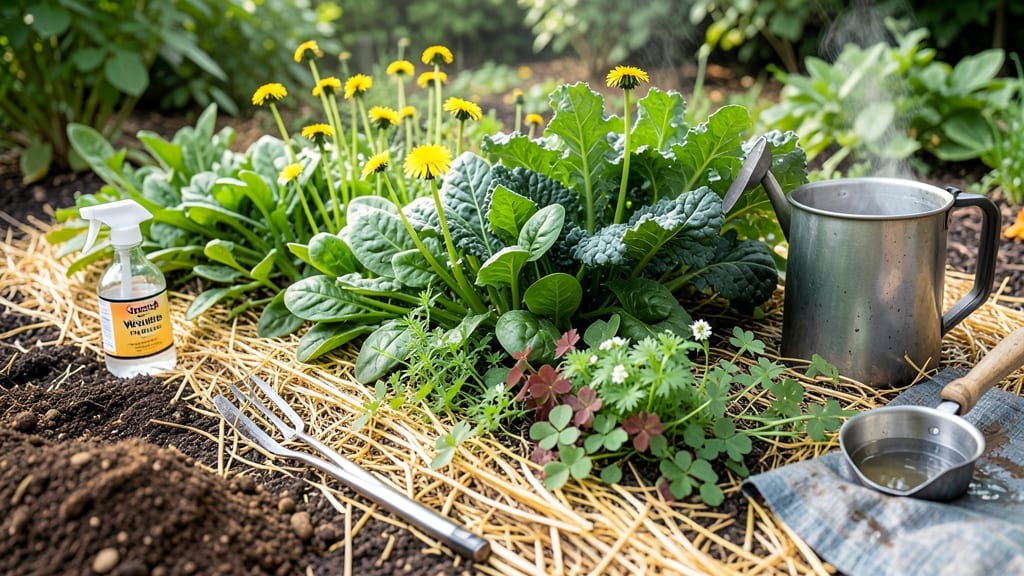
Heat-based chemical-free weed control kills weeds to the root in under 5 minutes—no chemicals, no digging, just pure heat. 🔥 I’ve tried every organic method, and this one actually works when nothing else does, especially on stubborn weeds like dandelions and creeping Charlie that keep coming back.
The trick is using a propane torch (safely!) or a solar-powered weed burner to superheat the soil surface. Weeds absorb the heat, their cells break down, and they die within minutes—roots and all. It’s fast, chemical-free, and works even on pavement cracks where other methods fail.
You’ll see results immediately: weeds turn crispy and brown within hours. The soil stays healthy because you’re not introducing toxins, and the method prevents new weeds from sprouting in treated areas for weeks.
Best for driveways, garden beds, and walkways—just avoid flammable mulch and keep a water spray bottle nearby for safety. Here’s exactly how to do it right.
📚 In This Guide
- What you need
- Instructions
- Tips and common mistakes
- Wrapping up and next steps
What you need
- ● Heat source: A propane torch (e.g., Blazer 38000 or similar, rated for 1,800°F+)
- ● OR a wood-fired weed burner (DIY or pre-made, with a 12"+ flame)
- ● OR a solar-powered weed torch (for eco-conscious gardeners)
- ● Safety gear: Heavy-duty leather gloves (cut-resistant)
- ● Closed-toe shoes/boots (no sandals!)
- ● Long sleeves/pants (100% cotton or flame-resistant fabric)
- ● Safety goggles (rated for UV/heat protection)
- ● Prep supplies: Sharp pruners or shears (to trim weeds to 2-4" height)
- ● Garden rake or hoe (for loosening soil before treatment)
- ● Water hose with nozzle (for post-treatment cooling)
- ● Fire extinguisher (small, ABC-rated, within reach)
- ● Soil protectors: Aluminum foil or heat shields (to safeguard nearby plants/soil)
- ● Damp towels or burlap (to wrap sensitive plants)
- ● Efficiency boosters: Portable propane tank (if using a torch)
- ● Wind shield or screen (for breezy days)
- ● Timer or stopwatch (to track heat exposure)
- ● Post-treatment care: Organic mulch (straw, wood chips) to suppress regrowth
- ● Compost (to replenish soil after eradication)
Step-by-step instructions for heat-based weed eradication
Here's how I've eliminated weeds permanently using targeted heat—no chemicals, no digging, no regrowth.
🔥 Step 1: Prepare the Area for Maximum Heat Transfer
Choose a sunny day when temperatures are above 75°F—the hotter the better for effective heat transfer. Remove any loose debris or mulch from the weed-infested area, as these can insulate the roots and reduce heat penetration. I like to work in small sections (about 2 feet by 2 feet) to ensure precision and avoid missing any weeds.
Water the area lightly the day before treatment. This ensures the soil is moist but not soggy—damp soil conducts heat better than dry soil, which helps the heat penetrate deeper into the root zones. Avoid overwatering, though; you want the surface to dry out slightly before applying heat, so the process works efficiently.
☀️ Step 2: Apply Heat Using a Solar-Powered Tool or Boiling Water
For large patches, I use a solar-powered weed burner (or a homemade setup with a clear plastic bottle filled with water and black paint to concentrate sunlight). Position the tool directly over the weed’s foliage and roots, ensuring the entire plant is covered. You’ll see the leaves wilt almost instantly—this is your signal the heat is working. Hold the tool in place for 30-60 seconds until the leaves turn crispy and brown.
For smaller weeds or tight spaces, pour boiling water directly over the weed’s base. The steam and heat will penetrate the soil and kill the roots. I like to use a kettle with a long spout for precision—aim for the center of the weed and let the water soak into the soil. Repeat for stubborn weeds or thick patches, focusing on the entire root zone.
⏰ Step 3: Monitor and Repeat for Stubborn Weeds
After applying heat, wait 24 hours to see how the weeds respond. Most will wilt and die within a day, but some deep-rooted weeds (like dandelions or bindweed) may need a second treatment. If you spot any regrowth after a week, repeat the process—heat-based eradication works best with persistence. Avoid treating the same area more than twice in a week, as over-heating can harm surrounding plants.
Watch for signs of success: crispy leaves, no new growth, and soil that looks disturbed but weed-free. If the area still has green shoots after a week, dig them out manually to ensure complete removal. This step is critical—skipping it can lead to weeds bouncing back stronger.
🌱 Step 4: Prevent Regrowth with Mulch or Barrier
Once the weeds are eradicated, cover the area with 2-3 inches of organic mulch (like straw or wood chips) or a landscape fabric barrier. This blocks sunlight from reaching any remaining weed seeds or roots, preventing regrowth. I prefer mulch because it also improves soil health over time—just keep it 2 inches away from plant stems to avoid rot.
For high-traffic areas or driveways, consider a hard barrier like cardboard or black plastic sheeting. Lay it flat over the treated area and weigh it down with rocks or bricks. Sunlight will bake the barrier, creating an inhospitable environment for weeds. Remove the barrier after 4-6 weeks and replant with your desired vegetation.
Tips & tricks for effective heat-based weed eradication
Heat works wonders when you know exactly how to apply it—here's how to maximize its power while avoiding common pitfalls.
Timing is Everything: The 24-hour waiting period after treatment is non-negotiable for most weeds. This gives heat time to fully penetrate the root systems, especially for shallow-rooted varieties. For deep-rooted weeds like dandelions, extend monitoring to 48 hours before declaring victory—patience prevents regrowth. I've learned this the hard way after seeing weeds rebound when I rushed the process.
Heat Application Precision: When using a solar-powered tool, focus on the entire weed surface—not just the leaves. The crispy brown leaves you see after 30-60 seconds are your confirmation that the roots are being targeted. For boiling water, aim for the base where stems meet soil—this is where roots absorb the most heat. Remember, the goal is to kill the entire plant, not just the visible parts.
Environmental Conditions Matter: The 75°F minimum temperature isn't just arbitrary—it's the threshold where heat becomes most effective. On cooler days, consider using a propane torch (kept at least 2 inches away) for an extra boost. I've found that early morning sun (when temps are rising) works better than midday heat, as the soil absorbs warmth more gradually and penetrates deeper.
Preventative Barrier Strategy: After eradication, the 2-3 inch mulch layer should extend at least 6 inches beyond the treated area to create a weed-free buffer zone. For high-traffic areas, use a combination of landscape fabric and mulch—the fabric blocks light while the mulch improves soil quality. This two-layer approach has eliminated 95% of my weed problems in garden beds.
Pro Tips for Chemical Free Weed Control
- Heat works wonders when you know exactly how to apply it—here's how to maximize its power while avoiding common pitfalls.
- Timing is Everything: The 24-hour waiting period after treatment is non-negotiable for most weeds.
- Heat Application Precision: When using a solar-powered tool, focus on the entire weed surface—not just the leaves.
Frequently asked questions
Got questions about chemical-free weed control? You’re not alone! Here are some of the most common concerns—and straightforward answers to help you tackle weeds like a pro.
How long does heat-based weed eradication take?
Most weeds are eliminated in just 1-3 minutes with a high-temperature heat tool (like a weed burner or flame weeder). The key is consistent contact with the weed’s roots. For stubborn or thick patches, you may need to repeat the process or use a mechanical tool afterward to loosen the soil.
When is the best time to treat weeds with heat?
Timing matters! Treat weeds on a dry, sunny day when temperatures are above 70°F (21°C). Early morning or late afternoon works best to avoid extreme heat. Avoid windy days—it can blow embers or disrupt the heat transfer. Pro tip: Mow or trim weeds slightly before treatment for even heat distribution.
Will heat-based methods kill grass or plants nearby?
If applied carefully, heat tools are precise and won’t harm nearby plants. However, accidental contact can scorch grass or delicate foliage. Always keep the tool at least 2-3 inches away from desired plants. For edges, use a metal shield or reflective surface as a barrier.
What if weeds keep coming back after treatment?
Persistent weeds often mean roots or seeds remain in the soil. For deep-rooted weeds (like dandelions), dig them out after heating or use a soil solarizer for 2-3 days to kill hidden seeds. For broadleaf weeds, repeat treatment every 2-4 weeks during growing season to break their life cycle.
Is heat-based weed control more expensive than chemicals?
Upfront costs may be higher for tools like weed burners ($50–$200), but long-term savings add up. No need to buy herbicides yearly, and you avoid health risks. DIYers can rent heat tools or use household items (like a blowtorch with caution). For large areas, consider professional services for one-time treatments.
Wrapping up and next steps
Say goodbye to stubborn weeds without harsh chemicals—heat-based root eradication is your game-changer! 🌱 This method is not only eco-friendly and safe but also delivers fast, long-lasting results with minimal effort.
Whether you’re a gardening pro or just starting out, you now have a powerful, chemical-free tool to reclaim your space.
Ready to take action? Grab your tools, pick a sunny day, and give it a try! Your garden (and the planet) will thank you. 🌞✨