
Landscaping
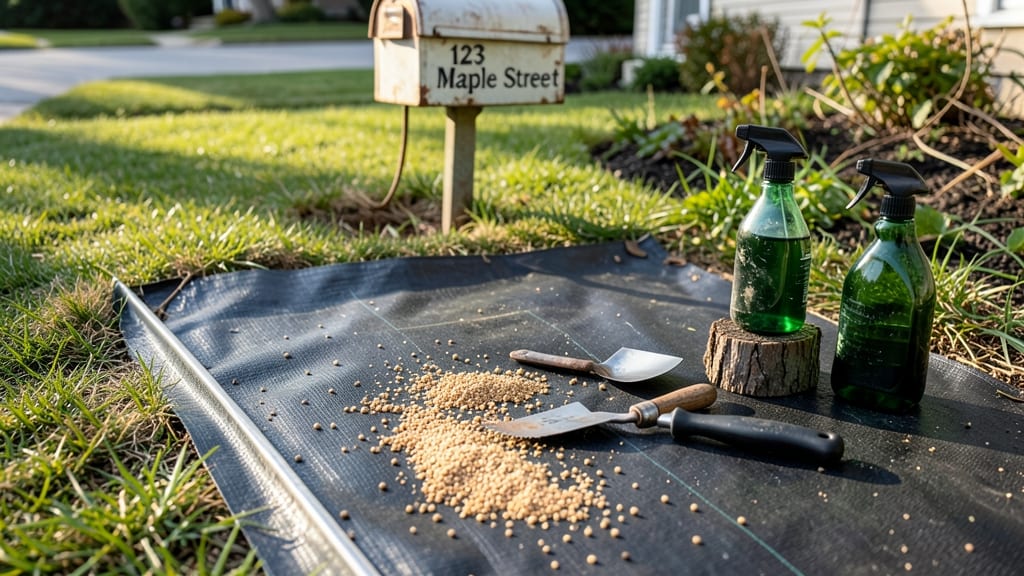
How to keep the neighbors' weeds out of my yard—it’s not just about aesthetics, it’s a full-blown turf war. 🌱 I’ve fought this battle for years, and I’ve finally cracked the code with a natural barrier that stops weeds at the property line for good. The secret? A combination of physical blocks, strategic planting, and a little neighbor diplomacy that actually works.
Most people grab a weed killer first, but that’s a temporary fix. Instead, I layered in edging stones along the property line, topped with dense mulch, and planted creeping thyme as a living barrier.
It looks intentional, not like a battle zone, and it keeps those stubborn weeds from creeping in year after year. The best part? It’s 100% chemical-free and works just as well for crabgrass as it does for clover.
By the end of the season, you’ll have a yard that stays weed-free without the backbreaking work. The barrier stays effective for 3-5 years with minimal upkeep, and your neighbors might even ask how you did it. (Spoiler: It’s not magic—just smart planning.)
This method works in any climate, from sunny Southern yards to shady Northern plots. The key is consistency—once you set it up, you’ll spend less time pulling weeds and more time enjoying your lawn.
Let’s get started with the step-by-step plan that finally puts an end to this annual battle.
📚 In This Guide
- What you need
- Instructions
- Tips and common mistakes
- Wrapping up and next steps
What you need
- ● Cardboard or thick newspaper – 5–10 sheets (unbleached, no glossy ink). Pro tip: 💡 Save delivery boxes or old phone books!
- ● Compost or mulch – 2–3 inches (organic, weed-free). Best options: Straw, wood chips, or shredded leaves.
- ○ Landscape fabric – 1 roll (3–4 ft wide, breathable mesh). Optional but helpful: 🌡️ Use a weed-blocking fabric (not just plastic sheeting).
- ● Heavy rocks or bricks – 10–20 lbs (to weigh down edges). Alternative: 🔥 Use logs or pavers if rocks aren’t available.
- ● Garden gloves – 1 pair (to protect hands from prickly weeds or debris).
- ● Shovel or spade – 1 (for digging trenches or smoothing layers).
- ● Rake – 1 (to level the ground and spread mulch evenly).
- ● Water hose with nozzle – 1 (to dampen layers before adding mulch).
- ● Vinegar (20–30% acetic acid) – 1 gallon (for spot-treating stubborn weeds before barrier setup).
- ● Corn gluten meal – 10–20 lbs (natural pre-emergent herbicide for extra weed prevention).
- ● Edging material – Metal, plastic, or stone (to create a clean border).
- ● Wheelbarrow – 1 (for hauling mulch or compost).
- ● Knee pads – 1 pair (because this project deserves comfort!).
How to create a permanent natural barrier against neighbor's weeds
Here’s my go-to method for stopping weeds from encroaching—no chemicals, just smart layering that suffocates sprouts before they start.
🌱 Step 1: Clear the Battle Zone Thoroughly
Before building your barrier, remove every weed, grass, and root from the 12-inch border where you’ll install it. I use a hand weeder for stubborn roots and a hula hoe for surface debris—this ensures no hidden seeds or rhizomes remain to regrow. Dig down 4-6 inches along the edge to expose soil that might harbor dormant weed seeds.
Rake the area smooth and compact the soil lightly with your boot or a board. You’re prepping a clean slate where your barrier will form an impenetrable seal. Skip this step, and weeds will find weak spots to push through within weeks.
🪴 Step 2: Lay Down a Physical Barrier Layer
Line the edge with corrugated cardboard (unbleached, no tape/staples) or landscape fabric cut to extend 6 inches beyond your yard’s edge. This blocks light and prevents weed seeds from germinating. Overlap sheets by 2 inches to eliminate gaps where weeds could slip through.
For extra durability, secure the edges with landscape staples every 12 inches. If using cardboard, soak it first to prevent it from blowing away—wet cardboard breaks down slower and stays put. This layer is your first line of defense; without it, seeds from your neighbor’s yard will simply sprout right through.
☀️ Step 3: Add a Mulch Layer to Suffocate Sprouts
Cover the barrier with 3-4 inches of wood chips, shredded bark, or straw. I prefer pine bark nuggets because they repel slugs and break down slowly. Spread the mulch evenly, pressing it gently into the gaps between barrier layers. This creates a light-blocking, root-choking zone that weeds can’t penetrate.
Leave a 1-inch gap between the mulch and your lawn’s edge to prevent moisture buildup that could rot the barrier. Water lightly after installation to settle everything—this ensures no air pockets remain where weeds could take root. Replenish mulch annually to maintain the barrier’s effectiveness.
✂️ Step 4: Maintain the Barrier Seasonally
Check the barrier twice a year—spring and fall—for gaps or thinning mulch. Top up with fresh wood chips if the layer drops below 2 inches, as thinner mulch lets light reach weed seeds. Trim any grass or plants that grow over the edge to keep the barrier intact.
If weeds still appear, dig them out immediately and check for tears in the barrier. A well-maintained system should keep your yard weed-free for 3-5 years without chemicals. The key is consistency—neglecting maintenance is what lets weeds win.
Tips & tricks for creating an effective natural weed barrier
The key to a lasting weed-free zone lies in the details—small adjustments that make all the difference between a temporary fix and a permanent solution.
Precision in Step 1: When clearing that 12-inch border, don't just pull weeds—dig down 4-6 inches along the edge to expose any hidden rhizomes or dormant seeds. I've seen weeds pop up months later when people skip this deep clean, especially with aggressive spreaders like creeping Charlie. Use a hand weeder for stubborn roots, but don't rush—this is your foundation.
Barrier Layer Strategy: For the cardboard or landscape fabric in Step 2, extend it 6 inches beyond your yard's edge to create an absolute cutoff point. The 2-inch overlap between sheets is non-negotiable—gaps here are where weeds will exploit your barrier. Pro tip: If using cardboard, soak it first to prevent wind from blowing it away during installation. Wet cardboard also breaks down slower, giving you that extra year or two of protection.
Mulch Depth Matters: That 3-4 inch mulch layer in Step 3 isn't just decoration—it's what actually suffocates weeds. Press it firmly into any gaps between your barrier layers, especially along the edges. I've found that pine bark nuggets work best because they repel slugs while breaking down slowly, but if you're on a budget, shredded leaves work too—just make sure they're free of weed seeds first.
Maintenance Calendar: Mark your calendar for those twice-yearly checks in Step 4—spring and fall are critical. I set reminders on my phone because I've seen barriers fail when people forget to top up the mulch. If it drops below 2 inches, you're basically inviting weeds back in. The 1-inch gap between mulch and lawn is just as important—it prevents rot that could compromise your entire barrier.
Pro Tips for Keep Neighbors Weeds Out Of My Yard
- The key to a lasting weed-free zone lies in the details—small adjustments that make all the difference between a temp...
- Precision in Step 1: When clearing that 12-inch border, don't just pull weeds—dig down 4-6 inches along the edge to e...
- Barrier Layer Strategy: For the cardboard or landscape fabric in Step 2, extend it 6 inches beyond your yard's edge t...
Frequently asked questions
Got questions about keeping neighbor weeds at bay?
You’re not alone! Here are some common concerns—and practical solutions—to help you reclaim your yard with confidence.
How do I stop weeds from growing through my fence or property line?
Install a physical barrier like landscape fabric, a metal edging strip, or a deep trench filled with gravel or mulch. For a natural look, plant dense ground covers (e.g., creeping thyme or clover) along the border. Combine this with a pre-emergent herbicide in early spring for long-term control.
When is the best time to apply a weed barrier or treatment?
For permanent barriers, install landscape fabric or mulch in early spring or fall when weeds are dormant but soil is workable. If using pre-emergent herbicides, apply 4–6 weeks before weeds typically sprout in your climate (usually late winter to early spring). Post-emergent sprays work best when weeds are young and actively growing.
Are there affordable alternatives to expensive weed barriers?
Yes! Try these budget-friendly options:
- Cardboard or newspaper: Lay down layers under mulch (remove staples/tape first!).
- Gravel or crushed stone: Spread 2–3 inches deep along borders.
- Corn gluten meal: A natural pre-emergent ($10–$20 per bag) that also fertilizes soil.
- DIY edging: Use bricks, logs, or even old pallet wood to block weeds at the fence line.
What if weeds keep coming back after I’ve treated them?
Persistent weeds often mean roots or seeds are still active. Dig out deep roots manually, then apply a vinegar-based herbicide (20–30% acetic acid) or a boiling water treatment for stubborn patches. For long-term success, reapply pre-emergent annually and check for gaps in your barrier (e.g., fabric tears or mulch thinning).
Will a weed barrier hurt my plants or grass?
Not if installed correctly! Leave 3–4 inches of space between the barrier and existing plants to prevent smothering. For grass, use organic mulch (straw, pine needles) or a permeable fabric that allows water and air to pass through. Avoid plastic sheets, which can suffocate roots.
How do I handle aggressive weeds like crabgrass or bindweed?
For crabgrass, use a pre-emergent herbicide with dithiopyr in early spring. For bindweed (a tenacious vine), dig out roots completely (they can regrow from fragments) and treat with glyphosate (follow label instructions). Solarization—covering the area with clear plastic for 4–6 weeks in hot weather—can also kill deep-rooted weeds.
Wrapping up and next steps
Keeping your yard weed-free doesn’t have to be a battle—with the right natural barriers and a little consistency, you can reclaim your space permanently! 🌱 From mulch and landscape fabric to strategic planting, these methods create long-term solutions that block pesky sprouts while keeping your yard looking its best.
Start small—pick one method that fits your yard and budget, then expand as needed. Soon, you’ll enjoy a lush, low-maintenance space where weeds stand no chance. Happy gardening!