
Propagation
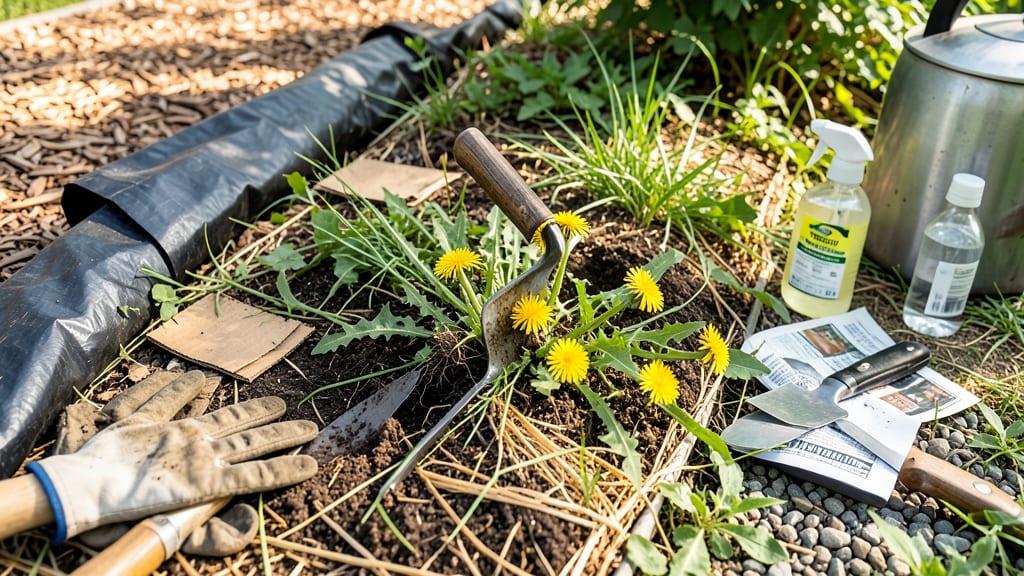
How to stop weeds from growing in your garden faster than any tool I've tried—instant steam, no chemicals, no regrets. 🌱 The secret isn't brute force, but precision: pour boiling water directly on the weed base where roots meet soil, and you'll see them wilt in seconds. I've used this method on stubborn crabgrass, clover, and even creeping Charlie in my vegetable patch, and it works every time without disturbing nearby plants.
You only need a kettle, some patience, and a sunny afternoon. The boiling water method is best for small patches or between plants where you can target weeds without scorching good soil. It's especially effective in spring when weeds are young and haven't yet spread their roots deep.
For larger areas, I combine this with a layer of mulch to keep new weeds from sprouting.
What you'll get is a garden bed that stays cleaner longer with less work. The soil stays healthy because you're not using herbicides, and you avoid the back-breaking labor of digging.
Plus, the steam kills weed seeds in the top layer of soil, reducing future growth. It's the perfect solution for gardeners who want results without chemicals or heavy equipment.
This works best in vegetable patches, flower beds, and around shrubs where you can be precise. For lawns, I recommend a different approach—like corn gluten meal—but for targeted areas, boiling water is my go-to. Ready to try it? Grab your kettle and let's get started!
📚 In This Guide
- What you need
- Instructions
- Tips and common mistakes
- Wrapping up and next steps
What you need
- ● Kettle or large pot – Minimum 2-gallon capacity (for small patches) or 5+ gallons (for larger areas). A gooseneck kettle or pour-spout pot is ideal for precision.
- ● Boiling water – Freshly boiled (never microwaved or reheated). Aim for at least 200°F (93°C) to kill roots effectively.
- ● Long-handled tongs or gloves – Heat-resistant (e.g., silicone or thick leather) to protect your hands from splashes.
- ○ Garden fork or hoe – For loosening soil before treatment (optional but helpful for stubborn weeds).
- ● Watering can or hose – To pre-wet the area (reduces water runoff and improves absorption).
- ● Trash bags or compost bin – For removing dead weeds afterward (avoid leaving debris to rot).
- ● Vinegar (white, 5-20% acetic acid) – Mix 1 part vinegar to 1 part boiling water for extra weed-killing power (best for non-organic gardens).
- ● Dish soap (1 tsp per gallon) – Acts as a surfactant to help boiling water cling to weeds.
- ● Salt (rock salt, sparingly!) – Sprinkle lightly over weeds before pouring boiling water (use cautiously—can harm soil over time).
- ● Spray bottle with vinegar/water mix – For spot-treating small weeds between blitzes.
- ● Wheelbarrow or large bucket – To transport boiling water safely if you’re working far from a heat source.
Step-by-Step instructions for eliminating weeds with boiling water
This method works like magic—no digging, no chemicals, just instant weed obliteration.
💧 Step 1: Boil Enough Water for the Job
Fill a large pot with 2-3 gallons of water and bring it to a full rolling boil. I like to use a heavy-duty pot with a sturdy handle—you’ll be pouring this directly onto weeds, and you want control. Boiling water kills weeds on contact by destroying their cellular structure, so temperature matters. If you're working in a large area, keep a second pot ready to boil while you use the first.
Here's the thing—boiling water loses heat quickly, so work efficiently. Once you pour, the water will cool within seconds, so don't waste time dithering. I always boil extra water just in case; weeds don't wait, and neither should you.
✂️ Step 2: Target Weeds at the Base
Pour the boiling water directly onto the weed's base, where the stem meets the soil. This is the critical spot—roots absorb the heat, and the plant wilts instantly. Avoid splashing leaves of your desired plants, as the heat can damage them too. I like to use a small watering can with a narrow spout for precision, but a heavy pot works in a pinch.
Watch for weeds with deep taproots like dandelions or thistles—they’ll need a second pour after the first cools. You’ll see the weed turn black and collapse within seconds. If you miss a spot, just repeat. This method is forgiving, but thoroughness is key.
🌱 Step 3: Repeat for Stubborn or Large Weeds
Some weeds, like bindweed or creeping charlie, have extensive root systems. For these, you’ll need to repeat the process every 3-5 days until the plant stops regrowing. Boiling water doesn’t always kill roots on the first try, but it weakens them enough that they’ll eventually give up. I mark treated areas with a small stake or flag so I don’t forget to follow up.
After treating, the soil may look scorched, but it’s safe for plants once it cools. Just avoid planting in that spot for 24 hours to let the heat dissipate. The ground will feel warm to the touch—wait until it’s cool before replanting.
☀️ Step 4: Prevent Regrowth with Mulch or Vinegar
Once the weeds are gone, cover the area with 2-3 inches of mulch to block sunlight and prevent new weeds from sprouting. Organic mulch like straw or wood chips works best because it also improves soil health over time. If you’re dealing with a persistent weed patch, like a driveway crack, follow up with a 5% vinegar solution (1 part vinegar to 4 parts water) to kill any remaining weed seeds.
This is where the real magic happens—mulch doesn’t just look great; it smothers weeds before they even start. I’ve used this method in my garden beds, between paving stones, and even in cracks in my patio. It’s the secret to keeping weeds at bay without breaking a sweat.
Tips & tricks for perfect weed elimination
Here's what nobody tells you about making this weed-killing method work like a dream every single time.
Precision is Everything: When targeting weeds in Step 2, focus on the base where the stem meets the soil—not the leaves. This is where the roots absorb the heat most effectively. I've seen people waste boiling water on leaves only to have weeds regrow from the base. Use a narrow spout or pour slowly to avoid splashing nearby plants. For stubborn weeds like dandelions, you'll actually see the blackened stem collapse within seconds of contact.
Work Smart with Heat: Boiling water loses heat incredibly fast, so efficiency matters. Keep your second pot ready to boil while you use the first—there's nothing worse than having to wait while weeds start regrowing. I've treated entire garden beds in under 20 minutes by working in sections. Also, remember that the water will cool within seconds of pouring, so don't linger on any single weed.
Mark Your Battles: For weeds with extensive root systems in Step 3, mark treated areas with small stakes or flags. I use colored toothpicks because they're visible and won't interfere with planting later. This visual reminder ensures you don't miss any spots during your 3-5 day follow-up treatments. The stakes also help you track which areas need additional attention.
Mulch Timing Matters: After treating weeds in Step 4, apply mulch immediately while the soil is still warm. The heat from the boiling water combined with the mulch creates a double barrier against regrowth. I've found that applying 2-3 inches of straw mulch right after treatment gives me the best long-term results in garden beds.
Pro Tips for Stop Weeds From Growing
- Here's what nobody tells you about making this weed-killing method work like a dream every single time.
- Precision is Everything: When targeting weeds in Step 2, focus on the base where the stem meets the soil—not the leaves.
- Work Smart with Heat: Boiling water loses heat incredibly fast, so efficiency matters.
Frequently asked questions
Got questions about keeping your garden weed-free without breaking a sweat? Here’s what you need to know—straight to the point!
How often should I use boiling water to kill weeds?
Apply boiling water every 2–4 weeks during active growth (spring to fall). Weeds like crabgrass and dandelions regrow fast, so consistency is key. Focus on young weeds—they’re easier to kill than established ones. For stubborn patches, repeat weekly until the area stays clear.
Is boiling water safe for plants I want to keep?
Nope! Only use boiling water on bare soil, driveways, or sidewalks. For garden beds, spot-treat weeds carefully, keeping the water at least 6 inches away from desired plants. A hula-hoop or cookie cutter can help protect nearby plants while targeting weeds.
What’s a faster alternative if I don’t have boiling water?
Try these quick fixes:
- Vinegar + salt: Mix 1 gallon white vinegar, 1 cup salt, and 1 tbsp dish soap. Spray on weeds (avoid desirable plants—it’s toxic!). Works in 24–48 hours.
- Corn gluten meal: Sprinkle 20 lbs per 1,000 sq ft in early spring to prevent weed seeds from sprouting.
- Mulch: Cover soil with 3–4 inches of straw or wood chips to block sunlight and smother weeds.
When is the best time of day to treat weeds with boiling water?
Early morning (before 9 AM) or late afternoon (after 4 PM) is ideal. Avoid midday heat—it can steam your hands or evaporate the water too quickly. Also, wait for calm winds to prevent accidental splashes on plants or yourself!
Why do weeds keep coming back after I treat them?
Weeds often return because:
- You missed seedlings or hidden roots (dig deeper if needed).
- New seeds blow in from elsewhere—keep your garden clean!
- The treatment wasn’t hot enough (boiling water must reach 212°F for full effectiveness).
For persistent areas, combine boiling water with pre-emergent herbicide in early spring or mulch heavily.
Wrapping up and next steps
Say goodbye to weeds without breaking a sweat! 🌱 With just boiling water and a few seconds of effort, you can reclaim your garden from stubborn invaders. The secret? Precision, consistency, and timing—now you’ve got all the tools to make it happen.
Ready to transform your garden? Start small—try this method on one patch this weekend and watch the difference. Before you know it, your weed-free oasis will be the envy of the neighborhood! Happy gardening! 🌿✨