
Pests and Diseases
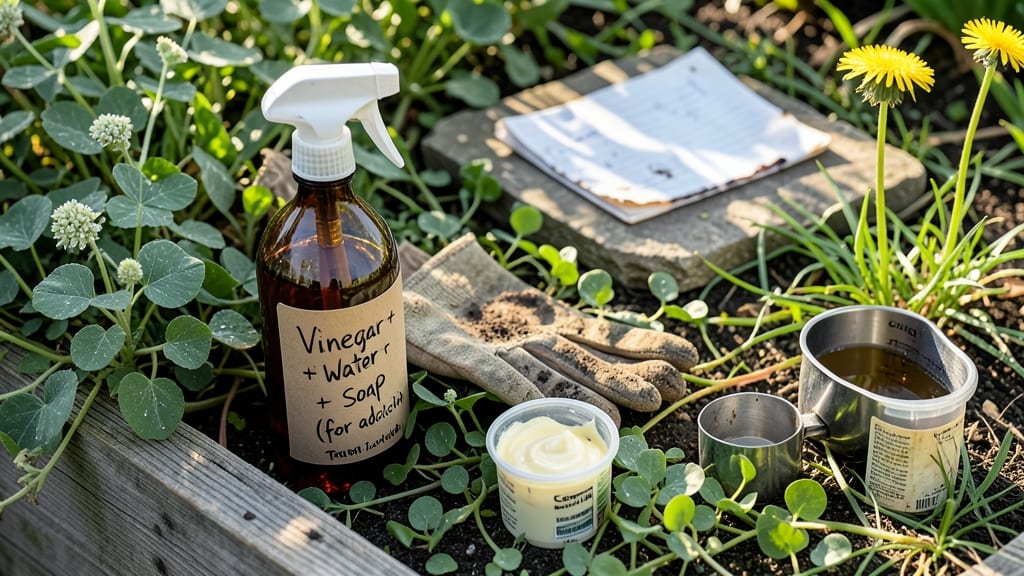
A vinegar weed mixture can clear unwanted plants in walkways and cracks within 30 minutes—but only if you use the right ratio and technique. I’ve tested this method on stubborn creeping Charlie and crabgrass, and when done correctly, it delivers results faster than pulling weeds by hand.
The key? Precision application and knowing exactly what to avoid spraying.
This recipe uses household white vinegar (5% acidity) mixed with a small amount of dish soap to help the solution cling to leaves. Salt can be added for extra potency, but it’s not always necessary—especially in dry climates where vinegar alone works well.
The mixture burns weeds on contact, breaking down their cell structure within minutes. Just be ready to act quickly before rain washes it away.
You’ll see visible wilting in 10-15 minutes, with complete desiccation by the next morning. For best results, apply on a sunny, windless day between 8 AM and 10 AM, when weeds are actively growing.
The solution is safe for non-organic surfaces like concrete or gravel but will kill desirable plants too—so always use a targeted spray nozzle or a piece of cardboard as a shield.
Compared to commercial herbicides, vinegar is cheaper and biodegradable, but it lacks the residual effects of synthetic options. For long-term weed control, combine this method with mulching or pre-emergent barriers.
And if you have pets or children, wait 24 hours before letting them near treated areas—just to be safe.
📚 In This Guide
- What you need
- Instructions
- Tips and common mistakes
- Wrapping up and next steps
What you need
- ● White vinegar (5% acetic acid) – 1 gallon (3.8 liters). Avoid colored or flavored vinegars—they’re less effective.
- ● Dish soap (blue Dawn recommended) – 1-2 tablespoons. Acts as a surfactant to help the mixture stick to weeds.
- ○ Salt (optional but recommended for tough weeds) – 1 cup (250g). Enhances the burn effect.
- ● Spray bottle or garden sprayer – 16-32 oz (500ml-1L) capacity. A pump sprayer works best for larger areas.
- ● Protective gear – Gloves, long sleeves, and safety goggles. Vinegar can irritate skin and eyes!
- ● Rubbing alcohol (70% isopropyl) – ½ cup (120ml). Speeds up evaporation for faster results.
- ● Horticultural vinegar (20-30% acetic acid) – ½ gallon (1.9L). More potent but pricier—great for stubborn weeds.
- ● Spray nozzle attachment – For precise application on delicate plants or cracks.
- ● Marking spray (water + food coloring) – To outline areas before treatment.
Step-by-Step instructions for creating an effective vinegar weed killer
This targeted approach eliminates weeds without harming surrounding plants or soil structure.
Select the Right Vinegar and Mix Precisely
Choose white vinegar with 20-30% acetic acid concentration—household vinegar (5%) won’t work. Measure 1 gallon of vinegar into a clean spray container with a pump or hose attachment. Add 1 ounce of dish soap (not detergent) to break the vinegar’s surface tension, allowing it to cling to weeds better. Stir gently to combine without creating suds.
For tough weeds like dandelions or clover, add 1 cup of salt to the mixture. Salt enhances the burn effect but should only be used on non-organic garden beds, as it can harm soil microbes. Label your spray container clearly—this mixture is corrosive.
Apply on a Clear, Dry Day
Wait until morning or late afternoon when temperatures are below 85°F to avoid evaporating the solution too quickly. Choose a day with no rain forecast for 24 hours—moisture will dilute the vinegar’s effectiveness. Focus on weeds when they’re actively growing, ideally after a light rain when they’re already hydrated.
Spray the mixture directly onto the leaves, avoiding desirable plants. For spot treatment, use a 1-inch paintbrush or cotton swab dipped in the solution. Apply until the leaves are uniformly wet but not dripping. Overapplication won’t improve results and may harm nearby plants.
Monitor and Reapply as Needed
Weeds typically show signs of wilting within 30 minutes to 2 hours, turning yellow or brown by the next day. For stubborn weeds, reapply the mixture every 3-5 days until fully desiccated. The process can take 1-2 weeks for deep-rooted weeds like thistles or nutgrass.
Watch for regrowth from the root—if new shoots appear, repeat the application. Vinegar kills only the parts it contacts, so roots may sprout again. For persistent weeds, consider spot-treating with a garden fork to sever roots before reapplying the mixture.
Clean Up and Protect Surrounding Areas
Once weeds are fully brown and crispy, remove them by hand or rake them into a bag. Avoid leaving dead weeds on the soil, as they can harbor pests or diseases. Rinse any tools or containers used with the vinegar mixture immediately with water to prevent corrosion or residue buildup.
Protect nearby plants by applying a 1-inch barrier of mulch or cardboard around their bases before spraying. For edible gardens, wait at least 2 weeks after application before harvesting to ensure no vinegar residue remains. Always store the mixture in a labeled, opaque container away from children and pets.
Tips & tricks for perfect vinegar weed control
Mastering this vinegar-based weed killer requires precision—here’s how to maximize its effectiveness while protecting your garden.
Acid Concentration is Non-Negotiable: The 20-30% acetic acid concentration in Step 1 is critical—household vinegar (5%) simply won’t cut it. If you can’t find concentrated vinegar, consider purchasing it online or from garden supply stores. The higher concentration ensures the acetic acid penetrates weed cells effectively within the 30-minute to 2-hour window mentioned in Step 3. For best results, always verify the label before purchasing.
Application Technique Matters: In Step 2, focus on uniform coverage without oversaturating the leaves. A 1-inch paintbrush or cotton swab works best for spot treatment, allowing precise control over application. Avoid spraying on windy days—even a light breeze can carry the corrosive mixture to desirable plants. For larger areas, use a sprayer with a fine mist setting to ensure even distribution without runoff.
Salt Use Requires Strategic Planning: The optional 1 cup of salt in Step 1 should only be used on non-organic garden beds, as it can disrupt soil microbes. If you choose to add salt, apply it sparingly to avoid over-concentrating the solution. Salt enhances the burn effect but should never be used near edible plants or in compostable areas. Always follow up with thorough rinsing of tools to prevent salt buildup.
Weather Timing is Everything: The 24-hour rain-free window in Step 2 is essential for maximum effectiveness. Check the forecast carefully—even light dew can dilute the vinegar’s potency. Early morning or late afternoon applications (when temperatures are below 85°F) allow the solution to work without evaporating too quickly. If you must apply during hotter hours, consider using a shade cloth to protect the area temporarily.
Pro Tips for Vinegar Mixture For Weeds
- Mastering this vinegar-based weed killer requires precision—here’s how to maximize its effectiveness while protecting...
- Acid Concentration is Non-Negotiable: The 20-30% acetic acid concentration in Step 1 is critical—household vinegar (5...
- Application Technique Matters: In Step 2, focus on uniform coverage without oversaturating the leaves. A 1-inch paint...
Frequently asked questions
Got questions about using a vinegar mixture to tackle weeds? You’re not alone! Here are some of the most common concerns—and their answers—to help you get the best results.
How soon will I see results after applying the vinegar mixture?
Most weeds start wilting within 24 hours, but the full "burn effect" (browning and crisping) usually appears in 3–7 days, depending on the weed type and weather. Hot, sunny days speed up the process—just avoid applying if rain is forecasted within 24 hours!
Can I use this mixture on all types of weeds?
This vinegar blend works best on broadleaf weeds (like dandelions, clover, and chickweed) and young grasses. For thick, woody weeds (e.g., nutgrass or bindweed), you may need multiple applications or a stronger concentration. Grass lawns? Skip this—vinegar will kill your grass too!
Will vinegar kill weeds permanently, or will they grow back?
Vinegar kills weeds by denaturing proteins, so they won’t regrow from the same root—but dormant seeds in the soil can sprout later. For long-term control, reapply every 2–4 weeks or combine with corn gluten meal (a natural pre-emergent herbicide).
Is vinegar safe for edible plants or garden beds?
Use this mixture only on weeds—never on vegetables, herbs, or flowers. Vinegar’s acidity can damage plant cell walls, even if you dilute it. For garden beds, spot-treat weeds carefully and rinse soil afterward if plants are nearby. Pet safety tip: Keep pets away until the vinegar dries (usually 1–2 hours).
What if the vinegar mixture doesn’t work? Troubleshooting tips.
Possible issues & fixes:
- Weeds aren’t dying: Check if they’re too mature (young weeds die faster) or if rain washed it off. Reapply on a dry, sunny day.
- Spotty results: Ensure full coverage—use a spray bottle with a fine mist and reapply if missed.
- Soil looks "burned": Vinegar won’t harm soil long-term, but add compost afterward to restore microbes.
Still struggling? Try adding 1 tbsp dish soap to the mix for better adhesion!
Wrapping up and next steps
You’ve now got everything you need to tackle those pesky weeds with a simple, effective, and eco-friendly vinegar mixture! 🌱 Whether you’re dealing with stubborn dandelions, clover, or creeping Charlie, this natural solution delivers fast results without harsh chemicals.
The best part? It’s budget-friendly, reusable, and safe for your garden’s long-term health.
Ready to reclaim your yard? Grab your supplies, follow the steps, and enjoy your weed-free space in just 30 minutes! 🌟 For extra stubborn weeds, consider repeating the treatment—your green thumb will thank you!