
How To
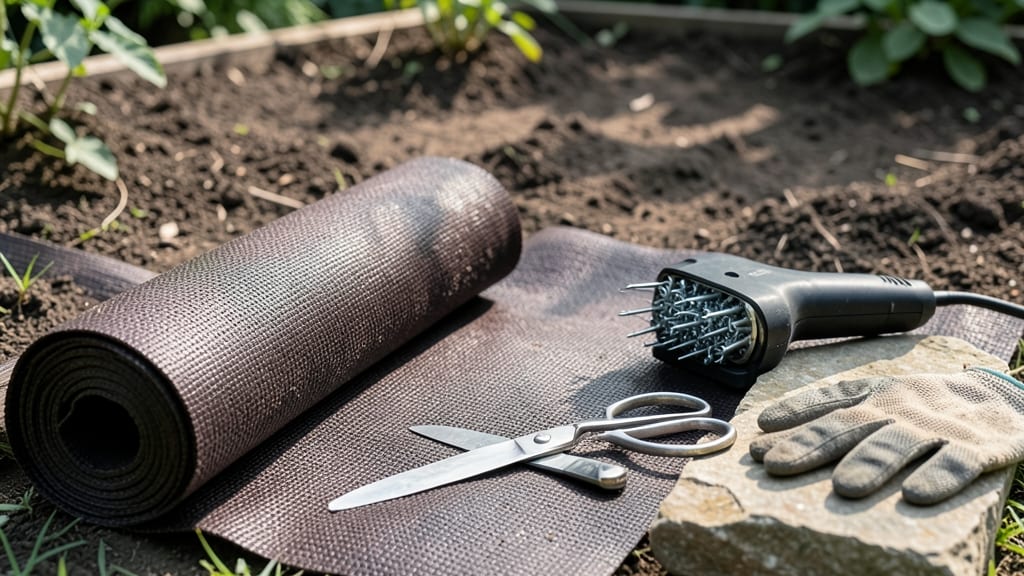
Proper weed barrier installation saves me 20+ hours of weeding every summer—no more battling stubborn roots or patchy mulch that fails. 🌱 The key is choosing the right material (landscape fabric, cardboard, or thick mulch) and placing it strategically before planting. I’ve tried everything from cheap plastic to organic options, and the difference in weed control is night-and-day.
Start by clearing the area of existing weeds and debris, then lay down your barrier before adding soil or plants. For landscape fabric, overlap edges by 6 inches to block even the sneakiest roots.
If using cardboard, soak it first to prevent mold—it breaks down faster than you’d think. The goal is to create a physical shield that suffocates weeds while letting water and air reach your plants.
Once installed, top with 3-4 inches of mulch to anchor the barrier and keep it in place. Over time, the mulch breaks down, feeding your soil while the barrier stays intact beneath.
I’ve seen gardens go two full seasons without a single weed poking through when done right. The best part? No chemicals, no backbreaking work—just a smarter way to keep your beds clean.
For tricky spots like vegetable gardens, combine barriers with edging to prevent weeds from creeping in from the sides. And if you’re worried about plant roots getting blocked, use slits or cutouts in the fabric where you’ll plant.
It’s the small details that make all the difference—trust me, I’ve learned that the hard way.
📚 In This Guide
- What you need
- Instructions
- Tips and common mistakes
- Wrapping up and next steps
What you need
- ● Weed Barrier Fabric – Choose landscape fabric (3–5 oz per sq. yd.) or geotextile fabric (heavier duty). Measure your area first—buy 10–15% extra for overlaps and mistakes.
- ● Staple Gun & Staples – A heavy-duty landscape staple gun (1/4"–3/8" staples) to secure the fabric. Pro tip: Use galvanized or coated staples to prevent rust! 💡
- ● Shovel or Spade – For digging trenches (6–12" deep) around plants, edges, or driveways.
- ● Rake or Hand Tamper – To smooth soil and ensure the fabric lies flat.
- ○ Landscape Edging (Optional) – Plastic, metal, or stone edging to hold the barrier in place and create a clean finish.
- ○ Mulch or Gravel (Optional) – Top with 3–4" of mulch or gravel to weigh down the fabric and block light.
- ● Gloves & Safety Gear – Heavy-duty gloves, knee pads, and goggles (if digging near rocks or debris).
- ● Measuring Tape & Chalk Line – For marking straight lines and ensuring precision.
- ● Scissors or Utility Knife – To cut fabric cleanly (sharp edges prevent fraying!).
Step-by-step weed barrier installation for a weed-free garden
Here's how to create an effective underground shield that keeps invasive roots at bay for years.
🪴 Step 1: Prepare the Soil and Mark Your Layout
Start by clearing the area of existing weeds, rocks, and debris—you want a clean slate for your barrier. Use a garden hose to outline your planting beds, marking where the barrier will go. I like to drive small wooden stakes at each corner and connect them with string to visualize the space.
Dig a trench along your marked line that's about 6-8 inches deep and 4-6 inches wide. This depth stops most weeds from pushing through while still allowing roots of your desired plants to penetrate. If you're installing around established plants, dig carefully with a spade to avoid damaging roots.
🌿 Step 2: Lay Down the Weed Barrier Fabric
Unroll your weed barrier fabric (I recommend 3-4 mil thick woven polypropylene) and place it in the trench, overlapping edges by at least 6 inches. Smooth it out so it lies flat without wrinkles—those can create gaps where weeds will eventually grow through. If your fabric has a textured side, make sure the rough side faces downward to deter weed seeds from taking hold.
Extend the barrier 12-18 inches outward beyond your planting area to create a weed-free buffer zone. Secure the edges with landscape staples or heavy rocks, but avoid metal staples that can poke through and damage plants later. For larger areas, use a staple gun with plastic staples to hold everything in place.
💧 Step 3: Secure and Cover the Barrier Properly
Fill the trench with 2-3 inches of coarse gravel or small rocks before adding soil. This prevents the barrier from shifting when you plant and helps maintain proper drainage. Press down lightly to eliminate air pockets—you want the barrier to stay in place while still allowing water to penetrate.
Now cover the barrier with at least 2 inches of organic mulch or topsoil. The mulch should extend beyond the planting area to create a clean edge. Avoid piling mulch directly against plant stems—keep it 2-3 inches away to prevent rot. Water lightly after covering to help settle everything in place.
☀️ Step 4: Plant and Maintain Your Weed-Free Garden
Plant your desired vegetation directly on top of the covered barrier. The fabric will block weed seeds from germinating while allowing your plants' roots to grow downward through the designated holes. Water deeply after planting to encourage root establishment, but avoid overwatering—soggy soil can degrade the barrier over time.
Check your barrier annually for tears or gaps, especially in high-traffic areas. If you notice weeds sprouting, dig them out immediately—don't let them establish roots. For long-term effectiveness, refresh the mulch layer every 1-2 years to maintain the weed-blocking barrier above ground.
⏰ Step 5: Monitor and Adjust Over Time
After 3-4 months, inspect the area around your plants. You should see significantly fewer weeds compared to uncovered soil. If you notice any persistent weeds, they're likely coming from seeds that landed on top of the mulch rather than pushing up through the barrier—this is normal and easily managed with regular weeding.
In 2-3 years, you may need to refresh the barrier system by adding new fabric in areas where weeds are still breaking through. The key is consistency—maintaining both the underground barrier and the surface mulch creates a double defense that keeps your garden weed-free for seasons to come.
Tips & tricks for perfect weed barrier installation
Here's what I learned after years of battling weeds in my garden—these tricks make all the difference.
Depth Matters: The 6-8 inch depth isn't arbitrary—it's the sweet spot that stops most weeds while still allowing your plants' roots to penetrate. If you're working with larger plants like shrubs, consider digging slightly deeper (up to 10 inches) to prevent root intrusion from their sides. The key is to visualize how deep those pesky weed roots can grow.
Fabric Selection Tip: While 3-4 mil woven polypropylene is my go-to, you can also use landscape fabric rated for weed suppression. Avoid plastic sheets—they don't allow water penetration and can suffocate plant roots. Pro tip: Look for fabric with UV protection if you're installing in sunny areas, as regular fabric degrades faster under direct sunlight.
Gravel Layer Strategy: That 2-3 inch gravel layer isn't just for drainage—it creates a physical barrier that prevents the fabric from shifting when you walk across it. I like to use small, rounded river rocks because they pack tightly and won't compact over time. For sloped areas, add an extra inch of gravel to prevent shifting during heavy rains.
Mulch Placement: The 2-3 inch clearance between mulch and plant stems is crucial—it prevents rot while still blocking weeds. I've seen beginners pile mulch right against stems, which creates the perfect damp environment for fungal growth. Think of it like creating a donut of mulch around each plant, with the stem in the center hole.
Pro Tips for Weed Barrier Installation
- Here's what I learned after years of battling weeds in my garden—these tricks make all the difference.
- Depth Matters: The 6-8 inch depth isn't arbitrary—it's the sweet spot that stops most weeds while still allowing your plants' roots to penetrate.
- Fabric Selection Tip: While 3-4 mil woven polypropylene is my go-to, you can also use landscape fabric rated for weed suppression.
Frequently asked questions
Got questions about weed barrier installation?
You’re not alone! Here are answers to the most common concerns—from timing to troubleshooting—to help you get it right the first time.
What’s the best time of year to install a weed barrier?
Install your weed barrier in early spring or fall when soil is workable but not frozen or waterlogged. Avoid peak summer heat, which can dry out the ground too quickly. If you’re in a mild climate, spring is ideal—just ensure weeds haven’t yet sprouted to prevent them from growing under the barrier.
How deep should the weed barrier go to stop invasive roots?
For most weeds and grasses, bury the barrier 4–6 inches deep. For aggressive invaders like Bermuda grass or nutgrass, extend it to 8–12 inches. Pro tip: Overlap edges by 6–12 inches and secure with landscape staples or heavy rocks to prevent gaps where weeds can sneak through.
Are there cheaper alternatives to commercial weed barriers?
Yes! DIY options include:
- Cardboard: Soak it first to prevent decomposition (lasts 1–2 seasons).
- Newspaper: Lay in layers with overlap, then cover with mulch.
- Landscape fabric: Cheaper than woven barriers but less durable (replace every 3–5 years).
What should I do if weeds keep growing through the barrier?
Weeds poking through usually mean gaps, shifting, or poor installation. Here’s how to fix it:
- Check for exposed edges—bury them deeper or add mulch to weigh it down.
- Look for punctures or tears—patch with extra barrier material or duct tape.
- If weeds are growing underneath, pull them out and reseal the barrier with a fresh layer of mulch or soil.
Can I install a weed barrier under mulch, or do I need soil?
You don’t need soil—just ensure the barrier is snug against the ground. For mulch (like wood chips or straw), lay the barrier directly on bare soil, then top with mulch. Avoid organic mulch like grass clippings, as it breaks down and creates gaps. Inorganic mulch (gravel, rubber) works best for long-term coverage.
Wrapping up and next steps
Installing a weed barrier is one of the most effective ways to protect your landscaping from invasive roots and unwanted weeds—and you’ve got this! Whether you’re prepping for a new garden, revamping an existing one, or just tired of battling weeds, this underground shield will save you time, effort, and frustration in the long run.
Start small, stay consistent, and soon you’ll enjoy a lush, low-maintenance outdoor space without the hassle.
Ready to take the next step? Gather your materials, pick a sunny day, and roll up your sleeves! Your future self—and your plants—will thank you. 🌱✨