
Tools
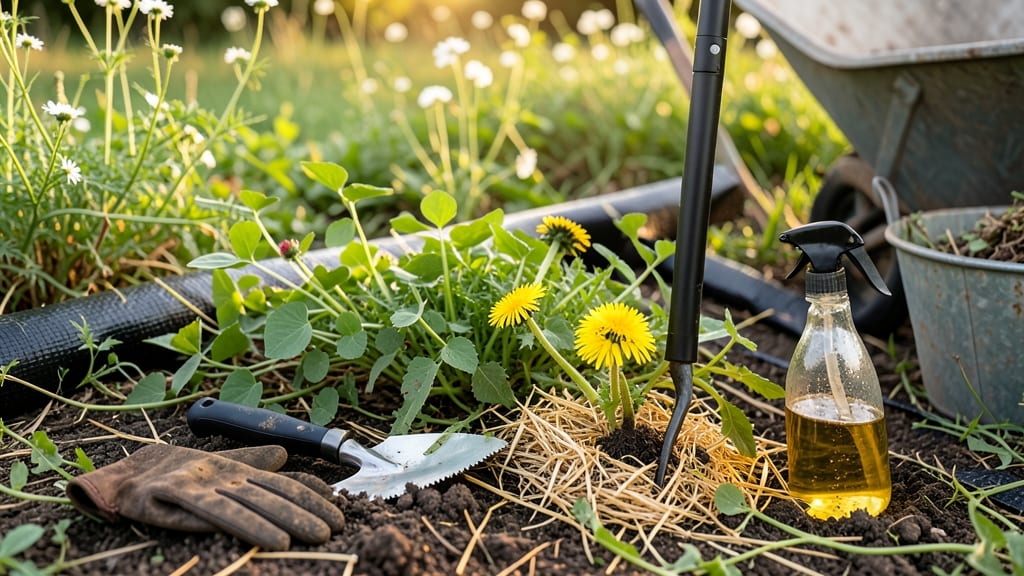
The best way to remove weeds from garden isn’t just about yanking them out—it’s about soil-friendly removal that keeps your garden thriving without chemicals. 🌱 I've tried every method, from vinegar sprays to store-bought herbicides, but nothing beats the satisfaction of a clean garden bed that stays weed-free for months.
The secret lies in timing, technique, and a few simple tools that make the job easier than you'd think.
You don't need fancy equipment to start—just a sturdy pair of gloves, a weed puller or hori-hori knife, and a bucket for disposal. The best time to tackle weeds is after rain when the soil is soft, or in the early morning when they're still damp with dew.
This makes pulling easier and reduces the chance of breaking off roots, which can lead to regrowth. Think of it as a two-step process: loosen the soil around the weed first, then pull with confidence.
What you'll end up with is a garden bed that looks neater, healthier, and more productive—without the harsh chemicals that can harm your plants or the soil. The key is consistency: spend 10-15 minutes every week pulling weeds before they seed, and you'll save hours of backbreaking work later.
Plus, your vegetables and flowers will thank you with stronger growth and fewer pests.
This method works for any garden—whether you're dealing with a small container garden or a sprawling backyard plot. The only real challenge is staying ahead of weeds, but once you get into the rhythm, it becomes second nature. Ready to transform your garden without the guesswork? Let's dive in.
📚 In This Guide
- What you need
- Instructions
- Tips and common mistakes
- Wrapping up and next steps
What you need
- ● Garden gloves – Heavy-duty, waterproof (e.g., nitrile-coated or leather; 1 pair).
- ● Hand weeder or dandelion digger – Sturdy metal or ergonomic claw-style (e.g., Fiskars or Gorilla Grip; 1-2 units).
- ● Hoe – Stirrup or oscillating (e.g., Radial Hoe; 1 unit).
- ● Pruners or loppers – For deep-rooted weeds (e.g., Felco; 1 pair).
- ○ Bucket or wheelbarrow – 5-gallon for debris (optional: compost bin liner for easy cleanup).
- ● Kneeling pad – Cushioned (e.g., Gorilla Grip; 1 unit).
- ● Water source – Hose with spray nozzle (for post-pull hydration).
- ● Weed torch – Propane-powered (for large areas; 1 unit).
- ● Boiling water kettle – 1-2 gallons (for driveway cracks).
- ● Vinegar spray – 5% acetic acid (1 gallon; mix with 1 tbsp dish soap).
- ● Mulch – Straw, wood chips, or cardboard (2-3 inches deep for prevention).
- ● Sunflower or corn seeds – Plant densely to crowd out weeds naturally.
Step-by-Step instructions for soil-friendly weed removal
Here’s the method I swear by—no chemicals, no backbreaking work, just smart techniques that keep your soil happy while weeds stay gone.
🌱 Step 1: Choose the Right Time for Maximum Effectiveness
Weeds pull easiest after a good rain or thorough watering—soil loosens, and roots release their grip. I always check the forecast first: aim for a day when rain is predicted within 24 hours. This ensures the ground stays soft for a few days, making it easier to remove stubborn weeds like dandelions or creeping Charlie.
Morning is ideal because the soil is cooler and more pliable. Avoid pulling after a dry spell—you’ll end up breaking off roots, and those fragments will sprout into new weeds. If you must pull on a dry day, water the area first and wait 1-2 hours for the moisture to penetrate.
✂️ Step 2: Use the Right Tools for Clean Removal
Skip the hands-only approach—you’ll waste energy and leave roots behind. Grab a weeding knife or garden fork for deep-rooted weeds, and a hand weeder or hula hoe for surface-level weeds. I keep a small bucket nearby to toss weeds into as I go—it keeps the garden tidy and makes disposal effortless.
For weeds with deep taproots (like thistles or dock), I use a fork to loosen the soil around them first. Slide the fork 1-2 inches away from the weed and wiggle it gently to break up the roots before pulling. This prevents regrowth and saves your back from straining.
💧 Step 3: Pull Weeds Before They Seed
Timing is everything—remove weeds before they go to seed. Most annual weeds (like chickweed or lamb’s quarters) produce seeds within 4-6 weeks of sprouting. I scan my garden weekly for tiny weeds and pull them immediately, even if they’re no bigger than a dime.
Look for weeds with flower buds or seed heads—these are the worst offenders. Snap off the seed heads and toss them into the trash (not the compost). If you’re dealing with perennial weeds like bindweed, cut them down to the ground and repeat the process every 2-3 weeks to starve the roots.
☀️ Step 4: Mulch to Prevent Regrowth
After pulling weeds, cover the soil with 2-3 inches of mulch (straw, shredded leaves, or wood chips work best). Mulch blocks sunlight, which weeds need to germinate. I spread mine evenly, making sure it touches plant stems but not the base of your desired plants—this keeps moisture in and weeds out.
Replenish mulch every 3-4 months or after heavy rain washes it away. Organic mulch also breaks down over time, improving soil health as it feeds beneficial microbes. Just avoid thick layers—more than 4 inches can suffocate plants and attract pests.
🪴 Step 5: Maintain a Weed-Free Routine
Weeds don’t disappear after one session—they’re persistent. I set a reminder to check my garden every 7-10 days during growing season. Spend just 10-15 minutes weekly pulling new sprouts before they take hold. Consistency is key—this prevents weeds from establishing roots and makes future sessions easier.
If you’re overwhelmed, prioritize high-traffic areas or spots near your plants first. Weeds spread quickly, so tackle them early. Over time, your garden will need less maintenance, and you’ll spend more time enjoying your plants than fighting weeds.
Tips & tricks for perfect soil-friendly weed removal
Here's what nobody tells you—these game-changing tricks will turn your weed-pulling into a breeze while keeping your garden thriving.
Timing is Everything: In Step 1, that 24-hour rain window is your secret weapon. I've learned the hard way—waiting too long means weeds reattach to the soil like glue. Pro tip: Set a phone reminder for your next predicted rain day so you're always ready to strike when conditions are perfect. The cooler morning temperatures mentioned actually make the roots more pliable, so don't skip that early start!
Tool Technique: For Step 2, I discovered a game-changer with my weeding knife—hold it at a 45-degree angle and slide it just beneath the weed's root crown. This clean cut prevents regrowth better than yanking. For those stubborn taproots, try this: After loosening with your fork, wiggle it side-to-side while pulling up—it breaks the root structure more effectively than straight-up tugging. And always keep that bucket handy; I've lost track of how many weeds I've pulled only to have them blow back into the garden when I turn away!
Seed Head Strategy: In Step 3, when you spot those flower buds, here's my secret: Use a pair of clean scissors to snip them off at the base. This prevents seed dispersal while leaving the plant intact for easier removal. For perennial weeds like bindweed, I've found that cutting them down every 2-3 weeks actually weakens the roots over time—it's like starving them of energy. Just be consistent, and you'll see them weaken noticeably after 4-6 weeks of this treatment.
Mulch Mastery: When applying that 2-3 inch mulch layer in Step 4, here's my pro move: Sprinkle a thin layer of compost over the soil first, then add your mulch. This double-layer system feeds your plants while smothering weeds. And about that 4-inch warning—thick mulch can actually create anaerobic conditions that harm beneficial soil organisms. I've seen firsthand how 3 inches keeps weeds at bay without the downsides of over-mulching.
Pro Tips for Best Way To Remove Weeds From Garden
- Here's what nobody tells you—these game-changing tricks will turn your weed-pulling into a breeze while keeping your ...
- Timing is Everything: In Step 1, that 24-hour rain window is your secret weapon. I've learned the hard way—waiting to...
- Tool Technique: For Step 2, I discovered a game-changer with my weeding knife—hold it at a 45-degree angle and slide ...
Frequently asked questions
Got questions about tackling weeds the natural way? Here are some of the most common concerns—and straightforward answers—to help you keep your garden thriving without harsh chemicals.
When is the best time to pull weeds?
The ideal time to remove weeds is after a rain or when the soil is damp—this makes them easier to pull out by the roots. Early morning or late afternoon are also great, as the soil stays cooler and more pliable. Avoid pulling weeds during peak heat (midday), as the soil can dry out quickly, leaving roots behind.
What’s the best way to prevent weeds from coming back?
Weeds thrive in bare soil, so mulching is your best defense! Use organic mulch like straw, wood chips, or grass clippings to block sunlight and smother weed seeds. Another trick: plant densely—crowded plants leave less room for weeds to grow. For stubborn areas, try landscape fabric under mulch.
Can I use vinegar or boiling water to kill weeds?
Yes, but with caution! White vinegar (20-30% acetic acid) works as a natural herbicide—spray it directly on weeds on a sunny day (avoid desirable plants). Boiling water is another option, but it’s best for small, localized areas (pour it carefully to avoid burning nearby plants). Note: These methods kill only what they touch and won’t prevent future weeds.
How do I remove weeds without damaging my plants?
Use a hand weeder or dandelion digger to target weeds at the root level without disturbing nearby plants. For delicate gardens, try a hula hoe—its sharp edges slice weeds just below the soil surface. Always pull slowly and angle the tool to avoid uprooting your desired plants.
What if weeds keep growing back after I pull them?
Persistent weeds often mean roots or seeds remain in the soil. Dig deeper (3-4 inches) to ensure you’ve removed all fragments. For tough perennials like dandelions, try repeat treatments over 2-3 weeks. If the problem persists, consider solarization: Cover the area with clear plastic for 4-6 weeks to bake out seeds.
| Quick Tip | Do This! |
|---|---|
| For stubborn weeds: | Combine pulling with a vinegar spray (1 gallon vinegar + 1 tbsp dish soap) for extra oomph. |
| For hot days: | Water the area first, then pull weeds—damp soil = easier extraction. |
| For long-term prevention: | Plant ground covers like clover or creeping thyme to outcompete weeds naturally. |
Wrapping up and next steps
Removing weeds the natural way isn’t just kinder to your garden—it’s easier and more effective in the long run! By pulling weeds by hand or using soil-friendly tools like a weeding knife or hula hoe, you protect your plants, improve soil health, and skip the harsh chemicals.
Plus, a little consistency goes a long way—stay proactive, and your garden will thank you with lush, thriving plants. 🌱
Ready to take the next step? Grab your tools, roll up your sleeves, and enjoy the satisfaction of a weed-free paradise! Start small—even just 10 minutes a week makes a difference. Happy gardening! 🌿