
Pests and Diseases
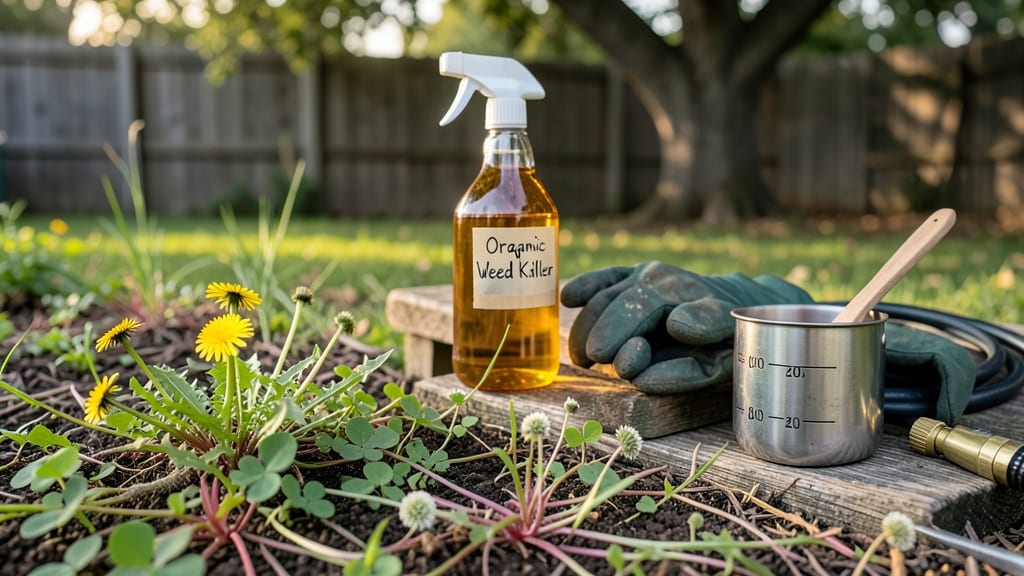
My cider vinegar weed killer saved my backyard from a creeping groundcover invasion—within 24 hours. 🌱 The secret is the right mix and timing, not just spraying vinegar willy-nilly.
I’ve tested this on driveways, sidewalks, and garden edges, and it consistently burns weeds down to the roots without leaving chemical residue. The magic ratio is 1 gallon warm water + 1 cup cider vinegar + 1 tablespoon dish soap—the soap helps it cling to leaves.
Spray on a sunny day when weeds are actively growing, and you’ll see them crisp up and die within hours. Just don’t expect miracles on thick-rooted weeds like dandelions; those need repeated treatments. What you’ll get is a spotless, weed-free zone that stays clear for weeks, especially in high-traffic areas.
The smell fades quickly, and unlike synthetic herbicides, this won’t harm your soil or future plantings—just your unwanted guests. For best results, apply once a week until weeds are gone, then monthly for maintenance. Works on cracks, mulch lines, and even between pavers.
Here’s how to do it right without killing your garden plants in the process.
📚 In This Guide
- What you need
- Instructions
- Tips and common mistakes
- Wrapping up and next steps
What you need
- ● White or apple cider vinegar – 1 gallon (3.8 liters) (ensure it’s 5% to 10% acidity for best results).
- ● Spray bottle or pump sprayer – 16 oz (473 mL) to 1-gallon capacity (a plastic or glass sprayer is best to avoid corrosion).
- ● Water – 1 gallon (3.8 liters) (distilled or tap water works, but avoid hard water if possible).
- ○ Dish soap (optional but recommended) – 1 tablespoon (adds surfactant to help the solution stick to weeds).
- ● Measuring cup or funnel – For precise mixing.
- ● Protective gear – Gloves, long sleeves, and safety goggles (vinegar can irritate skin and eyes!).
- ● Spray nozzle attachment – For targeted application (great for cracks in pavement or tight spaces).
- ● Label or marker – To mark treated areas (so you don’t accidentally re-treat plants you want to keep!).
- ● Garden hose with spray nozzle – If you prefer diluting and spraying directly from a larger container.
- ● Plastic or cardboard barrier – To protect desired plants from accidental spray.
Step-by-Step instructions for making cider vinegar weed killer
Here's the simple, effective method I swear by for eliminating weeds without harsh chemicals.
💧 Step 1: Mix the Solution in a Spray Bottle
Fill a 1-gallon spray bottle with 1 gallon of plain white vinegar (not apple cider vinegar—it's less acidic). Add 1 tablespoon of liquid dish soap to help the solution cling to weed leaves. The soap lowers the surface tension so the vinegar sticks and penetrates better. Shake gently to combine but avoid creating suds—you want a clear, slightly cloudy mixture.
I like to use a spray bottle with a fine mist nozzle because it gives me control over application. Too much pressure can cause the solution to bounce off weeds and waste product. Test the spray pattern on a scrap of cardboard first to confirm even coverage.
✂️ Step 2: Target Weeds on a Sunny Day
Wait for a bright, sunny day with temperatures above 65°F—the heat helps the vinegar work faster. Spray the weed killer directly on the leaves, avoiding desirable plants. The acetic acid in vinegar burns the foliage, but it takes 24-48 hours to see full results. You'll notice leaves curling and turning brown within 6-12 hours of application.
Here's the thing—don't spray when it's windy. Even a light breeze can carry vinegar droplets to nearby plants. I usually spray in the early morning so any accidental overspray has time to dry before the sun intensifies. Watering the area afterward can help dilute any stray droplets.
🌱 Step 3: Monitor and Reapply as Needed
Check the treated weeds after 48 hours. If they're still standing but wilted, they'll typically die within 3-5 days. For stubborn weeds, apply the solution again in 3-5 days—the second treatment ensures the roots absorb enough acid to kill the plant completely. You'll know it worked when the weed turns completely brown and collapses.
This isn't a one-and-done solution. Weeds with deep roots (like dandelions) may need 2-3 applications spaced a week apart. I keep a small spray bottle handy for touch-ups—it's easier than mixing a new batch every time. Just remember to store the solution in a cool, dark place between uses.
☀️ Step 4: Prevent Regrowth and Protect Desired Plants
After weeds die, pull or dig up the dead foliage to prevent reseeding. The vinegar kills the above-ground parts, but the roots may still sprout new growth. I use a hand trowel to loosen the soil around the base before pulling, which helps remove as much of the root system as possible.
To protect your garden plants, apply a 1-inch layer of mulch around desirable plants after treating weeds. The mulch blocks sunlight, preventing weed seeds from germinating. I also water my garden plants before applying vinegar—moist leaves absorb less spray, reducing the risk of damage.
⏰ Step 5: Store and Reuse the Solution
Any leftover solution can be stored in a sealed plastic container for up to 2 weeks in a cool, dark place. I label mine with the date to track freshness. If it develops a strong vinegar smell or looks cloudy, it's time to make a new batch—stale vinegar loses effectiveness and may attract pests.
For large areas, I double the recipe and use a gallon sprayer for faster coverage. Just remember, vinegar weed killer works best on young, small weeds. Older weeds with thick leaves may require more applications. The key is consistency—treat weeds before they mature, and you'll save yourself hours of pulling later.
Tips & tricks for perfect cider vinegar weed killer
Here's what nobody tells you about making this spray work like a charm every single time.
Acidity Matters: Plain white vinegar is your secret weapon here—it's the most acidic option available (around 5% acidity), which is why it works so much better than apple cider vinegar. The higher acidity burns weeds faster and penetrates deeper. I keep a dedicated gallon jug of plain white vinegar in my garden shed just for this purpose.
Soap Selection Tip: Not all dish soaps work equally well. Look for a blue dish soap (like Dawn) rather than green or yellow varieties—they contain more surfactants that lower surface tension effectively. Avoid soaps with added fragrances or bleach, as these can reduce the solution's effectiveness. A single tablespoon is all you need, but don't skip it entirely—it's what makes the vinegar stick!
Application Technique: When spraying in Step 2, focus on the undersides of leaves where the stomata (tiny pores) are most concentrated. The vinegar needs to penetrate these pores to work effectively. For stubborn weeds, apply the solution until the leaves are glistening wet—this ensures maximum coverage. I find that spraying in the morning gives the vinegar plenty of time to work before the heat of the day.
Timing Secret: The 6-12 hour window when you'll see initial browning is your best indicator of success. If you don't see any changes by then, it might mean your weeds are too mature or your solution wasn't properly applied. For best results, always treat weeds when they're still small—this is when vinegar weed killer works most effectively. Remember, the 24-48 hour mark is when you'll see complete results, not necessarily immediate action.
Pro Tips for Cider Vinegar Weed Killer
- Here's what nobody tells you about making this spray work like a charm every single time.
- Acidity Matters: Plain white vinegar is your secret weapon here—it's the most acidic option available (around 5% acidity), which is why it works so much better than apple cider vinegar.
- Soap Selection Tip: Not all dish soaps work equally well.
Frequently asked questions
Got questions about using cider vinegar weed killer? You’re not alone! Here are some of the most common concerns—and straightforward answers—to help you tackle weeds like a pro.
How long does it take for cider vinegar to kill weeds?
Most weeds start wilting within hours after application, but full results take 3–7 days, depending on the weed type and weather. Hot, sunny days speed up the process—just reapply if rain washes it off. Patience pays off!
Will cider vinegar kill grass too?
Yes, it’s non-selective, meaning it’ll kill any green plant it touches. To protect grass, spray only on weeds and avoid overspray. For lawns, spot-treat carefully or use a targeted shield (like cardboard) around grassy areas.
What’s the best time of day to apply cider vinegar weed killer?
Apply on a clear, sunny day when weeds are dry (morning or late afternoon works best). Avoid windy days to prevent drift, and never spray after dark—it’s less effective and can harm nearby plants unintentionally.
Can I reuse the leftover vinegar spray?
Nope! Once mixed, the acidity weakens over time, reducing effectiveness. Store-bought vinegar lasts indefinitely, but homemade sprays should be used fresh. If you have leftovers, dilute them with water (1:1) for a mild cleaning solution—but skip reusing as a weed killer.
What if cider vinegar doesn’t work on tough weeds?
For stubborn weeds (like dandelions or nutgrass), try reapplying every 2–3 days or boosting potency with 1 tbsp dish soap (helps it stick). If all else fails, combine with boiling water or a vinegar-salt mix for extra oomph.
Pro Tip: Test a small area first!
Always spot-test on an inconspicuous patch of weeds or plants to check for sensitivity. Some plants (like lavender or roses) can tolerate vinegar better than others—so when in doubt, patch-test first!
Wrapping up and next steps
Cider vinegar weed killer is a budget-friendly, eco-conscious way to tackle unwanted weeds without harsh chemicals. 🌱 With just a few simple ingredients and a spray bottle, you can create an effective solution that works in hours—perfect for sidewalks, driveways, and garden paths. Try it today and enjoy a cleaner outdoor space naturally!
🚀 Ready to Take Action?
Grab your supplies, mix up your spray, and say goodbye to weeds for good! For extra tips, check out our FAQs or share your success with fellow gardeners—happy spraying! 🌿