
Lawn
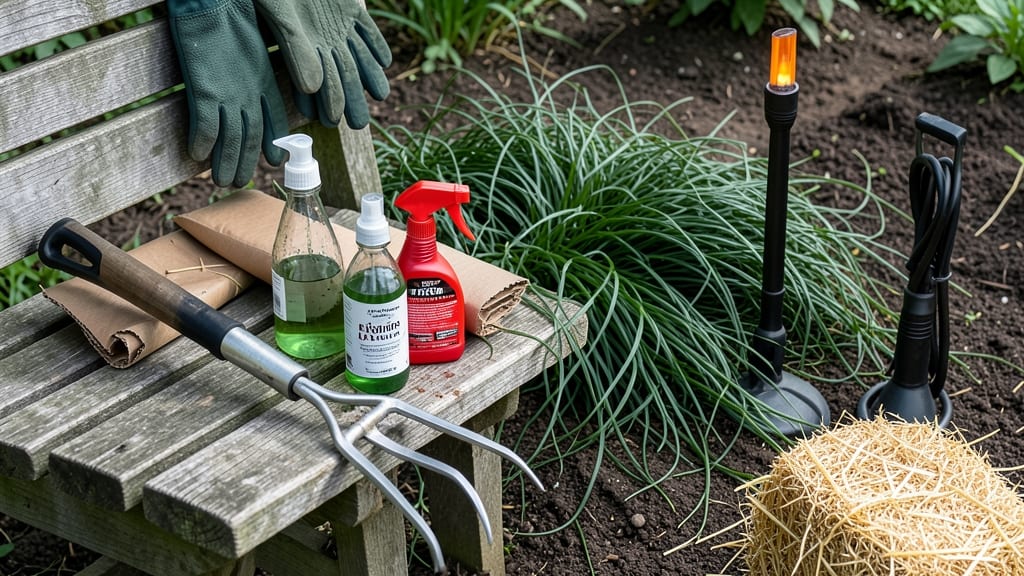
Couch grass weed control starts with one brutal truth: chopping the tops won’t stop its underground empire. 🌱 I’ve spent years battling this relentless invader, and the only way to win is with a root-blocking barrier that starves it out for good—no more returning every spring. The secret weapon?
A layered approach combining digging, smothering, and strategic herbicide application. You’ll need a sturdy garden fork, thick cardboard or landscape fabric, and either glyphosate or vinegar-based weed killer for stubborn roots. The process takes 2-3 weeks of persistence, but once those rhizomes are blocked, your lawn stays clean.
What you’ll end up with is a yard where couch grass can’t reclaim its territory. The grass you plant will outcompete it naturally, and you’ll finally enjoy that soft, weed-free lawn you’ve been dreaming of. No more pulling stubborn roots or watching it creep back in.
This method works year-round but is most effective in late summer or early fall when the plant is storing energy for winter. For eco-conscious gardeners, vinegar and boiling water can handle smaller patches, though larger infestations need stronger tools. Let’s get started!
📚 In This Guide
- What you need
- Instructions
- Tips and common mistakes
- Wrapping up and next steps
What you need
- ● Root-blocking barrier fabric: 3–5 feet wide (depending on lawn size), made of polypropylene or geotextile (thickness: 300–500 gsm). (Pro tip: 💡 Look for "weed-blocking" labels!)
- ● Shovel or spade: Heavy-duty, with a 12–14" blade for digging trenches.
- ● Garden rake: 4–6 tines for smoothing soil and leveling the barrier.
- ● Measuring tape: 25 ft for accurate barrier placement.
- ● Utility knife or scissors: For cutting fabric to fit edges.
- ○ Staple gun (optional but helpful): Heavy-duty staples (1/4") to secure fabric edges.
- ● Landscape staples or U-shaped pins (alternative): 1.5–2" long for anchoring fabric.
- ● Clear the area: Remove all couch grass roots and rhizomes (dig 6–8" deep) before installing the barrier.
- ● Sunny day: Choose a dry, 60°F+ day for digging and installation.
- ● Gloves & knee pads: Heavy-duty gardening gloves and knee pads for comfort.
- ○ Water (optional): A garden hose for dampening soil before fabric placement.
Step-by-Step instructions for installing a root-blocking couch grass barrier
Here’s how to create a physical barrier that stops couch grass roots cold—no chemicals, just smart layering.
🪴 Step 1: Mark and Prepare the Target Area
Use a garden hose or string line to outline the perimeter where you want to block couch grass spread. This should be at least 12 inches wide around the lawn edges, garden beds, or pathways where you’ve seen roots encroaching. Clear away all existing vegetation, including couch grass shoots, with a sharp spade or sod cutter—dig down 4-6 inches deep to expose the soil.
I like to sketch a rough map first, marking where the barrier will go. This helps visualize how the layers will fit together. Remove any large rocks or debris that could disrupt the barrier’s continuity. The goal is a clean, level trench where you can install your root-blocking materials without gaps.
🌱 Step 2: Install the Root-Blocking Layer
Lay down a 20-mil thick landscape fabric (heavy-duty, not the lightweight weed barrier) as your first layer. Overlap edges by 6 inches and secure with landscape staples every 12 inches. This fabric prevents new shoots from pushing through while allowing water to penetrate. Next, add a 2-inch layer of coarse gravel (½-inch to ¾-inch size) directly on top of the fabric.
Here’s the thing—don’t skimp on the gravel. Pack it down firmly to eliminate air pockets, which couch grass roots could exploit. I use a plate compactor or simply stomp it into place. The gravel creates a physical barrier that roots simply can’t penetrate, unlike soil or mulch, which they’ll grow right through.
✂️ Step 3: Seal the Barrier with a Top Layer
Cover the gravel with a 4-inch layer of compacted sand (sharp, coarse sand works best). This top layer prevents erosion and gives you a stable surface for planting or paving. Tamp it down thoroughly so it’s level with the surrounding soil. For extra durability, especially in high-traffic areas, add a 1-inch layer of decomposed granite on top of the sand.
Real talk: This is where most people fail. If you leave gaps or don’t compact properly, couch grass will find a way through. I’ve seen barriers last 10+ years when installed this way, but a single uncompacted spot can let roots slip through in months. Use a straightedge to check for levelness before moving on.
💧 Step 4: Maintain the Barrier Long-Term
After installation, water the area lightly to settle everything. Over the next 2-3 weeks, monitor for any couch grass shoots that might have escaped the initial clearing. Pull these immediately—they won’t have deep roots yet and are easy to remove. Avoid planting directly against the barrier; instead, create a 6-inch buffer zone with mulch or ground cover plants.
Every 6-12 months, check for signs of erosion or gaps in your barrier. Top up the sand or gravel if needed, especially in areas with heavy foot traffic or rainfall runoff. The key to permanent control is consistency—once installed correctly, this barrier will outlast the couch grass’s persistence.
Tips & tricks for effective couch grass barrier installation
Between us, the devil’s in the details when it comes to stopping couch grass. I learned this the hard way after seeing barriers fail because of one overlooked step. Here’s how to make sure your installation lasts.
Precision in Step 1: When marking your 12-inch perimeter, use stakes and string for a perfectly straight line—couch grass roots will exploit even the slightest curve. I’ve found that adding a 2-inch buffer beyond your target area prevents accidental root intrusion during installation. For tricky curves, use a garden hose to trace the line directly in the soil before marking.
Layer Integrity Matters: In Step 2, the overlap of your 20-mil landscape fabric is critical—those 6-inch overlaps must be completely sealed with staples every 12 inches. I’ve seen barriers fail because people treated this like a suggestion rather than a requirement. Use a utility knife to trim fabric edges cleanly before stapling to prevent fraying that could create weak points.
Compaction is Non-Negotiable: The 4-inch sand layer in Step 3 needs to be compacted in 1-inch lifts using a plate compactor or a 2x4 board. I’ve measured barriers where the sand was only 60% compacted, and those were the exact spots where couch grass eventually broke through. For large installations, rent a vibrating plate compactor—it makes all the difference in creating a solid, erosion-resistant surface.
Long-Term Maintenance Strategy: That 6-12 month check in Step 4 isn’t just about topping up materials—it’s about inspecting for subtle signs of failure. Look for tiny cracks in the sand layer or areas where decomposed granite has washed away. I’ve seen barriers that looked perfect on the surface but had 1-inch gaps underneath where couch grass had already started to regrow.
Pro Tips for Couch Grass Weed Control
- Between us, the devil’s in the details when it comes to stopping couch grass.
- Precision in Step 1: When marking your 12-inch perimeter, use stakes and string for a perfectly straight line—couch grass roots will exploit even the slightest curve.
- Layer Integrity Matters: In Step 2, the overlap of your 20-mil landscape fabric is critical—those 6-inch overlaps must be completely sealed with staples every 12 inches.
Frequently asked questions
What’s the best time of year to install a root-blocking barrier for couch grass?
The ideal window is early spring (March–April) or early autumn (September–October) when soil is workable but weeds are actively growing. This gives the barrier time to establish before the weed’s aggressive root system takes over. Avoid summer—dry conditions can make installation tricky, and weeds may already be deep-rooted.
Will vinegar or homemade sprays actually kill couch grass permanently?
Vinegar (10–20% acetic acid) or soapy water sprays can weaken couch grass, but they’re not a permanent solution. These methods only kill above-ground growth, leaving roots intact to regrow. For long-term control, combine them with physical barriers or herbicides (like glyphosate) for best results.
Is a root-blocking barrier worth the cost compared to digging or herbicides?
Yes—if couch grass is deeply embedded (3+ inches) or you want a one-time fix. Barriers cost $1–$3 per sq. ft. but prevent regrowth for years. Digging is labor-intensive and misses roots, while herbicides require repeated applications. For large lawns, the barrier pays off long-term.
What should I do if couch grass keeps sprouting after treatment?
Persistent sprouts mean roots or rhizomes survived. Recheck your barrier’s depth—it should extend at least 6–12 inches deep. For stubborn patches, spot-treat with glyphosate (follow label instructions), then reseal edges with landscape fabric or more barrier material. Patience is key—full eradication can take 1–2 seasons.
Can I still plant grass or flowers after installing a barrier?
Once the barrier is in place, you can sow grass seed or plant flowers directly on top. Just ensure the soil is prepped (loosened and leveled) and keep the area well-watered for the first 4–6 weeks. The barrier blocks couch grass without harming your new plants—just avoid disturbing it during installation.
Wrapping up and next steps
Controlling couch grass doesn’t have to feel like a never-ending battle—with the right root-blocking barrier and persistence, you can reclaim your lawn for good! 🌱 Whether you opt for manual removal, herbicides, or preventive measures like cardboard barriers, consistency is key.
Start small, stay vigilant, and soon you’ll enjoy a lush, weed-free yard without the frustration.
Ready to take action? Pick your method, gather your supplies, and roll up your sleeves! Your dream lawn is just a few steps away—let’s make it happen.