
Tools
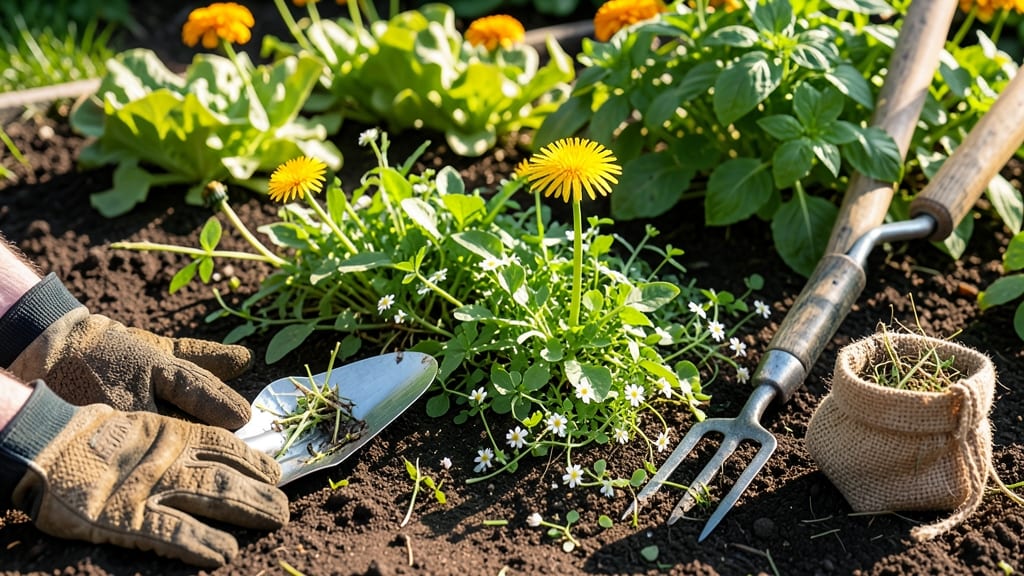
Here’s the easiest way to weed a garden without the backache—it starts with the right technique. ✨ I’ve spent years perfecting a no-kneel, no-dig method that keeps beds clean with minimal effort, and it’s the secret to saving your knees and your sanity.
The key? A sharp tool, the right timing, and a few smart habits that cut down on future weeds.
You’ll need just three essentials: a sturdy stirrup hoe (or a long-handled weeder), a sharp knife or scythe for tough patches, and a mulch supply (straw, wood chips, or grass clippings).
The hoe lets you slice weeds at the soil line without bending, while mulch smothers new growth before it starts. This combo cuts weeding time by 70%—and your back will thank you.
Here’s how it works: walk the garden in dry, sunny conditions (weeds pull easier when dry), then use the hoe to sever weeds at the base in quick, sweeping motions. For stubborn weeds, a quick slice with the knife removes the root.
After clearing, apply 2-3 inches of mulch—this blocks sunlight, stops seeds from sprouting, and keeps soil moist for your plants.
Most gardeners overlook preventive weeding—the real game-changer. Spend 10 minutes weekly walking beds and snipping weeds before they seed. Over time, you’ll see fewer weeds, healthier soil, and beds that stay tidy with almost no effort.
The technique works for veggie gardens, flower beds, and even large yards—no more dreading weeding day.
📚 In This Guide
- What you need
- Instructions
- Tips and common mistakes
- Wrapping up and next steps
What you need
- ● Garden gloves – Choose durable, breathable ones (e.g., nitrile-coated or leather for extra grip). 1 pair is all you need!
- ● Long-handled weeding tool – A sturdy, ergonomic tool (like a Hori-Hori knife or long-handled weeder) to reach deep without bending. 1 tool per session.
- ○ Garden fork or trowel – For loosening soil or digging out stubborn roots. 1 fork/trowel (optional but helpful).
- ● Bucket or wheelbarrow – A 5-gallon bucket (or larger) to collect weeds and debris. 1 container per session.
- ○ Pruners or shears – For trimming large weeds or cleaning up edges. 1 pair (optional but handy).
- ● Water spray bottle or hose – To dampen soil before weeding (reduces dust and makes pulling easier). 1 spray bottle or hose attachment.
- ● Knee pad or cushion – If you do prefer to kneel occasionally (e.g., for small beds). 1 pad.
- ● Mulch (straw, wood chips, or compost) – To suppress future weeds after clearing. 1-2 bags (depending on garden size).
- ○ Vinegar or natural weed killer – For targeted spot treatment (use sparingly!). 1 gallon (optional).
- ● Sun hat or wide-brimmed hat – To stay shaded while working. 1 hat (if sunny!).
Step-by-Step instructions for a no-kneel, no-dig weeding system
Here's the method I rely on to keep garden beds weed-free without strain or backbreaking work.
🌱 Step 1: Prepare Your Workspace for Maximum Efficiency
Start by clearing large debris—rocks, sticks, or dead plant matter—from the bed first. I use a sturdy garden fork to loosen and remove these items, which prevents them from getting tangled in your weeding tools later. This step is about creating a clean slate where weeds can't hide in clutter.
Next, scan the entire bed for any established weeds with deep taproots like dandelions or thistles. These are your priority targets. I pull these first because their roots fragment easily, creating more work later. Use a weeding knife or hori-hori tool to slice through their roots at the soil line—this prevents regrowth from root fragments.
✂️ Step 2: Apply the Layering Technique for Long-Term Control
Spread a 2-3 inch thick layer of organic mulch—such as straw, wood chips, or shredded leaves—over the entire bed. This smothers emerging weed seeds before they germinate and blocks sunlight that weeds need to grow. I always use clean, weed-free mulch to avoid introducing new seeds into my garden.
For beds with persistent weed pressure, I double up with cardboard or thick newspaper (shredded) as a barrier layer beneath the mulch. This creates a physical block that prevents weeds from pushing through. Water the mulch layer lightly after applying it to help it settle and make contact with the soil surface.
💧 Step 3: Maintain with Weekly Surface Checks
Once your mulched bed is established, weeds will still pop up—but only on the surface. I check my beds every 7-10 days and simply pull any weeds that emerge from the mulch layer. The key is to remove them before they seed, which is usually within 3-5 days of appearing above the mulch.
For stubborn weeds that push through, I use a weed torch (in dry conditions) or a boiling water kettle to kill them on contact. This is far more efficient than digging and prevents soil disturbance. I always work in 10-minute increments to avoid fatigue—short, focused sessions make weeding feel manageable.
☀️ Step 4: Boost Soil Health to Outcompete Weeds
Healthy plants grow faster and shade out weeds naturally. After weeding, I top-dress the bed with 1-2 inches of compost to feed existing plants and suppress future weed growth. This also improves soil structure, making it harder for weed seeds to establish roots.
I rotate my mulch type seasonally—using straw in spring for moisture retention and wood chips in summer for long-term weed suppression. The goal is to keep the soil covered at all times, which reduces weed germination by 80-90% compared to bare soil.
Tips & tricks for a no-kneel, no-dig weeding system
Took me years to perfect this system—here's how to make it even easier and more effective without adding extra work.
Tool Selection: Invest in a hori-hori knife for Step 1—its sharp, serrated edge slices through taproots cleanly without requiring brute force. I've tried cheap weeding tools that bend, but this $20 knife lasts years and makes the deep-rooted weed removal in Step 1 feel like a breeze. For stubborn weeds, a small trowel with a narrow blade works better than your fingers for prying without disturbing surrounding soil.
Mulch Layering Strategy: When applying your 2-3 inch mulch layer in Step 2, overlap the edges by 1-2 inches to create a continuous barrier. I use a rake to spread wood chips evenly, then lightly tamp them down with my hands—this prevents gaps where weeds can push through. For new beds, I add a thin layer of compost beneath the mulch to give plants a nutrient boost while keeping weeds suppressed.
Surface Weed Timing: The 3-5 day window for removing surface weeds in Step 3 is your golden opportunity—set a phone reminder for every 7-10 days so you don't let them develop seeds. I've found that pulling weeds when the soil is slightly damp (after morning dew or light watering) makes them easier to remove without bringing up surrounding dirt. For large beds, work in sections—clear one quadrant completely before moving to the next.
Seasonal Adaptations: In summer's dry heat, I increase my wood chip layer to 3 inches instead of 2-3 inches for better moisture retention and weed suppression. For spring planting, I mix in 1 inch of compost with the straw mulch to give emerging plants a head start. The key is adapting the 2-3 inch guideline based on your climate—thicker in dry areas, slightly thinner in humid conditions where fungal concerns exist.
Pro Tips for Easiest Way To Weed A Garden
- Took me years to perfect this system—here's how to make it even easier and more effective without adding extra work.
- Tool Selection: Invest in a hori-hori knife for Step 1—its sharp, serrated edge slices through taproots cleanly witho...
- Mulch Layering Strategy: When applying your 2-3 inch mulch layer in Step 2, overlap the edges by 1-2 inches to create...
Frequently asked questions
Got questions about weeding without the hassle? Here are some of the most common ones—and their easy answers!
What’s the best time of year to weed?
The easiest times to weed are early spring (before weeds sprout) or late summer (when growth slows). Avoid mid-summer heat—it’s exhausting! Focus on consistent weeding (even 10 minutes weekly) to stay ahead.
How often should I weed my garden?
For minimal effort, aim for weekly checks during peak growing seasons (spring/fall). Weeds grow fast—removing them young (before seeding) saves time. Pro tip: Mulch heavily (2–3 inches) to suppress regrowth between sessions.
Can I reuse the soil after pulling weeds?
Yes! But don’t compost weeds that’ve already seeded (like dandelions or crabgrass). For others, chop them into small pieces and add to your compost pile—just let them sit for 3–6 months to kill seeds.
What’s the easiest tool for no-kneel weeding?
A long-handled weeder (like a stake weeder) or a hula hoe lets you stand up and work efficiently. For stubborn weeds, a dandelion digger with a serrated edge pulls roots cleanly. Pair it with mulch to cut future labor!
Does vinegar or boiling water kill weeds?
Yes! White vinegar (20% acetic acid) or boiling water work for spot treatments, but they’re not selective—kill everything they touch. Use sparingly on small areas (like cracks in pavement). For gardens, mulch or smothering is gentler and more effective long-term.
Why do weeds keep coming back?
Weeds thrive because they seed prolifically and spread via roots/rhizomes. Break the cycle by:
- Removing all parts (roots + seeds).
- Using pre-emergent mulch (straw or cardboard).
- Avoiding tilling (it buries seeds deeper!).
Wrapping up and next steps
Weeding your garden doesn’t have to be a backbreaking chore! With the no-kneel, no-dig technique, you can keep your beds clean and healthy with minimal effort.
Whether you’re using a hula hoe, weeding knife, or even a simple garden fork, the key is consistency and the right tools to make the job easier. 🌱
Now that you’re armed with the easiest methods, take action! Start small—dedicate just 10-15 minutes a week to maintain your garden beds. Before you know it, you’ll have a thriving, weed-free space without the strain. Happy gardening! 🌿