
Tools
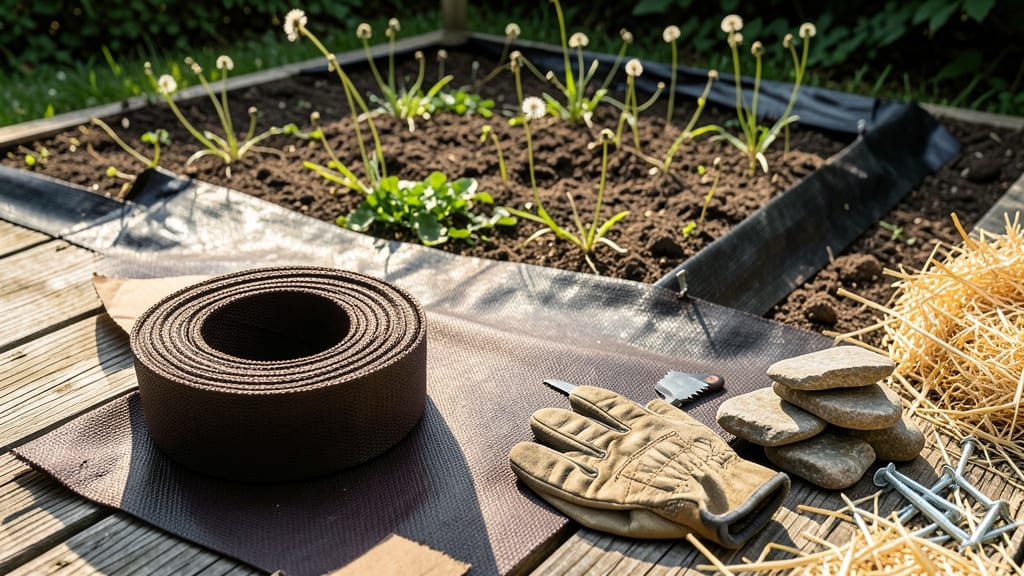
A weed barrier in your garden beds is like installing an invisible security system for your plants—no more pulling weeds by hand for years. 🌱 I used to spend hours every summer wrestling with crabgrass and clover, until I tried a layered approach that actually works.
The right barrier blocks sunlight, smothers seeds, and keeps your soil healthy without chemicals. Most people think weed barriers mean expensive plastic sheets or complicated setups, but the best systems combine affordable materials like cardboard, landscape fabric, and organic mulch.
My favorite combo takes 30 minutes to install and lasts 3-5 years with minimal maintenance. You’ll see fewer weeds popping up, more nutrients staying in your soil, and plants that grow stronger because they’re not competing for resources.
By the end of this, you’ll have a low-maintenance system that works for vegetables, flowers, or even lawn edges. The barrier stays hidden under mulch or soil, so it looks natural while doing all the heavy lifting.
No more digging up weeds or dealing with stubborn roots—just healthier plants and more time to enjoy your garden. Whether you’re dealing with high-traffic areas or delicate perennials, this method adapts to any bed size. The key is balancing breathability (so roots can grow) with suffocation (to stop weeds).
Let’s get started with the materials that actually work!
📚 In This Guide
- What you need
- Instructions
- Tips and common mistakes
- Wrapping up and next steps
What you need
- ● Weed barrier fabric: 1 roll (3–4 ft wide, 50–100 ft long) – opt for landscape fabric (3–5 oz per sq. yd) or cardboard (for a budget-friendly, biodegradable option).
- ● Shovel or spade: 1 medium-sized (for digging trenches or laying fabric).
- ● Garden gloves: 1 pair (to protect hands while handling fabric or soil).
- ● Staple gun + staples: 1 (for securing fabric edges; heavy-duty staples work best).
- ● Landscape pins or U-shaped nails: 1 box (alternative to staples for holding fabric in place).
- ● Mulch or compost: 2–3 bags (straw, wood chips, or shredded leaves to cover the barrier and deter weeds).
- ● Measuring tape: 1 (to ensure fabric fits your garden bed dimensions).
- ● Edging material: Plastic, metal, or stone (to keep fabric neatly contained).
- ● Biodegradable weed mat: (For temporary suppression while plants establish).
- ● Soil amendment: Compost or peat moss (to improve soil quality before planting).
- ● Knee pads: (For comfort during longer projects!).
Step-by-step instructions for installing a permanent garden bed weed barrier
Here's how to create a long-lasting underground shield that keeps weeds from ever invading your garden again.
🪴 Step 1: Prepare the Garden Bed Site
Mark your garden bed dimensions with stakes and string, then remove all existing vegetation, rocks, and debris. Dig down 6-8 inches—this ensures your barrier will block weed seeds and roots effectively. I like to use a broadfork for this step because it aerates the soil without compacting it, which helps roots establish later.
Turn the soil over and sift through it, removing any large roots or weed clumps you find. This prevents future weed growth from existing root systems. If your soil is particularly rocky, consider renting a rototiller to smooth the bed before proceeding. The goal is a clean, level base where your barrier will sit undisturbed for years.
🌱 Step 2: Lay Down the Weed Barrier Fabric
Unroll landscape fabric (preferably 3-4 feet wide and heavyweight, 3-4 oz per square yard) over the prepared bed, allowing 6-12 inches to extend beyond the edges. This extra fabric helps prevent weeds from creeping in along the sides. Overlap seams by 6-12 inches and secure them with landscape staples or heavy-duty staples every 12 inches to ensure a seamless barrier.
Smooth out any wrinkles—creases can create gaps where weeds will eventually push through. If your bed has curves, cut the fabric with scissors to follow the shape precisely. Avoid tearing, as jagged edges can degrade faster and allow weed roots to penetrate. This is the critical layer that will block 90% of weeds if installed correctly.
☀️ Step 3: Secure Edges and Add Mulch
Fold the excess fabric 4-6 inches inward along the bed’s edges and secure it with landscape staples or galvanized nails driven into the soil at 12-inch intervals. This buried edge prevents weeds from lifting the fabric over time. For extra durability, I like to add a 1-inch layer of coarse sand or small gravel along the edges before folding the fabric—this weighs it down and discourages burrowing pests.
Cover the entire fabric with 3-4 inches of organic mulch (such as wood chips, straw, or shredded bark). This not only suppresses remaining weeds but also protects the fabric from UV degradation. Mulch also regulates soil temperature and retains moisture, which is especially helpful in the first few months when plants are establishing roots. Avoid inorganic mulches like rocks, as they don’t break down and can create a barrier to water.
🌿 Step 4: Plant and Maintain the Garden Bed
Cut X-shaped slits in the fabric where you’ll plant—this allows roots to penetrate while still blocking weeds. Space slits 6-12 inches apart to accommodate mature plant sizes. Dig holes just large enough for your transplants or seeds, then place plants in the slits and backfill with soil. Water deeply to settle everything and encourage root contact with the soil.
In the first 2-3 weeks, monitor the bed closely for any weeds sprouting along the edges or through gaps. If you spot a weed, pull it immediately—this prevents it from developing a strong root system that could compromise the barrier. Once plants are established, top up mulch annually to maintain the 3-4 inch layer, which will keep weeds from ever getting a foothold again.
Tips & tricks for permanent weed barrier installation
A few key strategies will help you create a weed-proof garden bed that lasts for years. These insights come from years of testing what works—and what doesn't—in garden maintenance.
Depth Matters: The 6-8 inch depth specified in Step 1 is non-negotiable for blocking weed roots. Shallow installation leaves gaps where weeds can push through. Use a tape measure to verify depth at multiple points—especially in uneven areas. For rocky soil, consider using a broadfork to loosen the soil without disturbing the barrier's position once installed.
Fabric Selection Tip: Not all landscape fabric is created equal. The 3-4 oz per square yard specification is ideal because it balances durability with breathability. Lighter fabrics degrade faster, while heavier ones can restrict water flow. Look for fabric labeled "landscape fabric" or "weed barrier fabric"—avoid geotextiles designed for erosion control, as they're too porous.
Edge Security Strategy: The 4-6 inch fold and 12 inch staple intervals in Step 3 create a physical barrier that prevents weeds from lifting the fabric. For extra security, especially in windy areas, add a 1-inch layer of coarse sand or gravel along the edges before folding. This adds weight and discourages burrowing pests that might create entry points.
Mulch Maintenance Insight: The 3-4 inch mulch layer isn't just decorative—it's your first line of defense against weeds. Organic mulches like wood chips break down over time, so plan to refresh this layer annually. In the first 2-3 weeks after planting, check for weeds daily—they'll be most vulnerable when they're small. A quick pull now prevents a full-blown weed war later.
Pro Tips for Garden Bed Weed Barrier
- A few key strategies will help you create a weed-proof garden bed that lasts for years. These insights come from year...
- Depth Matters: The 6-8 inch depth specified in Step 1 is non-negotiable for blocking weed roots. Shallow installation...
- Fabric Selection Tip: Not all landscape fabric is created equal. The 3-4 oz per square yard specification is ideal be...
Frequently asked questions
Got questions about keeping weeds at bay without the constant battle? You’re not alone!
Here are some of the most common concerns—and straightforward answers—to help you master your garden bed weed barrier like a pro.
What’s the best time of year to install a weed barrier?
Spring or fall are ideal! Installing in early spring (before weeds sprout) or late fall (after summer weeds die back) gives you a clean slate. Avoid summer—heat can make installation tricky, and weeds may already be established.
Do I need to remove existing weeds before laying the barrier?
Pull or smother weeds first—even dead ones can sprout. Use a hoe or mulch to clear the area, then lay your barrier. Skipping this step risks trapping weed seeds under the barrier, turning it into a weed incubator over time.
Are there cheaper alternatives to landscape fabric?
Yes! Try cardboard (uncoated, no glossy ink), thick layers of newspaper, or even black plastic (though it degrades faster). For long-term use, burlap or jute fabric are budget-friendly but may break down in 1–2 years. Landscape fabric lasts 5–10+ years.
Will a weed barrier stop grass from growing through?
Not always—grass roots and runners are persistent! Use a double layer of barrier fabric or add a pre-emergent herbicide (like corn gluten) before installing. For stubborn grass, consider a hard barrier like corrugated plastic or a metal edging.
What do I do if weeds keep popping up after installation?
Check for gaps or tears in the barrier—weeds exploit even small openings. If the fabric is intact, weeds may have sprouted before installation. Pull them immediately and reseal edges with landscape staples or rocks. For stubborn spots, spot-treat with vinegar or a natural herbicide.
Wrapping up and next steps
Transforming your garden bed into a weed-free fortress doesn’t have to be a battle—it’s a strategic win! With the right garden bed weed barrier, you’ll spend less time pulling weeds and more time enjoying your thriving plants.
Whether you choose landscape fabric, cardboard, or natural mulch, the key is consistency and patience. 🌱
Ready to take the next step? Start small—pick one bed, gather your materials, and roll up your sleeves. Before you know it, your garden will be the envy of the neighborhood, weed-free and flourishing!