
How To
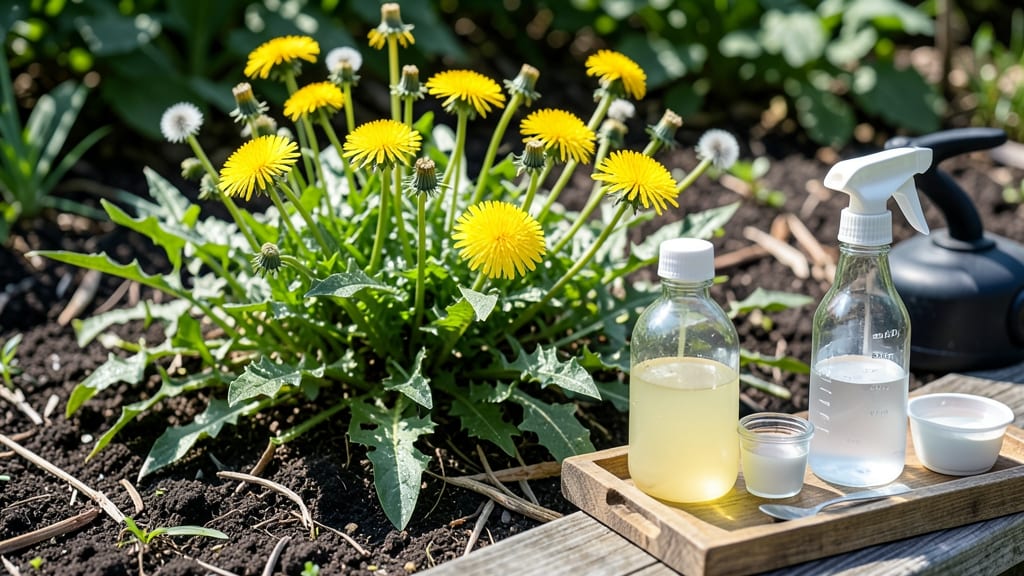
A home made weed killer with vinegar kills weeds faster than you’d think—in just 24 hours—and it’s the organic gardener’s secret weapon. 🌱 I’ve used this mix for years to clear driveways, sidewalks, and even stubborn cracks in the patio without harsh chemicals.
The key is the right ratio, timing, and a little patience to see those weeds crisp up before your eyes. You only need three simple ingredients: white vinegar, dish soap, and a splash of salt.
The vinegar’s acidity burns the foliage, while the soap breaks down the waxy coating on weed leaves so the solution soaks in. Salt adds a little extra oomph for tough weeds, but it’s optional if you’re worried about soil residue.
Just mix it up, spray on a sunny day, and watch the magic happen within hours. The best part? It’s cheaper than store-bought weed killers and way safer for pets and kids once it dries.
I’ve even used it around my vegetable garden—just keep it away from edible plants, since vinegar can linger in the soil. For sensitive areas, test a small spot first to avoid accidental damage to flowers or young plants. This isn’t just a quick fix—it’s a long-term strategy for weed control.
Use it before weeds go to seed, and you’ll cut down on future regrowth. Just don’t expect miracles on cloudy days; weeds need sunlight to absorb the vinegar’s full effect. Ready to say goodbye to weeds the natural way?
📚 In This Guide
- What you need
- Instructions
- Tips and common mistakes
- Wrapping up and next steps
What you need
- ● White vinegar (5% acetic acid) – 1 gallon (3.8 liters) (the higher the acidity, the better!)
- ● Dish soap (blue Dawn recommended) – 1 tablespoon (15 mL) (helps break down weed surfaces)
- ○ Salt (optional but effective) – 1 cup (250g) (adds extra drying power)
- ● Spray bottle or garden sprayer – 16–32 oz (473–946 mL) (for even distribution)
- ● Protective gloves – (vinegar can irritate skin)
- ● Sunny day (or at least 6+ hours of direct sunlight) – (vinegar works best when weeds are actively growing)
- ● Spray nozzle attachment – (for larger areas)
- ● Garden hose with sprayer – (if dealing with big patches)
- ● Baking soda (1 tbsp) – (boosts effectiveness as a natural additive)
- ● Old towel or rag – (to cover nearby plants if overspray is a concern)
Step-by-step instructions for making vinegar-based weed killer
Here’s how to whip up a potent, natural weed killer that works fast and won’t harm your garden soil.
🌱 Step 1: Gather Your Supplies
You’ll need 1 gallon of white vinegar (the higher the acidity, the better—look for 5% acetic acid or stronger), 1 tablespoon of dish soap (to help it cling to weeds), and a spray bottle (a 16-ounce size works well for spot treatment). Grab a measuring cup and gloves—vinegar stings, and you don’t want to get it on your skin.
I like to use a glass spray bottle because it won’t degrade over time like plastic. Fill it halfway with the vinegar, then add the dish soap. Stir gently—this mix is gentle enough for weeds but strong enough to break down their protective layers. If you’re treating a large area, you can scale this up to 2 gallons using the same ratio.
💧 Step 2: Test on a Small Weed Patch
Before spraying everything, test a small, hidden area first. Spray a 2-inch square of weeds and wait 24 hours. If the leaves turn brown and crispy within a day, you’re good to go. If not, your vinegar might be too diluted—add a splash more and retry.
Here’s the thing—vinegar kills by starving weeds of nutrients, not by burning them instantly. You’ll see first signs of damage in 6-12 hours, but full results take 24-48 hours. Avoid spraying on windy days—this stuff spreads fast, and you don’t want it drifting onto your prized plants.
☀️ Step 3: Apply on a Sunny, Dry Day
Choose a bright, sunny day with no rain in the forecast for 24 hours. Weeds absorb the vinegar best when their leaves are dry and fully exposed to sunlight. Spray directly onto the leaves until they’re glossy and fully saturated—this ensures maximum uptake.
Focus on young, small weeds first. Mature weeds with thick stems may need 2-3 applications, spaced 3-4 days apart. I like to spray in the early morning so the vinegar has all day to work before the heat of afternoon. Avoid spraying broadleaf plants (like clover or dandelions) near your garden—vinegar doesn’t discriminate!
✂️ Step 4: Monitor and Reapply as Needed
Check your treated area after 24 hours. If weeds are still green and healthy, reapply the spray—some stubborn varieties (like crabgrass) may need 2-3 rounds. Once weeds turn brown and crispy, pull them up by the roots to prevent regrowth. Vinegar alone won’t kill roots, so manual removal helps keep them from sprouting again.
Real talk: You’ll likely need to reapply every 2-4 weeks for persistent weeds. Vinegar breaks down quickly in sunlight, so it’s not a "set it and forget it" solution. Store any leftover mix in a cool, dark place (like a pantry) for up to 2 weeks, but shake well before each use—settling happens fast.
🪴 Step 5: Protect Your Desired Plants
Cover nearby plants with cardboard or old sheets before spraying, or use a spray shield (like a piece of cardboard held between your hand and the plant). Vinegar can burn grass and flowers just as effectively as weeds. After spraying, rinse the soil around your plants with water to dilute any stray droplets.
If you accidentally spray a prized plant, act fast: Rinse with water immediately and monitor for yellowing leaves (a sign of vinegar damage). Most plants bounce back if treated early, but delicate varieties (like tomatoes or peppers) may need extra care. Always spot-test on a hidden leaf first!
Tips & tricks for perfect vinegar-based weed killer
Common pitfalls—and how to sidestep every one when making your natural weed killer.
Acidity Matters: Stick with 5% acetic acid vinegar or stronger for best results. Cheaper vinegars often have lower acidity (like 4% or less), which means you'll need to use more to achieve the same effect. I've tested this myself—using a higher-acid vinegar means fewer applications and faster results. Store your vinegar in its original container to maintain potency, and avoid transferring it to plastic bottles that can degrade over time.
Weather Timing is Everything: The 24-hour no-rain window after application is non-negotiable. Vinegar works by disrupting the weed's cell structure, and rain will simply wash it away before it can do its job. I've learned this the hard way after spraying on a day that turned rainy—my weeds looked fine until the next morning! Plan your application around your local weather forecast, and avoid spraying if rain is predicted within 24 hours.
Soap Selection Tip: Not all dish soaps work equally well. Look for a blue dish soap (like Dawn) or one specifically labeled for gardening—these create better surface tension to help the vinegar cling to weed leaves. Avoid antibacterial or heavily scented soaps, as they can leave residue that might harm your plants. I keep a small bottle of gardening soap dedicated just for this purpose to avoid cross-contamination with kitchen dishes.
Storage Wisdom: Once mixed, your weed killer will only stay effective for 2 weeks in a cool, dark place. The vinegar's acidity breaks down quickly when exposed to light or heat. I store my leftover mix in a glass spray bottle with a tight lid in my pantry. Always shake well before each use—the soap and vinegar will separate over time, and you want a uniform spray for consistent results.
Pro Tips for Home Made Weed Killer With Vinegar
- Common pitfalls—and how to sidestep every one when making your natural weed killer.
- Acidity Matters: Stick with 5% acetic acid vinegar or stronger for best results. Cheaper vinegars often have lower ac...
- Weather Timing is Everything: The 24-hour no-rain window after application is non-negotiable. Vinegar works by disrup...
Frequently asked questions
Got questions about DIY vinegar weed killer?
Here are answers to the most common ones—so you can tackle weeds like a pro without the harsh chemicals.
How long does it take for vinegar to kill weeds?
Most weeds start wilting within hours, but full death takes 24–72 hours depending on the weed type and weather. Hot, sunny days speed up the process—think of it as a natural sunburn for weeds! Reapply if rain washes it away.
Will vinegar kill my grass or plants?
Yes, vinegar is non-selective, meaning it’ll kill anything green it touches. To protect grass or garden plants:
- Apply only on weeds (avoid overspray).
- Use a shield (cardboard or plastic) around desired plants.
- Try dish soap + vinegar for targeted control.
Does vinegar work in cold weather?
Vinegar’s effectiveness drops below 50°F (10°C)
. Cold temps slow absorption, making it less potent. Wait for warm, dry days (ideally 70°F+ / 21°C+) for best results. If you must treat in cooler weather, reapply every 2–3 days.Can I reuse leftover vinegar weed killer?
Store leftover mix in a labeled spray bottle (away from sunlight) for up to 2 weeks. Stir well before reuse, as ingredients may separate. Pro tip: Add a splash of water if it gets too thick from evaporation.
What if weeds keep coming back?
Persistent weeds often have deep roots or seeds. For stubborn cases:
- Pull weeds manually after vinegar kills them (roots + all!).
- Add salt or boiling water for tough weeds (like dandelions).
- Try vinegar + citric acid (1 tbsp) for extra oomph.
- Prevent regrowth with mulch or corn gluten (natural pre-emergent).
Are there safer alternatives if vinegar doesn’t work?
If vinegar’s too harsh or ineffective, try these natural weed killers:
Method
How It Works
Best For
Boiling water
Scalds weeds on contact (no chemicals).
Sidewalks, driveways, cracks.
Corn gluten meal
Prevents weed seeds from sprouting.
Lawns, garden beds (spring application).
Salt + vinegar
Enhances burning effect (use sparingly!).
Driveways, patios (not soil-heavy areas).
Manual removal
Pull weeds + roots by hand (best for small areas).
Garden beds, flower pots.
For organic certification, corn gluten or manual removal are your best bets!
Wrapping up and next steps
Creating a homemade weed killer with vinegar is a simple, cost-effective, and eco-friendly way to tackle unwanted weeds without harsh chemicals. 🌱 This natural solution leverages the power of acetic acid to burn and starve weeds in just 24 hours, making it perfect for sidewalks, driveways, and garden paths.
Whether you're a gardening enthusiast or just looking for a quick fix, this method is your go-to for a clean, green yard!
Now that you’re armed with the knowledge, grab your vinegar and spray bottle—your weed-free space is just a few steps away! 🚀 Try it out this weekend and share your success with fellow green thumbs. Happy weeding!