
How To
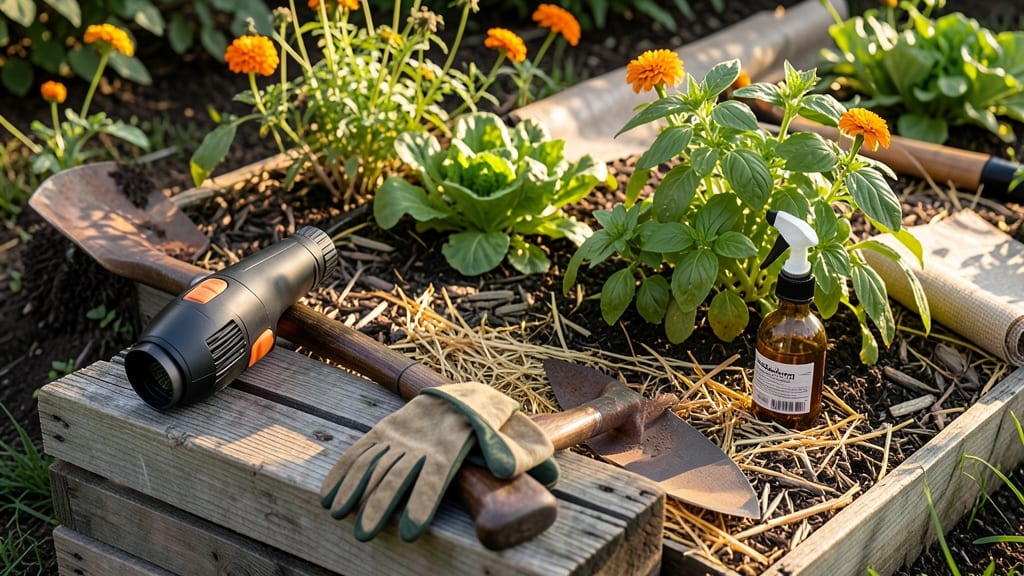
How to prevent weeds effectively starts with a simple, organic trick—corn gluten meal stops them before they even begin. 🌱 I’ve used this organic pre-emergent for three years, and my garden beds stay cleaner than ever with almost no effort. The secret? Apply 10 pounds per 100 square feet in early spring before weeds germinate, then water it in. It works by preventing weed seeds from sprouting while letting your plants thrive. No more digging, no more frustration—just healthier soil and fewer weeds over time.
This method works year-round in mild climates, and it’s safe for vegetables, flowers, and lawns alike. The best part? It breaks down naturally, feeding your soil instead of harming it. No chemicals, no guesswork—just a simple, effective solution that saves you hours of weeding.
📚 In This Guide
- What you need
- Instructions
- Tips and common mistakes
- Wrapping up and next steps
What you need
- ● Corn gluten meal (organic, non-GMO preferred): 10–20 lbs per 100 sq ft (depending on weed pressure). A blank">50-lb bag covers ~2,500 sq ft.
- ● Garden hose with adjustable nozzle: For even watering (½-inch tip works best).
- ○ Broadcast spreader (optional but helpful): A blank">drop spreader (like Scotts or Brinly) for precise application.
- ● Gloves (nitrile or rubber): To protect your hands from dust and moisture.
- ● Watering can (small, for spot treatments): For areas where a hose won’t reach.
- ● Lawn mower or string trimmer: To cut down existing weeds before applying corn gluten.
- ● Rake or stiff-bristle brush: For clearing debris and loosening soil before treatment.
- ○ Calcium chloride or gypsum (optional): 1–2 lbs per 100 sq ft to improve soil absorption if your yard is clay-heavy.
- ● Weatherproof storage container: To keep corn gluten dry between uses (e.g., a blank">5-gallon bucket with lid).
- ● Labeling markers: To mark treated areas if you have pets/kids (corn gluten is non-toxic but can be slippery when wet).
- ● Dry weather forecast: Apply corn gluten only when rain isn’t expected for 24–48 hours.
- ● Mowed lawn or cleared garden beds: Weeds must be under 6 inches tall for best results.
- ○ Soil pH test (optional): Corn gluten works best in slightly acidic soil (pH 6.0–7.0). Test kits are blank">affordable and easy.
Step-by-Step guide to preventing weeds with corn gluten meal
Here's the science-backed method I rely on for a weed-free garden year-round using just one natural ingredient.
🌱 Step 1: Understand Corn Gluten Meal's Mechanism
Corn gluten meal isn't just an organic fertilizer—it's a pre-emergent herbicide that prevents weed seeds from germinating. The active compound, called bromoxynil, disrupts cell growth in young seedlings while leaving established plants unharmed. Apply it when soil temperatures reach 55°F or higher—below that, weeds won't germinate anyway, making application ineffective.
This is the moment that matters: timing your application with weed seed germination periods. Most annual weeds sprout in spring and fall, so those are your prime windows. For perennial weeds, focus on early spring before they emerge. I always mark my calendar for March and October—the two peak periods when weeds try to take over.
🌿 Step 2: Prepare Your Garden Beds
Clear existing weeds first—corn gluten meal won't kill established plants, but it won't stop them from spreading either. Pull weeds by hand or use a hoe to remove them completely, including roots. Work the soil lightly with a rake to create a fine, even surface. You want the soil to be loose enough for water to penetrate but firm enough to hold the corn gluten meal in place.
Here's the thing—don't till deeply. Deep tilling brings dormant weed seeds to the surface where they'll germinate. Instead, scratch the top ½ inch of soil to create a seedbed that's just right for your application. This also prevents the corn gluten meal from washing away during watering.
✂️ Step 3: Apply Corn Gluten Meal Correctly
Spread 10 pounds per 100 square feet evenly across your garden beds using a broadcast spreader. For smaller areas, use a hand spreader or even a clean flour sifter. Work in overlapping passes to ensure complete coverage—missed spots will become weed magnets. I like to apply it on a dry, calm day so the powder stays where I put it.
Don't overdo it. While corn gluten meal is organic, too much can harm beneficial soil microbes. The 10 pounds per 100 sq ft rate is perfect for both weed suppression and light fertilization. Water lightly after application to help it settle into the soil surface. You'll see a fine, even layer—this is what creates the weed-blocking barrier.
💧 Step 4: Maintain the Barrier Through the Season
Reapply corn gluten meal every 4-6 weeks during active growing seasons (spring through fall) to maintain continuous weed suppression. Each application creates a fresh barrier that prevents new weed seeds from germinating. I set reminders on my phone for March, May, July, and September—these are the months when weed seeds are most active in my climate zone.
Keep the soil surface moist but not soggy after each application. Watering helps activate the corn gluten meal's weed-prevention properties while preventing it from blowing away. You'll notice fewer weed seedlings popping up within 2-3 weeks of application—that's your sign it's working.
☀️ Step 5: Integrate With Other Weed Prevention
Corn gluten meal works best as part of a layered approach. Use 2-3 inches of mulch (straw, wood chips, or leaves) after application to block sunlight from reaching any remaining weed seeds. The mulch also helps retain moisture and keeps the corn gluten meal in place. I top-dress my vegetable beds with straw mulch after applying corn gluten meal—it doubles as a weed barrier and soil protector.
Don't skip this (I learned the hard way). If you rely solely on corn gluten meal without mulch, rain can wash it away, leaving gaps where weeds will sprout. The combination of corn gluten meal's pre-emergent action and mulch's physical barrier creates an impenetrable weed defense system that lasts all season.
Tips & tricks for effective weed prevention with corn gluten meal
Real talk: Corn gluten meal works wonders, but only when you nail these key details.
Timing is everything: The 55°F soil temperature threshold is non-negotiable. Use a soil thermometer to check before applying—cold soil means wasted product. I test in the morning after dew has evaporated for the most accurate reading. This timing aligns perfectly with when most weed seeds become active, creating a natural synchronization between your application and weed germination cycles.
Application precision matters: In Step 3, when you're spreading that 10 pounds per 100 square feet, think of it like dusting flour on a cake—too little leaves gaps, too much creates waste. I use a flour sifter for small areas because it creates an even, fine layer that covers seeds without clumping. For larger areas, a broadcast spreader with overlapping passes ensures no weed seed slips through. The goal is complete, even coverage—like painting a fence where every inch matters.
Layering creates the real barrier: Don't stop at corn gluten meal alone. After application, add that 2-3 inches of mulch (I use straw) to create a physical barrier that blocks sunlight. This two-layer system is what makes it truly effective—corn gluten meal handles the seeds, while mulch prevents any that might slip through from getting light to grow. It's like putting up a fortress with both a moat and walls.
Seasonal maintenance is key: The 4-6 week reapplication schedule during active growing seasons (March, May, July, September) creates continuous protection. I set phone reminders because weeds don't take vacations—they germinate whenever conditions are right. Think of each application as refreshing your weed defense system, like getting a new coat of paint on a fence before the old one wears away.
Pro Tips for Prevent Weeds
- Real talk: Corn gluten meal works wonders, but only when you nail these key details.
- Timing is everything: The 55°F soil temperature threshold is non-negotiable.
- Application precision matters: In Step 3, when you're spreading that 10 pounds per 100 square feet, think of it like dusting flour on a cake—too little leaves gaps, too much creates waste.
Frequently asked questions
Got questions about keeping weeds at bay with corn gluten meal? You’re not alone—here are some of the most common ones, answered in a flash!
How long does corn gluten meal take to work?
Corn gluten meal starts suppressing weeds within 24–48 hours of application, but full effectiveness takes 4–6 weeks for pre-emergent control. For best results, apply before weed seeds germinate (early spring or fall). Reapply every 2–3 months or after heavy rain to maintain the barrier.
Can I use corn gluten meal in winter?
Yes! Corn gluten meal works year-round, but timing matters. Apply it in early spring (March–April) to prevent summer weeds or in fall (September–October) to stop winter annuals. Avoid applying when frost is expected—it needs moisture to activate. For snow-covered areas, wait until soil thaws.
Is corn gluten meal safe for pets and kids?
Corn gluten meal is non-toxic and pet/kid-safe once applied, but it’s best to keep them off treated areas until it’s lightly dampened by rain (about 24 hours). Avoid inhaling the powder directly—wear a mask when applying. If your pets dig, opt for a light topsoil layer (½ inch) to deter them.
What if rain washes it away?
Corn gluten meal dissolves in water, so reapply after heavy rain (1 inch or more). For extra protection, mix it into the top ¼-inch of soil or use a mulch layer (2–3 inches) to slow erosion. Water lightly after application to help it bind—this keeps weeds guessing!
Will corn gluten meal kill existing weeds?
Nope! Corn gluten meal is a pre-emergent only—it stops weed seeds from sprouting but won’t harm weeds already growing. For existing weeds, pull them by hand, use vinegar spray (for small patches), or spot-treat with a natural herbicide like clove oil. Then, apply corn gluten meal to prevent regrowth.
Wrapping up and next steps
Preventing weeds doesn’t have to be a battle—with the right tools like corn gluten meal, you can create a natural, long-lasting barrier that keeps your garden thriving. Remember, consistency is key: apply it pre-planting, mulch regularly, and stay vigilant for new sprouts. You’ve got this! 🌱
Ready to take action? Start small—try a test patch in one section of your garden, monitor results, and expand your strategy as you see success. Happy gardening!