
Tools
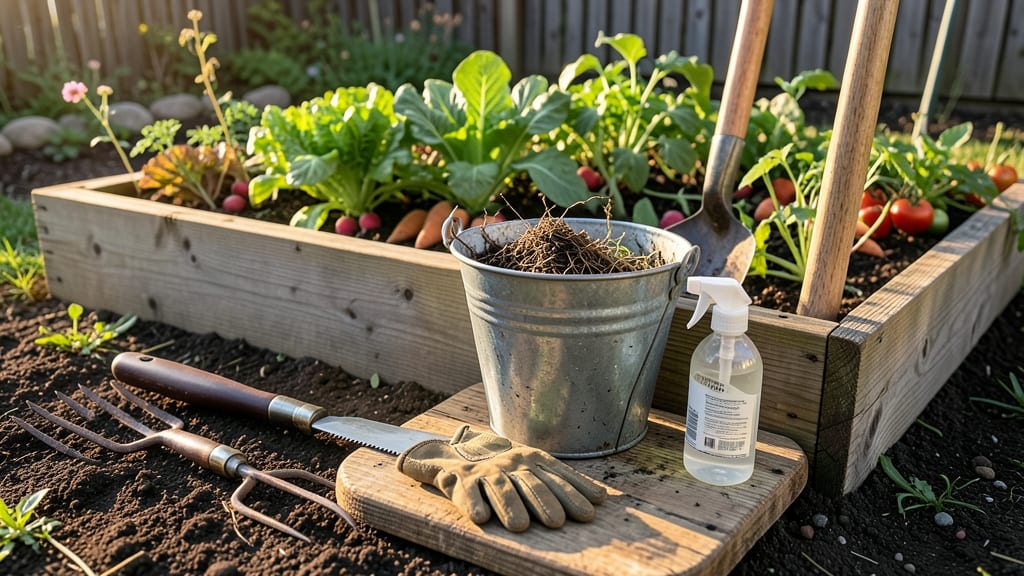
How to remove weeds from the vegetable garden without chemicals is easier than you think—hot water injection kills weeds down to the roots, even stubborn ones like dandelions. ✨ I tried it after pulling weeds for hours and getting frustrated—this method cuts the time in half while keeping your garden soil healthy. The key is precision: you want to scorch the roots without damaging your vegetables.
You’ll need a simple setup: a kettle or propane weed burner, a long-handled tool for leverage, and a sunny afternoon when weeds are actively growing. Organic gardeners love this because it’s chemical-free and won’t harm beneficial soil microbes.
Just be careful around delicate plants—keep the hot water at least 6 inches away from your veggies.
Within minutes, you’ll see weeds wilting and dying back to the soil. The roots break down naturally, leaving no regrowth. For large gardens, work in sections and focus on areas where weeds are thickest first. This method also prevents future sprouts by killing weed seeds in the topsoil.
Best for warm, dry conditions—avoid doing this right before rain, or the weeds might recover. For organic certification, pair this with mulching to block new weeds from emerging. Once you try it, you’ll never dig again!
📚 In This Guide
- What you need
- Instructions
- Tips and common mistakes
- Wrapping up and next steps
What you need
- ● Kettle or large pot (minimum 1.5-gallon capacity to boil enough water for multiple injections)
- ● Sturdy gloves (heat-resistant, like silicone or rubber, to protect your hands)
- ● Garden trowel or small shovel (for loosening soil and accessing weed roots)
- ● Long-handled spoon or turkey baster (to inject hot water deep into the soil)
- ○ Watering can with a narrow spout (optional, for targeted hot water application)
- ● Garden hose with adjustable nozzle (for rinsing off any spilled hot water)
- ● Pruners or shears (to trim thick weed stems before treatment)
- ● Plastic sheeting or newspaper (to cover the area after treatment, if mulching)
- ● Boiling water thermometer (to monitor water temp—aim for 160–212°F for best results)
- ● Vinegar (white, 5% acetic acid) (mix with hot water for extra weed-killing power)
- ● Corn gluten meal (post-treatment, to prevent new weed seeds from germinating)
- ● Knee pads or stool (for comfort during long sessions)
- ● Safety goggles (if working near eyes or in windy conditions)
Step-by-step instructions for weed removal using hot water injection
Hot water kills weeds at the root—here's how to do it safely and effectively.
💧 Step 1: Gather Your Tools and Fill the Kettle
Start by filling a large stainless steel or enameled kettle with boiling water—at least 2 gallons for a 4-foot by 4-foot garden section. I like to use a narrow-spout kettle because it gives me better control when pouring. If you don’t have a kettle, a large pot with a pouring spout works just as well.
Check the water temperature—it should be at least 212°F (boiling). If you’re working in cooler weather, the water will cool faster, so keep the kettle close to your heat source. I also grab a pair of heavy-duty gloves to protect my hands, since hot water can cause burns if spilled.
✂️ Step 2: Clear Large Debris and Identify Target Weeds
Before pouring, remove any large rocks, sticks, or mulch from the garden bed. These can block the hot water from reaching the roots. Focus on weeds with deep taproots like dandelions, thistles, or bindweed—these are the toughest to kill with other methods.
I like to mark the weeds with a small stick or flag if they’re hidden under plants. This ensures I don’t miss any spots. If the garden is wet, wait until the soil is dry to the touch—hot water works best on dry ground, as it penetrates deeper and kills roots more effectively.
🔥 Step 3: Pour Hot Water Directly Over Weed Roots
Slowly pour the boiling water directly over the base of the weed, aiming for the soil around the roots. A steady stream works better than a quick splash—this ensures the heat reaches deep enough to kill the entire root system. For large weeds, you may need 2-3 pours to fully saturate the area.
Watch the soil bubble and steam—this is your signal that the heat is penetrating. If the water cools too quickly, refill the kettle and repeat. Avoid pouring on desired plants, as hot water can damage them too. I like to step back a few feet when pouring to prevent accidental spills on my shoes or skin.
🌱 Step 4: Monitor and Repeat as Needed
After pouring, let the soil sit for 10-15 minutes—this gives the heat time to work deep into the roots. You’ll notice the weeds wilting and turning brown within hours. If any weeds survive, repeat the process in 3-5 days, as multiple treatments are often needed for stubborn roots.
Once the weeds are fully dead, rake the area to remove the dried-up foliage. The roots will break down naturally over time. I’ve found that hot water works best in late spring or early summer when weeds are actively growing—this is when their root systems are most vulnerable.
🌿 Step 5: Prevent Regrowth with Mulch or Ground Cover
To keep new weeds from sprouting, apply a 2-3 inch layer of mulch (like straw or wood chips) over the treated area. This blocks sunlight, which weeds need to germinate. I also plant dense ground covers like clover or creeping thyme in vegetable garden paths—they outcompete weeds naturally.
If you’re dealing with a large garden, consider sectioning off the area and treating it in stages. Hot water is labor-intensive, so I usually tackle one 4x4 foot section at a time. Over time, this method reduces weed pressure significantly, making your vegetable garden easier to maintain.
Tips & tricks for effective weed removal using hot water
Here's what I've learned after years of battling stubborn weeds in my garden—these tricks make all the difference.
Heat Application: The key to success is maintaining that 212°F temperature until it hits the roots. I've found that using a thermometer (even a simple candy thermometer) helps verify your water is truly boiling before pouring. Cold water won't penetrate deep enough to kill those tough roots—you'll see the weeds just wilt temporarily before bouncing back. For extra insurance, I pour a second round if the soil looks dry after the first application.
Target Selection: Not all weeds need this heavy-duty treatment. Focus your efforts on weeds with deep taproots like dandelions, thistles, and bindweed—they're the ones that come back stronger after pulling. For smaller weeds or those with shallow roots, a simple hand-pull might be enough. I mark my targets with small sticks before pouring to avoid missing any hidden weeds under plants.
Timing Strategy: Those 10-15 minutes of sitting time after pouring are crucial—they give the heat time to travel deep into the soil. I set a timer on my phone so I don't forget. If you're working in cooler weather, consider adding a lightweight garden cover over the treated area for an extra 5 minutes to trap the heat. The goal is to keep the soil temperature above 180°F for as long as possible to ensure complete root death.
Safety First: I can't stress this enough—protect your hands and feet. The water is scalding hot and can cause serious burns. I wear heavy-duty gardening gloves and even slip on waterproof shoes to protect my feet from accidental spills. When pouring, I step back a few feet to avoid splashes on my legs. Also, keep a bucket of cool water nearby to immediately flush any accidental spills on skin.
Pro Tips for Remove Weeds From Vegetable Garden
- Here's what I've learned after years of battling stubborn weeds in my garden—these tricks make all the difference.
- Heat Application: The key to success is maintaining that 212°F temperature until it hits the roots.
- Target Selection: Not all weeds need this heavy-duty treatment.
Frequently asked questions
Got questions about tackling weeds in your veggie patch? You’re not alone! Here are answers to the most common concerns—plus pro tips to make the job easier and more effective.
What’s the best time of day to remove weeds?
Early morning or late afternoon is ideal! Weeds are most vulnerable when the soil is damp (from dew or watering) but before the sun intensifies. This makes them easier to pull or treat with hot water. Avoid midday—soil dries out, and roots may resist.
How often should I repeat hot water treatments?
For stubborn weeds, apply hot water (200°F+) every 3–5 days for 2–3 weeks. New sprouts will appear, but consistent treatment kills roots. Monitor for regrowth—if weeds persist after 3 weeks, they may need manual removal or a deeper soil treatment.
Will hot water harm my vegetables?
No, if applied correctly! Direct hot water only to weeds—avoid splashing plants. Use a targeted applicator (like a squeeze bottle) to control the flow. For safety, treat weeds after planting veggies or in designated weed-only zones.
What if weeds keep coming back?
Persistent weeds often mean deep roots or seeds in the soil. Try these fixes:
- Smother them: Cover the area with cardboard + mulch for 4–6 weeks to block sunlight.
- Dig deeper: Use a dandelion digger or fork to extract roots 6+ inches down.
- Prevent regrowth: Apply a thin layer of mulch (straw or wood chips) after treatment.
Is hot water cheaper than herbicides?
Yes! Hot water costs pennies per gallon (just boil water) vs. $20–$50 for herbicides. Plus, it’s chemical-free, safer for kids/pets, and won’t harm beneficial insects. The only "cost" is time—but it’s a one-time investment for a weed-free garden.
How hot should the water be?
Aim for 180–200°F (82–93°C). Below 160°F? It won’t kill roots. Above 212°F (boiling)? Risk burning your hands or soil. Use a thermometer or test with a spoon—if it’s too hot to touch for 5 seconds, it’s perfect!
Wrapping up and next steps
Removing weeds from your vegetable garden doesn’t have to be a battle—with the right tools and techniques, like hot water injection, you can tackle deep-rooted invaders effectively and safely. 🌱 Whether you opt for manual methods, natural solutions, or this heat-based approach, consistency and patience will keep your garden thriving.
Now that you’re armed with knowledge, roll up your sleeves and reclaim your garden one weed at a time!
Your next step? Start small—pick a section of your garden, gather your supplies, and give it a try! You’ll be amazed at how much cleaner your veggies will look in just a few sessions. Happy gardening! 🌿