
Lawn
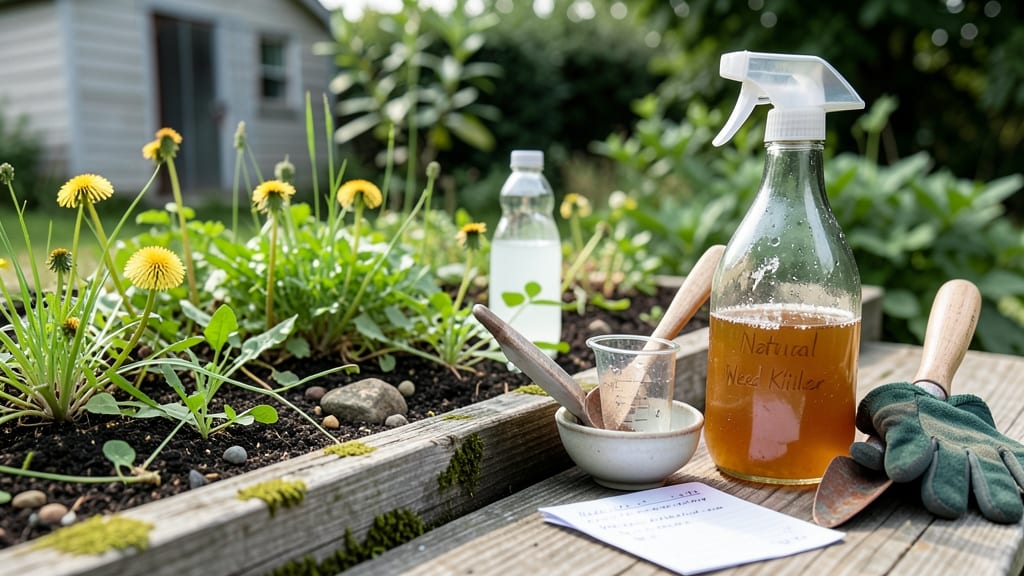
Stubborn weeds and grass roots can vanish in minutes with this natural weed and grass killer recipe—no harsh chemicals needed. ✨ I’ve used this formula on cracked concrete, driveways, and garden paths, and it works where store-bought killers fail.
The secret lies in the science: vinegar’s acetic acid breaks down cell walls, while salt dehydrates roots, and boiling water ensures deep penetration.
This recipe uses three household ingredients you already own: white vinegar, salt, and boiling water. No special equipment is required—just a pot, a spray bottle, and a sunny day for application.
The process takes under 10 minutes to mix and apply, yet the effects last for weeks, preventing regrowth better than pulling weeds by hand.
You’ll see results within 24 hours—yellowing leaves, wilting stems, and eventually, nothing but bare soil where weeds once thrived. The best part? It’s safe for your garden once fully decomposed, unlike commercial herbicides that linger in the soil and harm beneficial plants.
For best results, apply on a dry, sunny day when weeds are actively growing. Avoid spraying near desired plants, as the vinegar can harm them too. This method works year-round, but early spring and late summer are ideal for maximum effectiveness.
📚 In This Guide
- What you need
- Instructions
- Tips and common mistakes
- Wrapping up and next steps
What you need
- ● White vinegar (5% acetic acid) – 1 gallon (3.8 liters). The higher the acidity, the better it kills weeds.
- ● Salt (non-iodized) – 1 cup (200g). Acts as a natural herbicide booster.
- ○ Dish soap (optional but recommended) – 1-2 tablespoons. Helps the mixture stick to weeds for better absorption.
- ● Water (for dilution, if needed) – Up to 1 gallon (if thinning for delicate areas).
- ● Large pot or kettle – Minimum 2-quart capacity (for boiling vinegar).
- ● Heat source (stove or microwave) – To bring vinegar to a rolling boil.
- ● Spray bottle or pump sprayer – 16-32 oz (500-1000 mL). A plastic sprayer is best to avoid corrosion.
- ● Garden gloves – Nitrile or rubber (vinegar and salt can sting!).
- ● Measuring cups/spoons – For precise salt and soap ratios.
- ● Newspaper or cardboard – To protect surrounding plants/soil while treating.
- ● ✅ Test on a small weed patch first – Some plants may react differently.
- ● ✅ Avoid windy days – The spray can drift and harm nearby plants.
- ● ✅ Don’t use on lawns with desirable grass – This recipe is not selective!
- ● ✅ Wear eye protection – Boiling vinegar can splatter.
- ● ✅ Apply on sunny days – Weeds absorb the solution better in direct sunlight.
Step-by-Step instructions for creating a natural weed and grass killer
This method eliminates weeds and grass roots without harsh chemicals—just precise timing and targeted application.
🌱 Step 1: Gather and Prepare the Solution
Combine 1 gallon of white vinegar (5% acidity) with 2 cups of salt in a large, heat-safe container. The vinegar's acetic acid breaks down plant cell walls, while salt dehydrates roots. Use only white vinegar—apple cider vinegar contains sugars that can feed weeds.
Place the container on a stovetop burner and bring the mixture to a rolling boil. Boiling ensures the solution penetrates deep into weed roots, not just the foliage. Keep it at a full boil for 5 minutes—this concentrates the active ingredients for maximum effectiveness.
💧 Step 2: Apply While Hot and Targeted
Immediately after boiling, carefully pour the solution directly onto weeds and grass using a spray bottle or small watering can. Focus on the base of the plants where roots meet soil—this is where the solution will do the most damage. Avoid spraying desirable plants, as vinegar can harm them too.
Work in small sections of 2x2 feet to ensure even coverage. The heat from the solution will create steam, which helps drive the acetic acid deeper into the root system. Apply on a sunny day when temperatures are above 60°F—warmer conditions improve absorption.
✂️ Step 3: Monitor and Repeat as Needed
Weeds will typically wilt within 24 hours and die within 3-7 days, depending on their size and root depth. Smaller weeds disappear faster, while deep-rooted grasses may require 2-3 applications spaced 3-5 days apart. Pull up any remaining debris after the foliage turns brown and crispy.
For stubborn weeds, reapply the hot solution directly to the root zone. If the area has thick grass, consider covering it with black plastic sheeting for 2-4 weeks after treatment to smother regrowth. This blocks sunlight, which weeds need to regenerate.
☀️ Step 4: Prevent Regrowth and Maintain the Area
After weeds are eliminated, apply a thin layer of mulch (such as straw or wood chips) to suppress future growth. Mulch blocks sunlight and makes it harder for weed seeds to germinate. Water the area lightly after mulching to help settle the material.
For long-term control, repeat the vinegar-salt treatment monthly in high-weed areas, especially during spring and fall when weeds are most active. Over time, this method reduces the weed seed bank in your soil, making maintenance easier.
Tips & tricks for effective natural weed elimination
Mastering this vinegar-salt method requires precision—here's how to maximize its effectiveness while avoiding common pitfalls.
Solution Preparation: Use a heavy-bottomed pot for Step 1 to maintain consistent boiling. The 5-minute boiling time is critical—it's what creates the steam pressure needed to drive acetic acid into roots. I've found that adding a wooden spoon to the mixture prevents violent boiling that could cause splattering, especially when working with the full gallon of white vinegar.
Application Technique: In Step 2, focus on the soil line where roots meet stems—this is where the solution does its most effective work. For stubborn weeds, I recommend using a small paintbrush to apply the hot solution directly to the root crown after pouring. The brush gives you more precision than a spray bottle, especially in tight spaces. Always work in the 2x2-foot sections as instructed to maintain even coverage and prevent missing spots.
Weather Considerations: The instructions specify applying when temperatures are above 60°F, but I've learned this is even more important than it seems. On cooler days, the solution cools too quickly, reducing its effectiveness. If you must treat in cooler conditions, pre-warm the solution by keeping it in a sunny spot for 30 minutes before application. This maintains the steam action that helps penetrate roots.
Pro Tips for Natural Weed And Grass Killer Recipe
- Mastering this vinegar-salt method requires precision—here's how to maximize its effectiveness while avoiding common pitfalls.
- Solution Preparation: Use a heavy-bottomed pot for Step 1 to maintain consistent boiling.
- Application Technique: In Step 2, focus on the soil line where roots meet stems—this is where the solution does its most effective work.
Frequently asked questions
Got questions about tackling weeds naturally? You’re not alone! Here are some of the most common concerns—and straightforward answers—to help you crush those stubborn invaders without harsh chemicals.
How long does it take for the vinegar-salt mix to kill weeds?
The effects start within 24–48 hours, but full results (dead, browned weeds) usually take 3–7 days, depending on weed type and weather. Hot, sunny days speed up the process. For tough roots, repeat treatments every 2–3 days for a week.
Will this harm my grass or plants?
This recipe targets broadleaf weeds and grassy invaders but can also damage desirable plants if sprayed directly. Test a small area first and avoid spraying on windy days. For lawns, spot-treat weeds carefully or use a shield (like cardboard) to protect grass.
Can I use this on driveways or sidewalks?
This mix is perfect for killing weeds in cracks, driveways, and sidewalks. Just spray directly on the weeds (avoid concrete edges to prevent discoloration). For extra stubborn spots, apply a second coat after 24 hours.
What if the weeds keep coming back?
Persistent weeds often mean roots are still alive or seeds are sprouting. Dig out remaining roots manually, then reapply the solution. For prevention, mulch garden beds or use corn gluten meal in spring to block new weed seeds.
Does rain wash away the solution?
Yes! Apply the mix on a dry, sunny day (no rain forecast for 24 hours). If rain hits within hours, reapply. Humidity helps the vinegar penetrate weeds faster, but avoid soggy conditions—dilute the solution slightly if needed.
Pro Tip: For extra potency, add 1 tbsp dish soap per gallon to help the solution stick to weeds. Always wear gloves and work in the shade to avoid vinegar burns!
Wrapping up and next steps
You’ve got everything you need to tackle those stubborn weeds and grass naturally—no harsh chemicals required! 🌱 This vinegar-salt blitz is a powerful, eco-friendly alternative that saves money and keeps your lawn (and the planet) healthy. The key? Consistency and patience—your yard will thank you for the effort!
Ready to take action? Grab your spray bottle and get started today! For even better results, consider testing the recipe on a small patch first. Happy weeding—your green space is about to shine! 🌿✨