
Vegetables
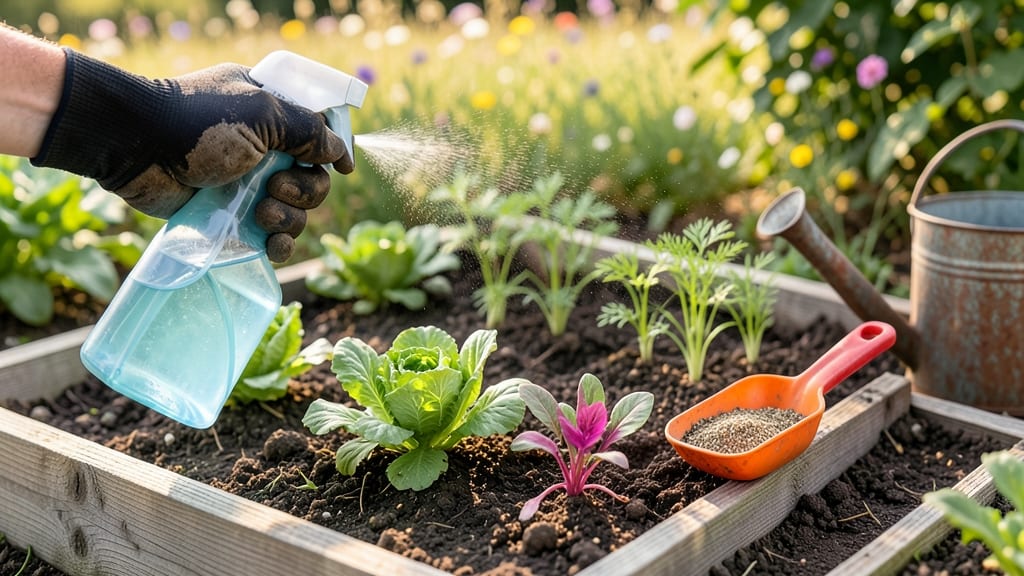
Using Preen weed preventer turns your garden from a battleground to a peaceful plot in just one application. 🌱 I used to spend hours pulling weeds every week—until I discovered how this granular barrier works like an invisible shield between soil and unwanted sprouts. The secret lies in its active ingredients that block weed seeds from germinating while letting your plants thrive.
You’ll need a spreader, gloves, and a calm afternoon—no fancy tools required. Apply it to moist soil before weeds appear, and you’ll get 3-4 months of weed suppression in most climates. The key is timing: apply in early spring or after planting, but never after weeds have already sprouted.
Rain won’t wash it away, but it won’t work if you apply it to dry, cracked soil.
What you end up with is a garden where you spend more time admiring your plants than fighting weeds. Your vegetables grow stronger, flowers bloom without competition, and you reclaim those precious weekends. The best part? It’s safe for established plants once the granules settle into the soil.
For persistent weeds or heavy infestations, spot-treat with vinegar or hand-pull before applying Preen. And yes, you can use it around tomatoes, peppers, and herbs—just keep it away from seeds you plan to plant later. This is the weed control hack that actually works.
📚 In This Guide
- What you need
- Instructions
- Tips and common mistakes
- Wrapping up and next steps
What you need
- ● Preen Weed Preventer (Granular): 1–2 lbs per 100 sq. ft. (check product label for exact coverage rates). Garden gloves (nitrile or rubber for protection).
- ● Broadcast spreader (handheld or drop-type for even distribution).
- ● Garden rake (with fine tines to lightly aerate soil).
- ● Watering can or hose with a gentle spray nozzle (for activation).
- ● Measuring tape or ruler (to mark application zones).
- ● Soil tester kit (to check pH—ideal range: 6.0–7.0 for best absorption).
- ● Mulch (straw, pine needles, or shredded leaves) (1–2 inches thick to enhance weed prevention).
- ● Edging tool (to define garden beds neatly).
- ● Safety goggles (if working in dusty conditions).
- ● Label markers (to tag treated areas if gardening in phases).
Step-by-step guide to applying Preen weed preventer
Here's how to create a weed-free zone that lasts all season with this proven organic solution.
🌱 Step 1: Prepare Your Garden Beds
Start by clearing existing weeds and debris from your planting area. Use a hoe or hand-pulling to remove any established weeds, including their roots. This ensures Preen works effectively on a clean canvas. I like to work on a dry day when the soil is firm but not hard—this makes it easier to see and remove all the weeds.
Loosen the top 2-3 inches of soil gently with a rake or cultivator. This helps the Preen granules make better contact with the soil surface where weeds germinate. Avoid tilling deeply, as you only need to disturb the weed seed zone. The goal is to create a fine, crumbly texture that won't compact when you apply the product.
💧 Step 2: Apply Preen According to Package Instructions
Measure the correct amount of Preen based on your garden's square footage—typically 1 pound covers 1,000 square feet. I use a spreader for even distribution, but for small areas, a hand-held applicator works fine. Start at one edge of the bed and work your way across in overlapping passes to avoid missed spots.
Water the area lightly after application to help the granules settle into the soil. This step is crucial because it activates the weed-blocking properties. You'll know it's working when the granules disappear slightly into the topsoil. Avoid heavy watering immediately after application, as this can wash the product away before it takes effect.
☀️ Step 3: Establish Plants Before Weeds Germinate
Plant your flowers, vegetables, or ground covers within 2-3 days of applying Preen. This timing ensures the weed preventer is active but hasn't had time to inhibit your desired plants. Dig planting holes slightly larger than the root ball and place plants at the same depth they were growing before.
Water thoroughly after planting to help roots establish. The Preen barrier will now work below the soil surface, preventing weed seeds from sprouting while allowing your plants to grow undisturbed. You'll notice fewer weeds popping up in treated areas compared to untreated sections of your garden.
✂️ Step 4: Maintain and Reapply as Needed
Preen typically lasts 3-4 months in most climates, but heavy rain or irrigation can reduce its effectiveness. If you notice weeds starting to emerge, reapply another layer following the same steps. I like to schedule reapplication around mid-season to maintain continuous weed suppression.
Keep the area around your plants mulched with organic material like straw or shredded leaves. This adds an extra layer of protection and helps retain soil moisture. Avoid piling mulch directly against plant stems, as this can cause rot. Instead, create a 2-inch mulch ring around each plant for best results.
🌿 Step 5: Monitor and Adjust for Long-Term Success
Check your garden regularly for any weeds that manage to break through the barrier. These are usually weeds that germinated before you applied Preen or seeds that blew in after treatment. Simply pull these early weeds by hand before they establish deep roots.
For perennial weeds like bindweed or nutsedge, Preen won't provide complete control. In these cases, I combine it with targeted hand-pulling and smothering techniques. The product works best on annual weeds and new weed seeds trying to sprout. With consistent use, you'll see dramatically fewer weeds competing with your plants for nutrients and water.
Tips & tricks for maximizing Preen weed preventer's effectiveness
To get the most out of your Preen application, these practical tips will help you avoid common pitfalls and extend the weed-free period.
Timing is Everything: The 2-3 day window between applying Preen and planting is critical—don't rush this step. If you plant too soon, the granules may still be settling and could inhibit your plants' root development. If you wait too long, weed seeds that germinate before application won't be affected. I've found that planting on day 3 gives the best balance between product activation and plant establishment.
Application Precision: When using the 1 pound per 1,000 square feet ratio, focus on even distribution rather than quantity. I recommend using a spreader for large areas, but for precise control in small gardens, a hand-held applicator lets you target specific spots where weeds tend to pop up. The key is to avoid overlapping too much—just enough to cover the entire surface without wasting product.
Soil Preparation Secret: The crumbly texture you create when loosening the top 2-3 inches of soil is more important than you might think. This isn't just about aeration—it's about creating a uniform surface for the Preen granules to adhere to. If your soil is compacted, the granules won't make proper contact with weed seeds, reducing effectiveness. Think of it as creating a perfect canvas for your weed prevention project.
Watering Strategy: That light watering after application isn't just a suggestion—it's essential for activating the weed-blocking properties. I've seen people skip this step and wonder why Preen didn't work as expected. The water helps the granules settle into the soil surface where weed seeds germinate. Just remember: light watering means just enough to moisten the surface, not a deep soaking that could wash the product away.
Pro Tips for Using Preen Weed Preventer
- To get the most out of your Preen application, these practical tips will help you avoid common pitfalls and extend the weed-free period.
- Timing is Everything: The 2-3 day window between applying Preen and planting is critical—don't rush this step.
- Application Precision: When using the 1 pound per 1,000 square feet ratio, focus on even distribution rather than quantity.
Frequently asked questions
Got questions about Preen Weed Preventer? You’re not alone! Here are some of the most common concerns—and straightforward answers—to help you use this underground weed barrier with confidence.
How long does Preen Weed Preventer last in the soil?
Preen Weed Preventer provides up to 6 months of weed control when applied correctly. For seasonal gardens, one application in early spring or late winter often covers most of the growing season. For year-round protection, reapply before weeds start sprouting in fall.
When is the best time to apply Preen Weed Preventer?
Apply it before planting—ideally in early spring or after clearing existing weeds. For new garden beds, spread it 2-3 weeks before sowing seeds or transplanting to allow it to settle into the soil. Avoid applying it to existing plants, as it can harm them.
Can I use Preen Weed Preventer around vegetables like tomatoes or peppers?
Yes! Preen is safe for most vegetables, but keep it 1-2 inches away from plant stems to prevent damage. For container gardens or raised beds, apply it evenly and avoid direct contact with seedlings. Always check the label for specific plant compatibility.
What if weeds still grow through after applying Preen?
Weeds may sprout if the product wasn’t spread evenly or if heavy rain washed it away. Reapply if needed, ensuring full coverage (about 1/4 lb per 100 sq ft). For stubborn weeds, hand-pull them first and let the soil dry before reapplying.
Does rain affect Preen Weed Preventer’s effectiveness?
Light rain (up to 0.5 inches) won’t harm it, but heavy downpours or flooding may reduce its potency. Apply it before rain is forecasted or water the area lightly afterward to help it bind to the soil. Avoid applying it during or right after heavy rain.
Pro Tip:
For longer-lasting results, combine Preen with a thick mulch layer (2-3 inches) of straw or wood chips. This doubles down on weed suppression while improving soil health!
Wrapping up and next steps
Using Preen Weed Preventer is your secret weapon for a low-maintenance, lush garden—no more battling weeds for months! 🌱 With just a few simple steps, you’ve learned how to create an effective underground barrier that keeps your soil weed-free while nurturing your plants. Your effort now means less work (and frustration) later!
Ready to transform your gardening routine? Start by applying Preen to your clean, weed-free beds—then sit back and enjoy the results. Next up: Share your success with fellow gardeners or explore more tips for organic pest control to keep your garden thriving all season long!