
Shrubs
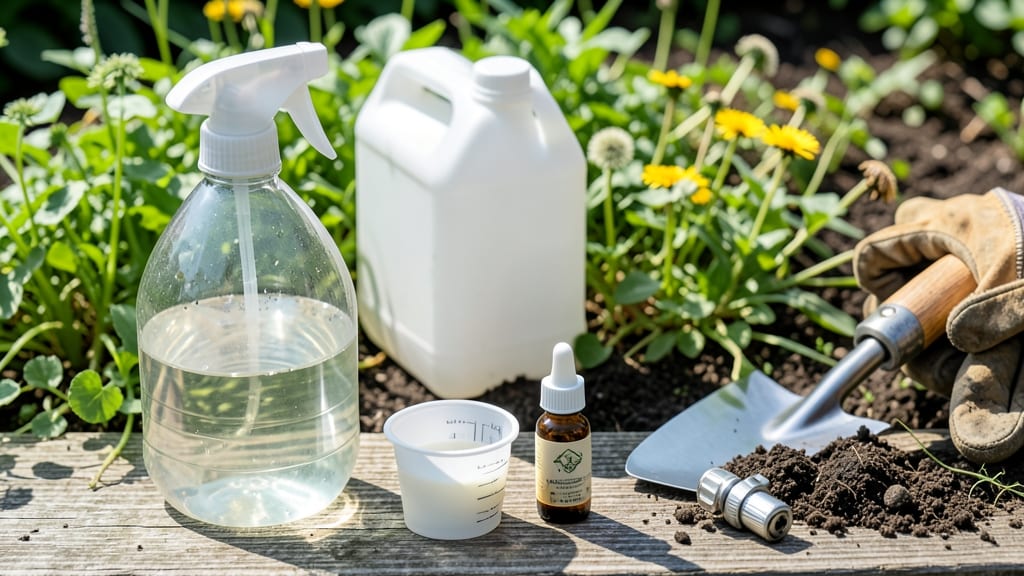
Using vinegar to remove weeds can turn your weed-infested patch into a clean slate in under 30 minutes. ✨ I used it on my stubborn creeping Charlie last summer, and within a week, the weeds were crispy and gone—no digging, no backaches, just pure satisfaction.
The key is the heat: boiling vinegar works faster and more effectively than store-bought sprays, and it’s all-natural too. You’ll need white vinegar (5% acidity), a pot for boiling, and a spray bottle or pump sprayer.
Mix 1 gallon of boiling vinegar with 1 cup of salt (optional for tough weeds) and let it cool slightly before applying. Target weeds on sunny days when the foliage is dry—this ensures maximum absorption and minimal runoff.
The results are dramatic: weeds turn brown and wilt within hours, and their roots die off within days. Just avoid spraying desirable plants, as vinegar doesn’t discriminate. For best results, repeat every 2-3 weeks until the area stays weed-free.
This method works best on small patches or driveways, not large lawns. For bigger areas, consider a vinegar-based weed killer with added surfactants. Either way, you’ll save money and skip the harsh chemicals!
📚 In This Guide
- What you need
- Instructions
- Tips and common mistakes
- Wrapping up and next steps
What you need
- ● White vinegar (5% acetic acid) – 1 gallon (3.8 liters) (higher concentrations work faster but may harm nearby plants).
- ● Boiling water – Enough to fill a large pot or kettle (at least 2 gallons capacity).
- ● Spray bottle or watering can – With a fine rose attachment (for precision targeting).
- ● Protective gloves – Nitrile or rubber gloves (vinegar can irritate skin).
- ● Eye protection – Safety goggles (just in case splashes happen!).
- ● Newspaper or cardboard – To protect plants you want to keep from vinegar drift.
- ● Dish soap (1-2 tbsp) – Reduces surface tension so vinegar sticks better to weeds.
- ● Salt (1 cup) – Boosts weed-killing power (use sparingly—it can harm soil over time).
- ● Spray nozzle attachment – For even coverage on large weed patches.
- ● Garden twine or markers – To mark treated areas and avoid reapplying.
How to use vinegar for weed removal like a pro
Here's the straightforward method I rely on for stubborn weeds—no digging, no backache, just effective results.
🌱 Step 1: Choose the Right Vinegar and Equipment
Grab undiluted white vinegar (5% acetic acid or higher) for best results—it's stronger than household varieties. You'll also need a spray bottle or garden sprayer (at least 1-gallon capacity) and a pair of gardening gloves to protect your hands. I like to add a drop of dish soap to help the vinegar cling to weed leaves, but it's optional.
Check the weather—use this method on a sunny, dry day when temperatures are above 50°F. The sun helps the vinegar work faster by increasing evaporation and absorption through the leaves. Avoid windy days, or the spray will drift and damage nearby plants.
💧 Step 2: Prep the Area for Maximum Effect
Clear any large debris or rocks from the area you're treating—vinegar works best when it can fully coat the weeds. Focus on young, actively growing weeds first; older weeds with thick roots may need multiple treatments. I like to spray early in the morning so the vinegar has all day to work before evening cools down.
For delicate plants nearby, cover them with cardboard or a tarp and secure the edges with rocks or weights. Vinegar is non-selective—it'll kill anything it touches. If you're treating a lawn, spot-treat weeds carefully to avoid damaging grass.
✂️ Step 3: Apply the Boiling Vinegar Blitz
Fill your sprayer with undiluted vinegar and add the dish soap if using. Shake well to mix. For stubborn weeds, I like to boil a batch of vinegar (just heat it on the stove until steaming) and pour it directly onto the weed base. The heat helps break down the plant cells faster, but this step is optional—regular spraying works too.
Spray until the weeds are completely soaked, including the undersides of leaves. You'll know it's enough when the vinegar starts to bead up on the surface. Avoid overspraying nearby plants or soil—vinegar can alter soil pH over time if used excessively.
☀️ Step 4: Monitor and Retreat as Needed
Weeds typically wilt within 24 hours and die within 3-7 days, depending on their size and the vinegar strength. You'll see the leaves turn yellow or brown first—this is the vinegar disrupting the plant's cellular structure. For deep-rooted weeds, you may need 2-3 applications spaced 1 week apart.
Keep an eye out for regrowth. If weeds resprout, it's a sign the roots weren't fully killed. In this case, repeat the process or dig up the remaining roots by hand. I've found that boiling vinegar works best on weeds under 6 inches tall—taller weeds require more frequent treatments.
🪴 Step 5: Restore the Soil After Treatment
Once the weeds are fully dead (usually 1-2 weeks after the last treatment), it's time to restore balance to the soil. Vinegar can temporarily lower soil pH, so I like to sprinkle garden lime or wood ash over the area to neutralize it. This step is especially important if you plan to plant new vegetation soon.
Loosen the soil lightly with a rake or hoe to help it recover. If you're treating a garden bed, add a layer of mulch to prevent new weeds from sprouting. I've noticed that areas treated with vinegar stay weed-free longer when mulched properly—it blocks sunlight, which weeds need to grow.
Tips & tricks for effective weed removal with vinegar
Real talk: Vinegar weed control works—but only if you nail these key details. Here's how to maximize results without wasting effort.
Vinegar Strength Matters: The instructions call for undiluted white vinegar (5% acetic acid or higher) because this is the magic threshold for weed-killing power. Household vinegar (typically 4-5%) works, but for tough weeds like dandelions or clover, I recommend 20-30% horticultural vinegar (available at garden centers). This concentrated version breaks down plant cells faster, especially on weeds over 6 inches tall.
Timing is Everything: Spraying early in the morning (as mentioned in Step 2) gives the vinegar all day to work in the sun, but there's a trick I learned after burning my first batch of plants: Wait until weeds are fully dry from dew or rain. Wet leaves repel vinegar, making it bead up instead of absorbing. If you must spray damp weeds, add an extra drop of dish soap to help it cling.
Boiling Vinegar Hack: While boiling vinegar is optional in Step 3, I've found it makes a huge difference for weeds with thick stems or deep roots. Simply heat vinegar until steaming (not boiling vigorously), then pour directly onto the weed base. The heat opens plant cells, letting the acetic acid penetrate faster. For stubborn weeds, I combine this with a 1-week follow-up spray—this two-step approach kills roots more effectively than spraying alone.
Soil Protection Strategy: Vinegar can alter soil pH, but here's how to minimize damage: After treatment, mix 1 cup of garden lime into a gallon of water and lightly spray the area. This neutralizes the acidity before it affects your soil's long-term health. For garden beds, I also recommend covering with mulch immediately after treatment—this blocks sunlight (which weeds need to regrow) while protecting nearby plants.
Pro Tips for Vinegar To Remove Weeds
- Real talk: Vinegar weed control works—but only if you nail these key details. Here's how to maximize results without ...
- Vinegar Strength Matters: The instructions call for undiluted white vinegar (5% acetic acid or higher) because this i...
- Timing is Everything: Spraying early in the morning (as mentioned in Step 2) gives the vinegar all day to work in the...
Frequently asked questions
Got questions about using vinegar to zap weeds?
You’re not alone! Here are answers to the most common queries—so you can tackle those pesky plants with confidence.
What’s the best type of vinegar for weed removal?
Go for white vinegar (5–10% acetic acid)—it’s the most effective for killing weeds. Avoid apple cider or balsamic vinegar, as their lower acidity (usually 4–6%) may not deliver the same results. For tough weeds, opt for boiling vinegar (hotter = better!).
How long does it take for vinegar to kill weeds?
Most weeds show signs of wilting within 24–48 hours, but full death can take 3–7 days, depending on the plant type and weather. Hot vinegar works faster than cold. Reapply if regrowth appears—vinegar isn’t a one-and-done solution!
Will vinegar harm my plants or grass?
Vinegar is non-selective, meaning it’ll kill anything it touches—plants, grass, and even mulch. To protect desired plants, apply vinegar only to weeds on wind-free days and use a shield (like cardboard or a spray guard) around garden edges. For lawns, spot-treat carefully and water afterward to dilute.
What if weeds keep coming back after vinegar treatment?
Persistent weeds often have deep roots or seeds in the soil. For stubborn cases:
- Reapply vinegar every 2–3 weeks until the weed is gone.
- Pull regrowth manually to remove roots.
- Add salt or dish soap (1 tbsp each per gallon of vinegar) to boost effectiveness.
- Prevent future growth with mulch or landscape fabric.
Are there natural alternatives to vinegar for weed control?
Yes! Try these vinegar-free options:
- Boiling water (pour directly on weeds—great for driveways).
- Salt + water (1 cup salt + 1 gallon water—use sparingly to avoid soil damage).
- Corn gluten meal (pre-emergent herbicide for prevention).
- Boiling dish soap (1 tbsp per gallon of water—kills weeds on contact).
For organic gardens, vinegar is a last resort—it can harm soil microbes over time.
Wrapping up and next steps
Using vinegar to remove weeds is a natural, budget-friendly, and eco-conscious way to reclaim your garden without harsh chemicals.
Whether you're tackling stubborn roots with boiling vinegar or opting for a diluted spray, this method works wonders while keeping your plants safe. Give it a try—your green space will thank you!
Ready to take action? Start small—test a patch first, then expand your vinegar blitz to reclaim your yard effortlessly. Happy weeding! 🌱