
Pests and Diseases
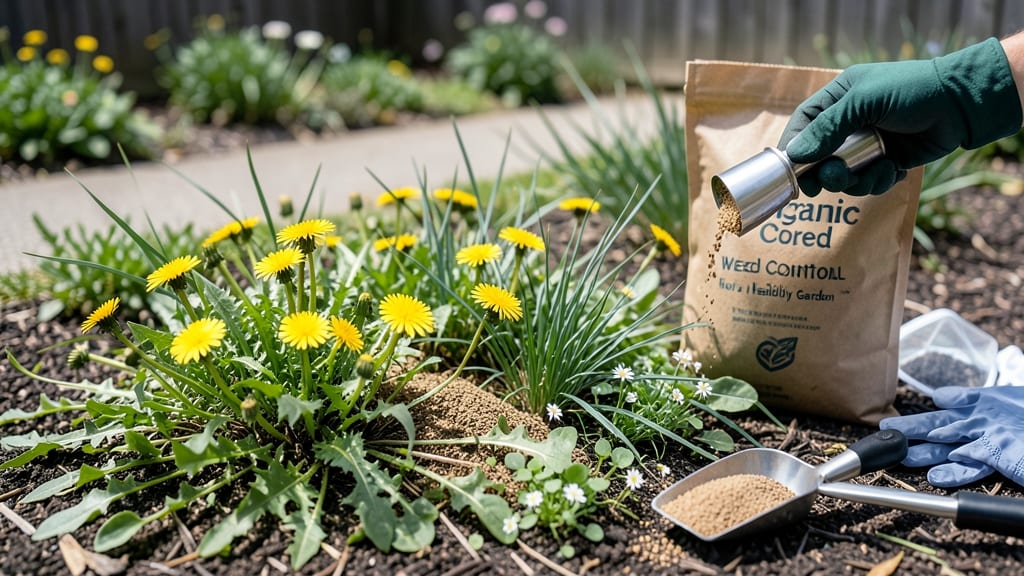
Weed control powder is the secret weapon for gardeners tired of pulling weeds by hand every weekend. 🌱 I used to spend hours on my knees battling dandelions and crabgrass—until I discovered how a simple application of this powder can create a root-blocking shield that lasts for months.
The best part? You don’t need fancy equipment—just a spreader or even a broom to apply it evenly. Organic options like corn gluten meal work by preventing weed seeds from sprouting, while chemical powders create a physical barrier that smothers existing weeds.
Either way, your garden beds stay cleaner with less effort. By spring, you’ll notice fewer weeds popping up, and your plants will have less competition for water and nutrients. The powder breaks down over time, so you can safely plant flowers or vegetables once the season warms up.
For best results, combine it with mulch or a thick layer of straw to extend the weed-blocking effect. Just avoid applying it near desirable plants—it’s not selective, so precision matters!
📚 In This Guide
- What you need
- Instructions
- Tips and common mistakes
- Wrapping up and next steps
What you need
- ● Weed control powder: Choose a pre-emergent or post-emergent formula (e.g., corn gluten meal, vinegar-based, or synthetic options like pendimethalin or atrazine). Quantity: ~1–2 lbs per 100 sq. ft. (adjust based on product instructions).
- ○ Broadcast spreader: A handheld or walk-behind model (e.g., Scotts Turf Builder or Brillion) for even distribution. Optional: Rent or borrow if you only need it once.
- ● Gloves: Nitrile or rubber (thick, chemical-resistant) to protect your hands.
- ● Safety goggles: To shield eyes from dust or powder residue.
- ● Water source: Hose with a fine mist nozzle (for activating water-soluble powders or rinsing tools).
- ● Measuring scoop or scale: For precise powder application (especially for organic options like corn gluten).
- ● Garden rake or hoe: To clear existing weeds/rocks before application.
- ● Weather check: Calm, dry conditions (no rain for 24–48 hours post-application).
- ● Soil tester kit: To check pH/fertility before applying powder (some products work best in specific soil conditions).
- ● Mulch (straw, wood chips): To lock in the powder and reduce erosion (apply after treatment).
- ● Label markers: To mark treated areas if you’re mixing organic/inorganic methods.
- ● Pet/child safety barriers: Temporary fencing or signs if you have curious critters nearby.
How to apply weed control powder for long-lasting garden defense
Here's my battle-tested method for creating a weed-proof barrier that lasts all season.
🌱 Step 1: Prepare the Soil Surface
Clear the area of existing weeds first—pull or dig them out completely, including roots. I use a hand fork to loosen stubborn roots, then rake the soil smooth. The goal is a clean, even surface so the powder makes full contact with the soil.
Focus on garden beds, pathways, or any area you want to protect. For best results, work on a dry day when the ground isn't damp. Wet soil can clump the powder, reducing its effectiveness. If your soil is too moist, wait 24 hours for it to dry out.
💧 Step 2: Apply the Powder Evenly
Spread the weed control powder using a broadcast spreader or by hand with a gloved hand. I like to use a spreader for large areas to ensure even coverage. For smaller spots, I sprinkle by hand, making sure to overlap slightly so there are no gaps.
The recommended rate is about 20 pounds per 100 square feet. Lightly rake the powder into the top ¼ inch of soil to help it bond with the surface. This creates a physical barrier that blocks weed seeds from sprouting while allowing water and air to reach your plants.
☀️ Step 3: Water Lightly After Application
Give the treated area a light watering to help the powder settle into the soil. Use a gentle spray or a watering can with a fine rose—no heavy streams that could wash away the powder. You're not trying to soak the soil; just enough moisture to activate the barrier.
This step is crucial for creating the root-blocking shield. The powder needs to make contact with the soil particles to form an effective barrier. After watering, you'll see the powder blend naturally with the soil surface—don't worry, it won't look like a white layer anymore.
✂️ Step 4: Maintain the Barrier
Once applied, the weed control powder will last for several months, but it's not permanent. I recommend reapplying every 3-4 months or after heavy rain, which can wash it away. For pathways, one application often lasts the entire growing season.
Keep an eye out for any new weed growth at the edges of treated areas. If you spot weeds trying to push through, simply apply a little extra powder around them. This method works best as a preventive measure—once weeds establish roots, they're harder to control.
🪴 Step 5: Protect Your Plants
When applying around existing plants, create a 2-inch barrier of powder around the base of each plant. This prevents the powder from coming into direct contact with plant stems, which could cause damage. For container plants, apply the powder up to the edge of the pot.
If you accidentally get powder on your plants, simply brush it off. The powder is designed to be harmless to established plants but will prevent weed seeds from germinating. Always apply after planting but before you see any weed seedlings appear—this is when it's most effective.
Tips & tricks for permanent weed defense
These battle-tested strategies will help you maximize the effectiveness of your weed control barrier every time.
Timing is Everything: The 24-hour drying period before application is non-negotiable. I've learned this the hard way—wet soil creates clumps that won't form an effective barrier. If you're working with damp ground, consider applying in the morning so the area has time to dry naturally by evening. A quick trick: spread a tarp over the area the night before if you're really pressed for time.
Equipment Game-Changer: A broadcast spreader makes all the difference for large areas, but for tight spaces between plants, I use a simple kitchen funnel. It gives me precise control over where the powder lands. Just be sure to wear gloves—this stuff is potent! For pathways, a push broom works great to distribute evenly without gaps. The key is consistency: every square inch needs that 20 pounds per 100 square feet coverage to work properly.
Visual Cue for Perfect Application: After lightly raking the powder into the soil, it should disappear into the top ¼ inch—no white patches should remain. If you see powder still visible, you haven't incorporated it enough. Think of it like dusting flour on a cake: you want it to blend in completely. This visual check ensures you're creating that crucial root-blocking shield beneath the surface.
Maintenance Secret: I keep a small container of powder in my garden shed for touch-ups. When I spot weeds pushing through at the edges, I apply just a thin layer—no need for the full 20 pounds. The powder works best as prevention, so addressing new growth early keeps your barrier intact. For pathways, I find one application lasts the entire season, but garden beds need that 3-4 month refresh.
Pro Tips for Weed Control Powder
- These battle-tested strategies will help you maximize the effectiveness of your weed control barrier every time.
- Timing is Everything: The 24-hour drying period before application is non-negotiable.
- Equipment Game-Changer: A broadcast spreader makes all the difference for large areas, but for tight spaces between plants, I use a simple kitchen funnel.
Frequently asked questions
How long does weed control powder take to work?
The effects of weed control powder typically appear within 3–7 days, but full results may take 4–6 weeks for deep-rooted weeds. Rain or irrigation can activate the powder faster, while dry conditions may delay it. For best results, apply on a warm, sunny day and reapply if heavy rain occurs within 24 hours.
Is weed control powder safe for edible plants or pets?
Most weed control powders are non-toxic to pets and humans once dry, but they can harm edible plants if oversprayed. Always apply away from crops, vegetables, and pet areas. For extra safety, use a shield or barrier around desirable plants. Check the product label for specific warnings—some contain corn gluten or vinegar-based ingredients that may require caution.
Can I use weed control powder in my lawn?
Yes, but selectively! Weed control powder works best in cracks, driveways, sidewalks, and gravel areas. For lawns, spot-treat weeds carefully to avoid damaging grass. If using a corn gluten-based powder, it’s safer for turf but less effective on thick weeds. For lawns with heavy weed pressure, consider a pre-emergent herbicide instead.
What’s the difference between weed control powder and liquid herbicides?
Weed control powder is dry, granular, and long-lasting, ideal for preventing weeds in cracks and bare soil. Liquid herbicides (like glyphosate) are fast-acting and better for existing weeds but require reapplication. Powder is easier to apply (just sprinkle!) and safer for windy days, while liquids need precise spraying. Choose powder for prevention and liquids for active eradication.
Why isn’t my weed control powder working?
Common reasons include:
- Insufficient coverage: Apply a thick, even layer (like snow) for best results.
- Rain or watering too soon: Wait 24 hours after application before irrigating.
- Thick weed growth: For established weeds, combine with a post-emergent herbicide.
- Wrong product: Some powders work only on germinating weeds—check the label!
If issues persist, reapply or try a different method like vinegar spray for stubborn weeds.
Wrapping up and next steps
Taking control of weeds in your garden doesn’t have to be a battle—it can be a strategic defense!
With the right weed control powder, you’re not just fighting the symptoms; you’re blocking the roots for lasting results. 🌱✨ Whether you’re tackling stubborn weeds or preventing future invasions, this solution gives you the edge you need.
Ready to reclaim your garden? Start small—test a patch, observe the results, and gradually expand your defense. Your green space (and future gardening efforts) will thank you!