
Landscaping
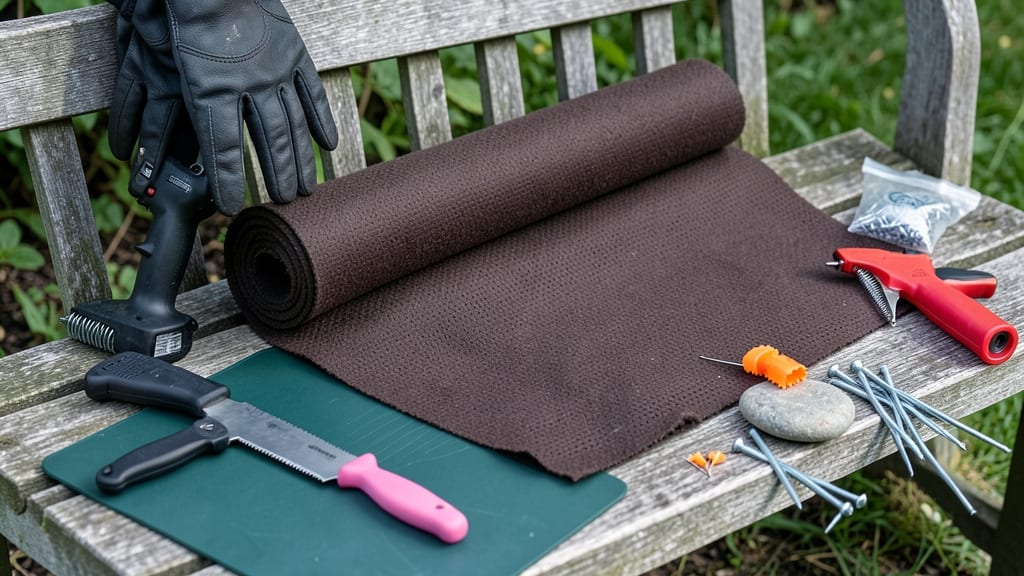
Laying weed barrier fabric transforms your garden from a battleground to a peaceful plot where weeds stay out and your plants thrive. 🌱 I spent years wrestling with invasive roots until I discovered how a few simple layers—fabric, mulch, and smart planning—keep my garden looking effortless all season long.
The secret isn't just covering the ground; it's creating a system that suffocates weeds while letting water and nutrients reach your plants.
Start by choosing the right fabric—look for 3-ounce woven polypropylene that blocks light but allows water through. Clear the area of debris, then lay down a 1-inch layer of landscape fabric with 6-inch overlaps between sheets.
Secure it with U-shaped landscape staples every 2 feet to prevent shifting. This isn't just about stopping weeds; it's about giving your plants the perfect foundation to grow strong without competition.
Once the fabric is down, add a 2-3 inch layer of mulch—wood chips or pine straw work best—to block remaining light and retain moisture. You'll notice fewer weeds popping up within 2-3 weeks, and your plants will establish faster because the soil stays consistently moist.
The best part? This system lasts 5-7 years with minimal maintenance, saving you hours of weeding every summer.
Pro tip: Avoid common mistakes like skipping the overlap or using cheap fabric that tears easily. Also, leave 2-3 inches of fabric exposed around plants to prevent root damage.
For rocky areas, add a hardware cloth layer underneath to deter burrowing pests. With this method, your garden stays lush, low-maintenance, and weed-free for years to come.
📚 In This Guide
- What you need
- Instructions
- Tips and common mistakes
- Wrapping up and next steps
What you need
- ● Weed barrier fabric: Choose a landscape fabric made of polypropylene or woven polyester, rated for 30-50 lbs. of UV resistance. For a standard garden bed (4’x8’), you’ll need 10-15 sq. ft. (adjust based on your area).
- ● Edging material: Plastic, metal, or stone edging (1-2 inches tall) to secure the fabric’s edges. Measure your perimeter and buy 10-20% extra for overlaps.
- ● Landscape staples or U-shaped pins: Galvanized or plastic-coated staples (1.5–2 inches long) to anchor the fabric. Aim for 1 staple every 12–18 inches along edges.
- ● Landscape fabric stapler or hammer: For driving staples into the ground.
- ● Mulch or soil: 2–4 inches of organic mulch (wood chips, straw) or topsoil to cover the fabric and plant your desired ground cover.
- ● Measuring tape (25+ feet) – Precision is key!
- ● Utility knife or scissors – For cutting fabric to size.
- ● Garden rake or shovel – To level the ground and remove debris.
- ● Work gloves – Protect your hands from prickly edges and rough fabric.
- ○ String line or spray paint – Optional but helpful for marking layout lines.
- ● Geotextile fabric tape: Seals seams to prevent weed growth between panels.
- ● Landscape fabric weights: Heavy rocks or bricks to hold down edges in windy areas.
- ● Ground cover plants: Creeping thyme, clover, or moss for a living, low-maintenance cover.
- ● Waterproof underlayment: If laying fabric over concrete or pavement, use a waterproof barrier first.
Step-by-Step instructions for installing weed barrier fabric
Here's my battle-tested method for creating a weed-free foundation that lasts seasons—no more pulling stubborn roots by hand.
🪴 Step 1: Prepare the Soil and Choose Your Layout
Clear the area completely, removing all existing weeds, grass, and debris. I dig down 4-6 inches to create a clean base—this prevents weeds from growing under the barrier. For beds, mark your dimensions with stakes and string, accounting for a 6-inch border around the fabric edge to prevent weed creep.
If you're installing under mulch, plan for 12-inch fabric overhang beyond the mulch edge—this stops weeds from sneaking in at the perimeter. Use a sharp spade to cut clean edges along paths or garden borders, as jagged edges let weeds poke through over time.
🌱 Step 2: Lay the Weed Barrier Fabric Smoothly
Unroll the fabric over your prepared area, allowing 12-inch overlaps between sheets. Stagger the seams like brickwork to prevent sunlight from creating weak spots where weeds can grow through. Smooth out wrinkles completely—they create air pockets that weeds exploit.
For slopes, secure the fabric with landscape staples every 12 inches along the top edge, then anchor the bottom with U-shaped pins or landscape fabric staples. I've seen fabric slide downhill after heavy rain if not properly secured—don't skip this step.
✂️ Step 3: Secure Edges and Prevent Weed Encroachment
Cut precise holes for plants using a utility knife—never tear the fabric, as rough edges let weeds grow through. For existing plants, make X-shaped cuts and fold the fabric back neatly. Bury the fabric edges 4 inches deep along garden borders or under mulch to block weeds from crawling underneath.
Along driveways or paths, fold the fabric 6 inches up at the edges and secure with landscape staples. This creates a physical barrier that stops weeds from migrating into your clean zones. I always add a 1-inch layer of gravel over fabric edges in high-traffic areas to prevent shifting.
☀️ Step 4: Add Mulch or Soil for Long-Term Protection
Cover the fabric completely with 3-4 inches of mulch (wood chips, straw, or gravel) to block light and prevent weed seeds from germinating. For garden beds, top with 2-3 inches of compost before planting—this creates a fertile layer while keeping weeds suppressed.
In vegetable gardens, I use black plastic mulch over the weed barrier for the first season to maximize heat retention while keeping weeds completely at bay. Remove the plastic after planting, but leave the weed barrier in place for permanent suppression.
💧 Step 5: Maintain and Monitor for Weak Spots
Check the fabric annually for tears or gaps, especially after heavy rain or seasonal shifts. Poke through mulch with a gloved hand to feel for any rough edges—weeds will exploit even small openings. Patch holes immediately with overlapping fabric pieces secured with landscape staples.
In perennial beds, I refresh the mulch layer every 2-3 years to maintain weed suppression. The key is consistency—once weeds find a gap, they'll colonize aggressively. With proper installation, your weed barrier will last 5-10 years with minimal maintenance.
Tips & tricks for perfect weed barrier installation
These game-changing strategies will help you create a weed-proof foundation that actually lasts—no more patchwork fixes or stubborn regrowth.
Precision Cutting: When cutting holes for plants in Step 3, use a utility knife to make clean, straight edges—never tear the fabric. I've seen weeds grow through jagged edges within weeks. For existing plants, make X-shaped cuts and fold the fabric back neatly to maintain that continuous barrier. This small detail prevents weeds from sneaking through the gaps where the fabric meets the plant stems.
Slope Security: On slopes, the 12-inch spacing for landscape staples in Step 2 is non-negotiable. I've watched fabric slide downhill after heavy rain when staples were too far apart—don't make this mistake. For extra security, add U-shaped pins at the bottom edge, especially if you're working with lightweight fabric. This creates a tensioned surface that stays put even during downpours.
Edge Armor: The 4-inch deep burial along garden borders in Step 3 is your first line of defense against weeds crawling underneath. For high-traffic areas like paths, fold the fabric 6 inches up at the edges and add that 1-inch gravel layer—this prevents shifting and creates a physical barrier weeds can't penetrate. Think of it as building a moat around your clean zone.
Mulch Layer Strategy: That 3-4 inch mulch layer in Step 4 isn't just decoration—it's your light-blocking shield. For vegetable gardens, I double down with black plastic mulch for the first season to maximize heat retention while keeping weeds completely suppressed. The key is complete coverage—even small gaps let weed seeds germinate. Refresh your mulch every 2-3 years to maintain that weed-blocking effectiveness.
Pro Tips for Lay Weed Barrier Fabric
- These game-changing strategies will help you create a weed-proof foundation that actually lasts—no more patchwork fixes or stubborn regrowth.
- Precision Cutting: When cutting holes for plants in Step 3, use a utility knife to make clean, straight edges—never tear the fabric.
- Slope Security: On slopes, the 12-inch spacing for landscape staples in Step 2 is non-negotiable.
Frequently asked questions
Got questions about laying weed barrier fabric? You’re not alone!
Here are answers to the most common concerns—from timing to troubleshooting—to help you get it right the first time.
When is the best time of year to install weed barrier fabric?
Install it in early spring or fall when the soil is workable but weeds aren’t aggressive. Avoid peak summer heat, which can dry out the fabric too quickly. If you’re in a mild climate, any season works—just water thoroughly after laying it down.
Can I use landscape fabric over existing grass or weeds?
No—remove all vegetation first! Grass and weeds will decompose under the fabric, creating a perfect breeding ground for mold and pests. Use a sod cutter or herbicide (if needed) to clear the area before laying down the barrier. Pro tip: Smother stubborn weeds with black plastic for 4–6 weeks pre-install for extra control.
How do I secure the fabric so it doesn’t shift or tear?
Overlap seams by 6–12 inches and staple them down with landscape staples (not regular staples—they won’t hold!). Use U-shaped pins or fabric-specific nails around edges, especially in windy areas. For slopes, anchor with landscape fabric tape or rocks to prevent slippage.
What’s a good alternative if I don’t want to use fabric?
Try cardboard or newspaper (10+ layers) as a temporary, biodegradable option—just wet it down to prevent blowing away. For long-term solutions, gravel or mulch (3+ inches deep) can suppress weeds naturally. However, fabric lasts 10+ years and blocks light completely, making it the gold standard for invasive roots.
Why are weeds still growing through my weed barrier?
This usually means gaps in coverage or fabric degradation (common with cheap, thin materials). Check for:
- Holes or tears—patch with overlapping fabric and staples.
- Improper overlap—seams should fully cover each other.
- Fabric too thin—opt for 3–4 oz. test weight for durability.
Wrapping up and next steps
Laying weed barrier fabric is your secret weapon against invasive roots and unwanted weeds—saving you time, effort, and frustration in the long run! 🌱 By following the steps outlined, you’ll create a durable, low-maintenance landscape that thrives without the hassle.
Now that you’re armed with the know-how, take action: grab your tools, pick a sunny day, and transform your yard into a lush, weed-free paradise.
Ready to level up your landscaping game? Start with a small section or a high-traffic area to see the difference firsthand—your future self will thank you! 🚀