
Landscaping
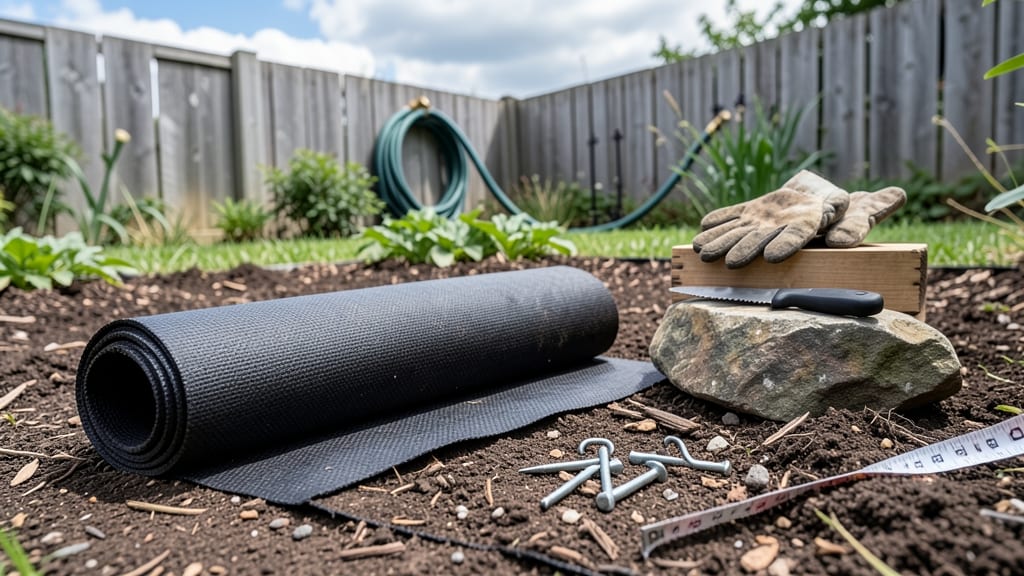
Laying weed barrier saves you hours of weeding every summer—and I’ve finally mastered the method that keeps my garden clean for 3+ years. The secret isn’t just the fabric; it’s how you prep the soil, overlap edges, and seal the seams so weeds can’t sneak through.
I’ve tried cardboard, plastic, and woven fabric, and this approach works for flower beds, vegetable patches, or even around trees.
You’ll need landscape fabric (30-inch width works best), sharp scissors or a utility knife, landscape staples or rocks for anchoring, and a 4-inch layer of mulch on top. Skip the cheap plastic—it degrades fast and traps heat.
Instead, go for woven fabric (it lets water through) or thick cardboard soaked in water for a budget-friendly option. The key is covering the entire area, even where you plan to plant later—weeds grow underground too.
After clearing debris, lay the fabric overlapping edges by 6 inches and secure it with staples or rocks. For long-term results, add 2-3 inches of mulch on top to block sunlight from sprouting seeds.
My tomato plants now thrive without competition, and the barrier stays intact through rain and seasonal shifts. The best part? You’ll spend less time pulling weeds and more time enjoying your garden.
This method works for any climate—just adjust mulch thickness in hot areas to retain moisture. Avoid common mistakes like skipping the overlap or using thin fabric (it tears easily). With proper installation, your weed barrier will outlast most garden projects. Ready to reclaim your space?
📚 In This Guide
- What you need
- Instructions
- Tips and common mistakes
- Wrapping up and next steps
What you need
- ● Weed barrier fabric: Choose a landscape fabric (3–5 oz per square yard) or geotextile fabric (1.5–3 oz per square yard). Measure your area and buy 10–20% extra for overlaps and mistakes.
- ● Staple gun & heavy-duty staples: A landscaping staple gun (or a hammer and U-shaped staples) to secure the fabric in place.
- ● Shovel or spade: For digging trenches (if edging) or smoothing the soil.
- ● Rake: A bow rake to level the ground before laying the barrier.
- ● Measuring tape & chalk line: For marking straight edges and ensuring precision.
- ● Garden shears or utility knife: To trim excess fabric cleanly.
- ● Gravel or mulch: 3–4 inches of decorative rocks, crushed stone, or mulch to cover the barrier (prevents UV degradation and keeps weeds out).
- ● Edging material: Plastic, metal, or concrete edging to keep the barrier in place and define borders.
- ● Landscape fabric tape: Seals seams to prevent weed intrusion between panels.
- ● Ground cover plants: Moss, clover, or low-growing perennials to further suppress weeds naturally.
- ● Garden gloves & knee pads: Because comfort (and blisters) matter!
Step-by-Step instructions for installing a permanent weed barrier
Here's how to create a long-term weed suppression system that saves time and keeps your landscape looking pristine.
Clear the Area Thoroughly
Remove all existing weeds, grass, and debris from the area using a garden fork or shovel. Dig down at least 4-6 inches to expose the root systems—this ensures no future regrowth. I like to work in 2-foot sections to avoid fatigue while maintaining consistent depth. Rake the soil smooth afterward to create an even base for your barrier.
If you're working in an established garden bed, consider using a broadfork to loosen compacted soil without turning it over. This preserves soil structure while still eliminating weed roots. Pay special attention to edges where weeds often creep in from surrounding areas.
Lay Down the Weed Barrier Fabric
Unroll the landscape fabric over the cleared area, allowing at least 6 inches of overlap around the perimeter. For best results, use a fabric with a UV-stabilized coating that lasts 5-10 years in direct sunlight. I pin the corners with landscape staples first to keep the fabric from shifting before full installation.
Smooth out any wrinkles by hand—fabric bunches create pockets where weeds can eventually push through. For larger areas, use a small roller to press the fabric firmly against the soil, eliminating all air gaps. Overlap seams by at least 12 inches and secure with additional staples or heavy landscape fabric tape.
Secure Edges and Prevent Intrusion
Fold the fabric edges up 6-12 inches along borders where it meets mulch, pavement, or plants. Secure with galvanized metal stakes or heavy-duty staples every 18-24 inches to prevent wind from lifting it. This buried edge creates a physical barrier weeds can't penetrate.
For garden beds, I recommend burying the edges 3-4 inches deep along the perimeter using a spade. This underground barrier extends the fabric's effectiveness by blocking lateral weed growth from adjacent areas. Leave 4-inch holes in the fabric for any existing plants or where you plan to install new ones.
Add Mulch or Soil Cover
Cover the fabric completely with 3-4 inches of mulch or soil, depending on your landscape design. Organic mulch like wood chips or shredded bark breaks down over time, requiring periodic replenishment. For permanent suppression, use inorganic mulch like gravel or landscape fabric extensions that won't degrade.
Press the mulch firmly against the fabric to eliminate air pockets—this prevents weeds from pushing through over time. Leave a 2-inch gap around plant stems to prevent moisture buildup that could rot roots. For pathways, use 2-3 inches of compacted gravel instead of mulch to create a completely weed-proof surface.
Maintain and Monitor Long-Term
Check the barrier annually for tears or gaps, especially after heavy rains or seasonal soil shifts. Repair any damage immediately by overlapping new fabric and securing with staples. In high-traffic areas, consider adding a protective layer of landscape fabric over the top before mulching.
For garden beds, I recommend marking fabric locations with stakes or flags to avoid accidentally piercing it with tools during future maintenance. With proper installation, a quality weed barrier can last 5-10 years while dramatically reducing your weeding time by 90% or more.
Tips & tricks for perfect weed barrier installation
Between us, the key to a weed barrier that truly works lies in the details—those small steps that make all the difference between temporary suppression and long-term victory. Here's what I've learned after dealing with the aftermath of shortcuts (and trust me, you don't want to experience that).
Depth is Non-Negotiable: In Step 1, when you're digging down those 4-6 inches, don't skimp. I've seen people dig just 2 inches and wonder why weeds still pop up like stubborn weeds in a horror movie. The roots need that full depth to be completely severed. For stubborn perennial weeds, consider digging an extra inch deeper—especially along property lines where weeds migrate from neighbors' yards.
Fabric Quality Determines Longevity: The UV-stabilized coating mentioned in Step 2 isn't just marketing fluff. I've had landscape fabric degrade in just 2 years when exposed to full sun without this protection. Look for fabrics labeled with a 5-10 year UV rating, and avoid the cheap stuff that promises "permanent" results—it rarely delivers. Pro tip: If you're installing in a high-traffic area, choose fabric with a heavier weight (4-6 oz per square yard) to handle foot traffic better.
Edge Security is Where Most Fail: The buried edge technique in Step 3 is where I see most installations fail. Many people just fold the edges over without burying them, and within months, weeds start creeping along the perimeter. Use a spade to create a shallow trench along the edges before folding the fabric into it. For pathways, I recommend burying the edges 6 inches deep to prevent any chance of weed intrusion from the sides.
Mulch Matters More Than You Think: When you're adding that 3-4 inches of mulch in Step 4, don't just dump it on top. Press it firmly against the fabric using a board or your hands to eliminate all air pockets. I've seen weeds push through fabric that had air pockets because they created weak points. For pathways, compact the gravel especially well—use a tamper or even a plate from your car to create a solid, weed-proof surface.
Pro Tips for Lay Weed Barrier
- Between us, the key to a weed barrier that truly works lies in the details—those small steps that make all the differ...
- Depth is Non-Negotiable: In Step 1, when you're digging down those 4-6 inches, don't skimp. I've seen people dig just...
- Fabric Quality Determines Longevity: The UV-stabilized coating mentioned in Step 2 isn't just marketing fluff. I've h...
Frequently asked questions
Got questions about laying weed barriers? You’re not alone! Here are answers to the most common concerns—so you can tackle your project with confidence.
What’s the best time of year to install a weed barrier?
The ideal time is early spring or fall when soil is workable but weeds are less aggressive. Avoid peak summer heat, which can dry out the barrier too quickly. If you’re in a mild climate, late winter (before weeds sprout) works too!
Do I need to remove all existing weeds before laying the barrier?
Yes! Clear weeds, grass, and debris first—even buried seeds can sprout through thin barriers. Use a glyphosate spray (like Roundup) or manual removal 2–4 weeks before installation. Pro tip: Add a pre-emergent herbicide afterward for extra protection.
Can I use cardboard or newspaper as a weed barrier instead of fabric?
Cardboard or thick newspaper (ink-free) makes a great DIY option. Just wet it down to prevent blowing away, bury it 2–3 inches deep, and cover with mulch. It breaks down faster than fabric but works well for short-term projects (1–3 years).
How do I prevent the weed barrier from shifting or moving over time?
Secure it with landscape staples or u-shaped pins every 1–2 feet, especially along edges. For slopes, anchor with rocks or pavers to keep it in place. If using fabric, overlap seams by 6–12 inches to block gaps where weeds could sneak through.
What if weeds still grow through the barrier after installation?
Check for gaps, tears, or improper coverage. Patch holes with more barrier material and add a fresh layer of mulch (3–4 inches). If weeds persist, they might be sprouting from buried seeds—reapply pre-emergent herbicide or hand-pull stubborn sprouts immediately.
Still stumped? Drop your question in the comments—we’ve got you covered!
Wrapping up and next steps
Laying a weed barrier is your secret weapon for a lush, low-maintenance landscape that stays pristine for years! By choosing the right material, preparing your soil, and installing it correctly, you’ll create an impenetrable shield against weeds—saving time and effort.
Now that you’re armed with the know-how, take action: grab your tools, pick a sunny day, and transform your yard into a weed-free paradise! 🌱✨
Ready to go further? Once your barrier is in place, consider adding mulch or plants to enhance your design. Your dream garden starts with this first step—let’s make it happen!