
Neem Oil
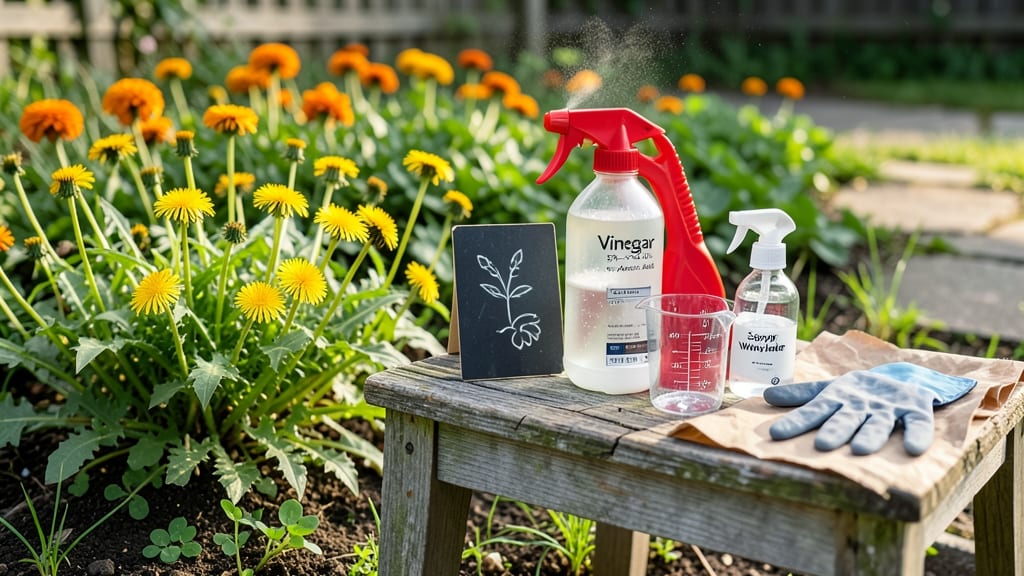
How to use vinegar for weed control effectively means targeting weeds with precision—vinegar burns them on contact, but getting it right ensures you clear unwanted plants without damaging your lawn or prized flowers. 🌱 I’ve used it for years to tackle weeds in cracks of patios and driveways, but the key is avoiding drift onto desirable plants. The secret lies in the mix: too weak, and it won’t work; too strong, and you’ll scorch everything in its path. You’ll need household white vinegar (5% acetic acid), water, a spray bottle, and a sunny afternoon for best results. Mix 1 gallon of vinegar with 1 gallon of water for a balanced solution that kills weeds but won’t harm the soil long-term. Reapply every 2-3 days until the weeds turn crispy brown—usually within a week. The payoff? Weed-free spots in as little as 7 days, with no harsh chemicals lingering in the soil. It’s fast, cheap, and works best on young weeds or in areas where you won’t accidentally spray desirable plants. Just be ready to work quickly—vinegar evaporates fast, so apply it when the weeds are dry and the sun is high. For stubborn weeds or large areas, pair this with a boiling water treatment or corn gluten meal in early spring. Vinegar alone won’t prevent future weeds, but it’s a powerful first strike when used right. Here’s how to do it without the mistakes I’ve made!
📚 In This Guide
- What you need
- Instructions
- Tips and common mistakes
- Wrapping up and next steps
What you need
- ● White vinegar (5% to 20% acetic acid): 1 gallon (3.8 liters) for general use (5% acidity is best for beginners)
- ● For tough weeds, opt for 20-30% vinegar (available at garden centers or online)
- ● Spray bottle or garden sprayer: 16–32 oz (0.5–1 liter) capacity for small areas
- ● 1–5 gallon (3.8–19 liter) pump sprayer for larger lawns or driveways
- ● Protective gear: Garden gloves (nitrile or rubber)
- ● Long sleeves and pants (vinegar can irritate skin)
- ● Safety goggles (to avoid splashes)
- ● Measuring cup or scale: For precise vinegar-to-water ratios (if diluting).
- ○ Soap or dish detergent (optional but recommended): 1–2 teaspoons (for sticking to weeds and enhancing effectiveness)
- ● Garden hose with a spray nozzle (for rinsing or diluting vinegar).
- ● Weed barrier fabric (to prevent future weed growth in treated areas).
- ● Label or marker (to tag treated areas and avoid reapplication).
- ● Wheelbarrow or bucket (for mixing large batches).
Step-by-Step instructions for targeted weed control with vinegar
Here’s my go-to method for spot-treating weeds without harming your plants or soil—just vinegar, precision, and patience.
💧 Step 1: Choose the Right Vinegar and Mix Your Solution
Grab white vinegar with 5% acetic acid (the higher the concentration, the faster it works). Avoid colored or flavored vinegars—they won’t burn weeds effectively. For a stronger solution, mix 1 gallon of vinegar with 1 cup of dish soap (the soap helps break down the waxy weed leaves). Stir well and let it sit for 10 minutes to fully combine.
Here’s the thing—this mix is potent. Test it on a small weed first to confirm it works in your climate. If your weeds are tough, like dandelions or clover, you might need to apply it twice, 3-5 days apart, for full results. Always apply on a sunny, dry day—wind or rain will wash it away before it works.
✂️ Step 2: Clear the Area and Protect Nearby Plants
Before spraying, remove any desirable plants within a 6-inch radius of the weeds. Vinegar doesn’t discriminate—it’ll kill anything it touches. If you can’t move plants, shield them with cardboard or plastic sheets, securing edges with rocks or clips. Even a stray drop on leaves can cause brown spots.
For stubborn weeds growing in cracks or tight spaces, use a paintbrush or old toothbrush to apply the vinegar directly to the leaves. This targeted approach saves your mix and prevents overspray. I like to work in small sections—2-3 square feet at a time—so I don’t miss spots or waste solution.
☀️ Step 3: Apply Vinegar Precisely on a Sunny Day
Fill a spray bottle or pump sprayer with your vinegar mix and apply it directly to the weed leaves until they’re completely saturated. Avoid spraying the soil—vinegar won’t harm soil microbes, but it can temporarily alter pH and may stress nearby plants. Focus on the green parts only; roots will die back within 24-48 hours as the plant starves.
Watch for immediate wilting—that’s your signal it’s working. For broadleaf weeds like chickweed or plantain, you’ll see brown spots within hours. Grassy weeds like crabgrass take longer, so be patient. Reapply to any regrowth after 5 days if needed. The key is consistency: one treatment might not be enough for deep-rooted weeds.
🌱 Step 4: Monitor and Retreat as Needed
Check treated areas every 3-4 days for new growth. Weeds like dandelions often regrow from the root, so you may need 2-3 applications, spaced 5-7 days apart, to fully eradicate them. If you see fresh green shoots, that’s your cue to spray again—vinegar works best on actively growing weeds.
This method won’t kill weed seeds in the soil, so expect new sprouts in 2-4 weeks. For long-term control, mulch treated areas with 2-3 inches of straw or wood chips to block sunlight and prevent regrowth. Over time, your soil will naturally suppress weeds as beneficial microbes rebuild.
⏰ Step 5: Maintain Your Weed-Free Zone
After the weeds are gone, pull any remaining dead roots by hand to prevent regrowth. Vinegar breaks down organic matter, so it won’t leave residue—just compost the debris. To keep weeds at bay, water deeply once a week (vinegar can dry out soil temporarily) and reapply mulch every few months.
Real talk: Vinegar won’t replace a full garden routine, but it’s a great tool for driveways, sidewalks, and between paving stones where you can’t dig. For garden beds, use it sparingly—overuse can disrupt soil balance. I treat weeds in these spots once a month in spring and fall, and my paths stay clear without harsh chemicals.
Tips & tricks for targeted weed control with vinegar
A few precision-focused tricks that'll make your vinegar weed treatment more effective—and save you from common mistakes.
Solution Strength Matters: The 10-minute rest time for your vinegar mix isn't just about combining—it lets the acetic acid fully activate. I stir vigorously for those 10 minutes, then let it sit in a sealed container. For extra tough weeds like bindweed, you can boost the solution to 2 gallons vinegar with 1 cup dish soap (still maintain the same ratio), but test on a small area first. The soap breaks down the waxy weed cuticles, making the vinegar penetrate faster. Remember, higher concentrations work faster but require more precise application.
Targeted Application is Key: In Step 2, when working those tight spaces, I switch to a small paintbrush or old toothbrush for weeds in cracks or between pavers. This gives you control over exactly where the vinegar goes—no overspray on desirable plants. For larger areas, a pump sprayer with a fine mist nozzle works best. The goal is saturation without runoff. I always work in 2-3 square foot sections to maintain focus, especially on windy days when drift becomes an issue.
Weather Timing Makes All the Difference: The instructions mention sunny, dry days, but here's what nobody tells you—morning applications work better than afternoon ones. Vinegar works by drawing moisture out of plant cells, and morning dew provides that initial moisture boost. If you must apply in the afternoon, choose days with low humidity (below 50%) to prevent the vinegar from evaporating too quickly. I've found that 60-80°F temperatures give the best results, as vinegar's effectiveness peaks in this range.
Monitoring Regrowth Strategy: Those 3-4 day checks in Step 4 are non-negotiable for deep-rooted weeds. I keep a small notebook where I mark treated areas with the date and weed type. For dandelions, I've found that applying vinegar when the leaves are fully unfurled (not just sprouting) gives the best results. If you see new growth after 2-4 weeks, don't panic—this is normal as seeds germinate. The key is consistency: treat new sprouts immediately with a second application to prevent establishment.
Pro Tips for Use Vinegar For Weed Control
- A few precision-focused tricks that'll make your vinegar weed treatment more effective—and save you from common mistakes.
- Solution Strength Matters: The 10-minute rest time for your vinegar mix isn't just about combining—it lets the acetic acid fully activate.
- Targeted Application is Key: In Step 2, when working those tight spaces, I switch to a small paintbrush or old toothbrush for weeds in cracks or between pavers.
Frequently asked questions
Got questions about using vinegar to kill weeds? You’re not alone!
Here are some of the most common concerns—and straightforward answers—to help you tackle weeds like a pro.
How long does vinegar take to kill weeds?
Vinegar typically kills weeds within 24 to 72 hours after direct application, depending on the concentration and weather conditions. Hot, sunny days speed up the process, while rain or humidity may dilute its effectiveness. For stubborn weeds, reapply every 3–5 days until fully browned.
Will vinegar harm my plants or grass?
Yes—vinegar is a non-selective herbicide, meaning it kills all green plants it touches, including flowers, vegetables, and grass. To protect desired plants, apply vinegar only to weeds on calm days and avoid overspray. Use a barrier (like cardboard or mulch) around garden edges for extra safety.
When is the best time to apply vinegar for weed control?
The ideal time is on a clear, sunny day when weeds are actively growing (spring or early fall). Avoid applying after rain or in extreme heat (over 90°F/32°C), as the vinegar may evaporate too quickly. Early morning applications allow weeds to absorb the solution before the sun intensifies.
Can I mix vinegar with other ingredients for better results?
Yes! A common DIY weed killer mix combines 1 gallon of white vinegar, 1 cup of salt, and 1 tbsp of dish soap. The salt enhances drying, while dish soap acts as a surfactant to help the solution stick. However, this mix is even harsher on soil and nearby plants, so use it sparingly and only in non-garden areas.
What if vinegar doesn’t kill the weeds?
If weeds survive, they may be too large, deeply rooted, or resistant. Try these fixes:
- Increase concentration: Use 20–30% acetic acid vinegar (harder to find; white vinegar is ~5%).
- Reapply: Spray every 3–5 days until weeds are crispy.
- Target roots: Dig out stubborn weeds after surface treatment.
- Alternative: Switch to boiling water or corn gluten meal for organic control.
Does vinegar harm the soil or environment?
Vinegar breaks down into water, acetic acid, and carbon dioxide, making it low-toxicity for soil and wildlife. However, overuse can lower soil pH temporarily or disrupt beneficial microbes. For garden beds, opt for diluted vinegar (1:1 with water) or use it only in non-plant areas like driveways or cracks.
Wrapping up and next steps
Using vinegar for weed control is a natural, budget-friendly, and effective way to keep your garden weed-free without harsh chemicals.
Whether you’re tackling stubborn weeds in your lawn, driveway, or garden beds, a simple vinegar solution can deliver powerful results—just remember to target carefully to avoid harming your desired plants. 🌱
Ready to give it a try? Start small—test a patch first to see how your plants respond, and soon you’ll be enjoying a cleaner, greener space with minimal effort. Happy weeding! 🌿