
Tools
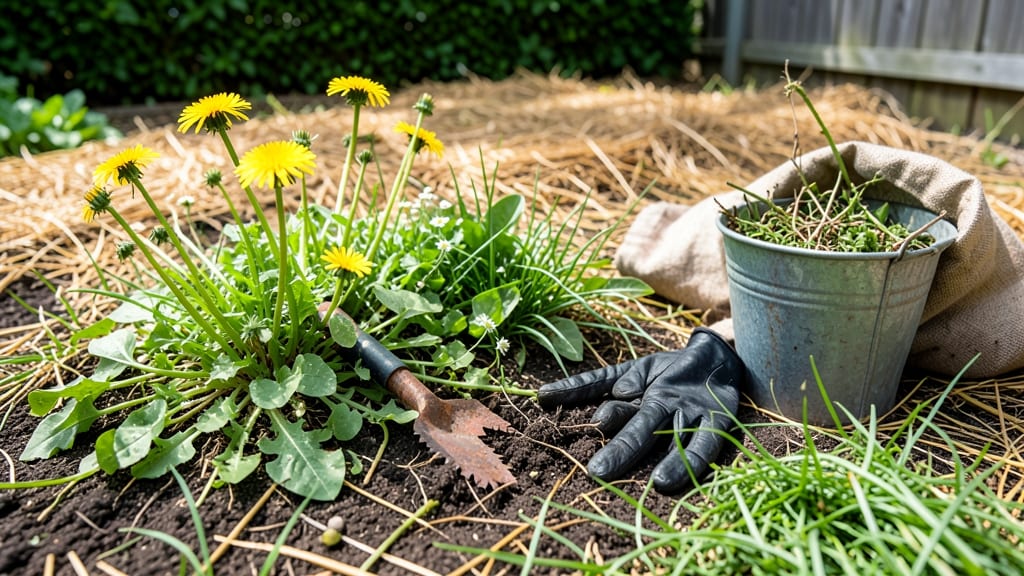
Boiling water is the fastest way to kill weeds in the garden bed—no chemicals, no waiting, just instant eradication of dandelions, crabgrass, and other stubborn invaders. I’ve used this method for years in my vegetable beds, and it’s the only technique that actually stays weed-free for months.
The secret? Timing, technique, and a heavy kettle—no fancy tools required.
This method works best on young weeds (under 6 inches tall) when soil is moist but not soggy. You’ll need a large pot of boiling water (at least 2 gallons), a watering can or hose attachment for precision, and a sunny day to repeat treatments as needed.
For thick weed mats, like clover or chickweed, you may need 2-3 applications spaced a week apart.
What you’ll get is a clean garden bed without the chemical residue or regrowth common with herbicides. The boiling water also sterilizes the soil slightly, reducing future weed seeds from sprouting. Just avoid using it near desirable plants—accuracy is key, and a slow, steady pour prevents scorching your crops.
Works for vegetable gardens, flower beds, and even pathways where weeds are persistent. The best part? You’re not introducing anything toxic to your soil or local ecosystem—just heat and patience. Ready to reclaim your garden?
📚 In This Guide
- What you need
- Instructions
- Tips and common mistakes
- Wrapping up and next steps
What you need
- ● Boiling water: 1–2 gallons (per treatment area) – Use a large pot, kettle, or even a boiling water canister (sold at garden centers) for easier pouring.
- ● Safety note: Always boil water on a stovetop or use a dedicated boiling water dispenser. Never transport boiling water in glass containers.
- ○ Watering can or large pitcher: (Optional but helpful) – A 1–2 gallon metal or heat-resistant plastic container with a narrow spout for precision pouring.
- ● Garden gloves: Heavy-duty nitrile or rubber gloves (rated for heat resistance) to protect your hands from hot water and sharp weed roots.
- ● Garden trowel or hoe: A sturdy stainless steel or heavy-duty plastic tool to loosen soil and expose weed roots before treatment.
- ● Garden fork or broadfork: (For large areas) – Helps aerate compacted soil and pull up deep-rooted weeds before boiling.
- ○ Plastic sheeting or newspaper: (For post-treatment) – Cover the area with black plastic mulch or layered newspaper to smother regrowth (optional but effective).
- ● Boiling water canister: ($10–$20) – A hands-free way to dispense boiling water (great for large garden beds).
- ● Vinegar (undiluted, 20–30% acetic acid): Mix 1 part vinegar + 1 part boiling water for extra weed-killing power (best for non-organic gardens).
- ● Corn gluten meal: (Post-treatment) – Sprinkle 20 lbs per 100 sq ft to prevent weed seeds from germinating.
- ● Mulch (straw, wood chips, or gravel): Apply a 3–4 inch layer after treatment to block sunlight and suppress regrowth.
- ● Safety goggles: Protect your eyes if weeds are near walkways or high-traffic areas.
Step-by-Step instructions for eliminating weeds using boiling water
This method targets deep roots without chemicals, leaving your garden bed ready for planting.
Identify and Clear Surface Debris
Start by removing all visible weeds and debris from the garden bed. Focus on pulling weeds with mature leaves and established stems—they’re the ones with deep roots. Use a hand fork or trowel to loosen soil around stubborn weeds, making them easier to extract. I always work on a dry day; damp soil sticks to roots and makes cleanup harder.
Rake the bed thoroughly to clear away any remaining plant fragments or mulch. This step ensures boiling water will contact weed roots directly. Pay special attention to cracks and crevices where weeds often hide. A clean surface means better heat penetration and fewer regrowth spots later.
Prepare the Boiling Water Solution
Boil 2-3 gallons of water in a large pot or kettle until it reaches a rolling boil. The volume depends on your bed size—larger areas need more water to cover roots effectively. I use a heavy-duty pot with a long spout for precision pouring. Avoid adding soap or vinegar; these can harm soil microbes and reduce effectiveness.
Let the water sit for 1-2 minutes after boiling to cool slightly but remain scalding. This prevents steam burns while still delivering lethal heat to roots. Test the temperature by dripping a small amount onto your wrist—it should feel painfully hot but not cause blisters. Safety first: wear gloves and protective eyewear during this step.
Apply Boiling Water Directly to Weed Roots
Pour the boiling water slowly and evenly over the exposed weed roots, focusing on the base where stems meet the soil. Use a 1-inch stream to ensure deep penetration without splashing onto desired plants. I aim for 1 cup per weed, depending on root size. For dense clusters, work in sections to avoid cooling the water prematurely.
Watch for steam rising from the soil—this confirms the heat is reaching the roots. Reapply to any areas that look dry or where weeds persist. Avoid oversaturating the bed; excess water can leach nutrients. Repeat this process 2-3 times per weed if roots are thick, spacing applications 10-15 minutes apart to maintain effectiveness.
Monitor and Retreat as Needed
Return to the bed 24-48 hours later to check for regrowth or missed roots. Weeds often resprout from fragments left behind, so vigilance is key. Use a hand fork to probe the soil for any remaining root sections. If you spot new shoots, repeat the boiling water treatment immediately—they’re easier to kill when young.
After successful eradication, amend the soil with 1-2 inches of compost to restore nutrients lost during the process. This step also helps prevent future weed germination. I water lightly afterward to settle the compost without disturbing the treated area. For stubborn perennial weeds like dandelions, you may need 2-3 treatments spaced 1 week apart.
Prevent Future Weed Growth
Apply a thick layer of mulch (2-3 inches) to the bed using straw, wood chips, or shredded leaves. Mulch blocks sunlight, which weeds need to germinate. I choose organic mulch because it breaks down over time, adding nutrients to the soil. Avoid plastic mulch—it traps heat and can encourage weed seeds to sprout.
Inspect the bed weekly for new weeds, especially after rain, which can wash mulch away. Hand-pull any early-stage weeds before they develop deep roots. This proactive approach keeps your garden bed weed-free with minimal effort. Over time, you’ll notice fewer weeds returning, and your desired plants will thrive in the improved soil.
Tips & tricks for stubborn weed eradication
Here's what nobody tells you about making this method work flawlessly—lessons I learned after battling weeds in my own garden.
Targeting the Right Weeds: Focus on weeds with mature leaves and established stems in Step 1, as these have deep roots that require the boiling water treatment. Annual weeds with shallow roots can often be pulled by hand, saving you the effort of boiling water. I've found that dandelions, thistles, and creeping charlie respond best to this method because their root systems are extensive and difficult to remove manually.
Precision in Step 3: When applying the boiling water, aim for that 1-inch stream directly at the base where stems meet the soil. This targeted approach ensures maximum heat transfer to the roots while minimizing water waste. I've learned that using a watering can with a narrow spout works perfectly for this—it gives you better control than a regular pot. The key is consistency: don't rush this step, as thorough coverage is what kills those stubborn roots.
Timing is Everything: The 10-15 minute interval between applications in Step 3 is crucial. This allows the soil to absorb some heat between treatments while keeping the water hot enough to remain effective. I've noticed that if you try to do all applications at once, the water cools too quickly and loses its effectiveness against deep roots. For particularly tough weeds like bindweed, consider adding an extra 5-minute interval between the second and third applications.
Post-Treatment Soil Care: After your 24-48 hour check in Step 4, don't skip the compost amendment. The boiling water treatment can leave your soil temporarily depleted of nutrients. I've found that adding that 1-2 inches of compost not only replenishes nutrients but also creates a more hospitable environment for your desired plants. This step is often overlooked but makes a significant difference in your garden's long-term health.
Pro Tips for Killing Weeds In Garden Bed
- Here's what nobody tells you about making this method work flawlessly—lessons I learned after battling weeds in my own garden.
- Targeting the Right Weeds: Focus on weeds with mature leaves and established stems in Step 1, as these have deep roots that require the boiling water treatment.
- Precision in Step 3: When applying the boiling water, aim for that 1-inch stream directly at the base where stems meet the soil.
Frequently asked questions
about using boiling water to kill weeds in your garden bed—because even the best-laid plans need a little troubleshooting!How soon after applying boiling water will weeds die?
Weeds typically wilting within minutes and die within 1–3 days after treatment. For deep-rooted weeds, you may need to repeat the process after a week to ensure full eradication. Timing tip: Apply boiling water on a warm, sunny day for best results—heat accelerates the process!
Is boiling water safe for my garden soil and plants?
Boiling water is safe for soil when used correctly—it kills weeds without harming the soil structure. However, avoid pouring it near desirable plants (keep a 6-inch buffer) to prevent scorching. For edible gardens, wait 2–4 weeks after treatment before planting to allow soil to cool and stabilize.
What’s the best time of day to use boiling water on weeds?
The ideal time is early morning or late afternoon when temperatures are moderate (avoid peak sun). This prevents rapid evaporation and ensures the water penetrates deep roots. Pro move: Water the area lightly beforehand to help boiling water sink faster!
Can I use this method for weeds in grass or lawns?
Boiling water works best for garden beds, but for lawns, it’s risky—it can kill grass and leave bare patches. Instead, spot-treat weeds with vinegar or a targeted herbicide, or use a weed torch for larger areas. For lawns, manual removal (with a dandelion digger) is gentler!
What if weeds keep growing back after boiling water?
Persistent weeds often have deep or fragmented roots. To tackle regrowth:
- Reapply boiling water to the same spot after 5–7 days.
- Use a weed puller or hoe to dig out remaining roots.
- For stubborn weeds like bindweed or nutgrass, combine boiling water with vinegar or salt (mix 1 gallon vinegar + 1 cup salt).
Remember: Consistency is key—weeds won’t quit without a fight!
Wrapping up and next steps
Killing weeds in your garden bed doesn’t have to be a battle—with the right technique, like using boiling water, you can reclaim your space effortlessly! 🌱 The key is consistency, patience, and choosing the right method for your garden’s needs.
Whether you’re tackling stubborn roots or preventing regrowth, this approach saves time and keeps your plants thriving.
Now that you’re armed with knowledge, grab your kettle or hose and get ready to transform that overgrown bed into a lush, weed-free haven! Start small—try one section at a time—and soon, your garden will be the envy of the neighborhood. Happy weeding! 🌿